Treat Yo Self (gift box)

Things are so wild around here this week – more than usual. The upside is, I’m cleaning out my files and realized I never posted this project that I created and adore. How could I?! Well now I am here to share – hope you enjoy.

DSC_7301 copy

With a glittered die cut at the center, I added buttons, glitter, and random do-dads to create the ultimate gift box. My base is just one of those cheap little alterable paper boxes you can pick up at any craft store. You guys – these are so much fun to make.

DSC_7316 copy

This die from Ellen Hutson (affiliate link) is just the best, and since ‘treating myself’ to it last month I can’t stop using it!

DSC_7298 copy

I’ve got spooky box coming next week, and you can also find me creating some Christmas versions next month – including a very merry video. So stay tuned – oh, and treat yo self to this die. Seriously a fun one!

don’t know the reference “Treat Yo Self?” well then you’ve not watched Parks & Rec (How could you not?!! one of the best shows out there…) so here’s a link to a YT that has the good snippets that should explain…

Detail cut card with ScanNCut2

Disclosure: I am a paid consultant for Brother International Corporation and have received a ScanNCut from Brother to evaluate. However, the opinions expressed are entirely my own and based on my use of the product.

DSC_7763 copy

It’s no secret that the designs on the new ScanNCut2 650 model are favorites already of mine – however what you might not know is that this machine (or any model!) can easily weld designs together so that you can create all kinds of new shapes and projects. One of the top on my to-do list? Make this design into a card!

Want to see how? Here’s a link to the YouTube video.

DSC_7775 copy

I hope you liked the video, and love this project as much as I do! I’ve done a few welding projects in the past but having this intricate design turned watercolor style card is definitely a new favorite!

Fabric Elements by Rebekah Meier (project #2)

DSC_6135

Know what I love? Playing with color + texture + mixing my mediums. So when I got an email asking if I’d like to blog about the Rebekah Meier mixed media line? Sure thing! I wasn’t sure what would be in the package I was sent – but I was excited to try something new and embrace a new adventure. Today I’ve got a second project post to share with you. If you missed the first one about 5 weeks ago + the YouTube video tutorial you can check that out HERE.

DSC_7712

The products were developed by Rebekah Meier following the success of her books about Fabric Art Collage. There are 32 SKUS now on sale at Joann Fabric and Craft stores, and also a new book by Rebekah called “Techniques in Mixed Media” which shows step-by-step mixed media projects. The products include pre-cut substrates such as Wool Felt, Lutradur, Peltex, Batting, Waffle Muslin, Osnaburg, all in neutrals so that ANYTHING can be created. There is also tissue and stencils designed by Rebekah Meier as well.

DSC_7747

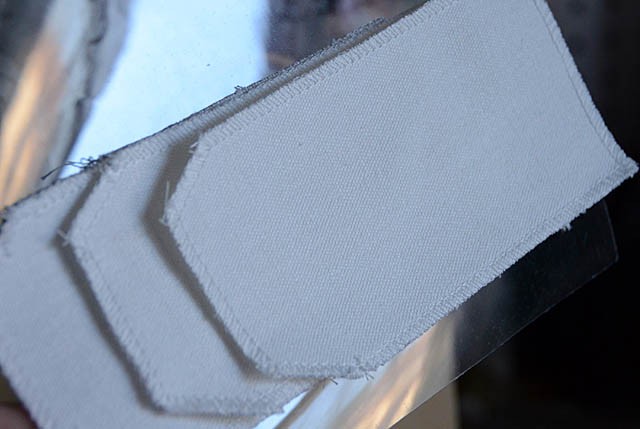
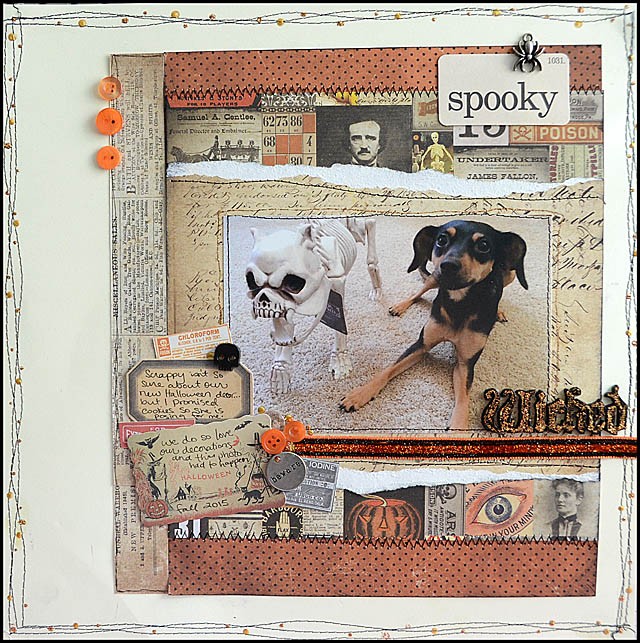
This time around I was inspired by the canvas tags and one of the new stencil designs. The tags come six to a package, and they really take color mediums well! For my tag I:

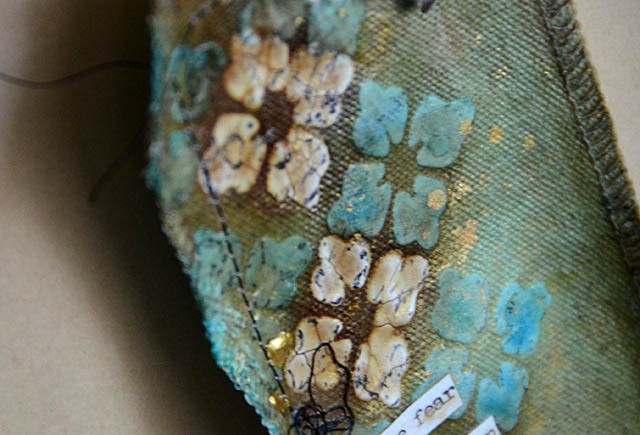
  1. Used one of the fabric elements stencils with texture paste, then sprayed entire tag with blue mist.
  2. Once dry, added a strip of the design in white crackle paste, let that dry. This is how I got so many of the design so close! Love to layer!
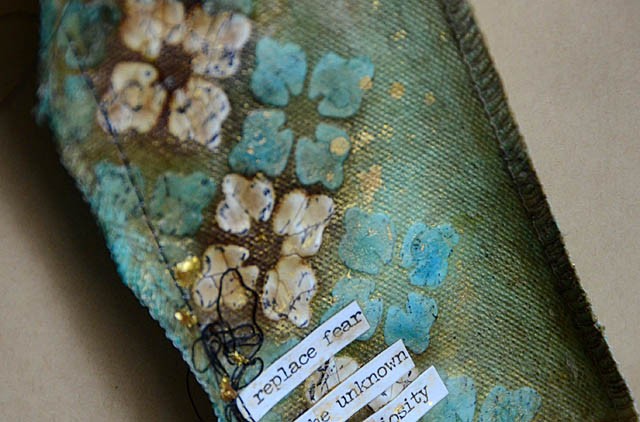
  3. Once dry, I inked with brown then coated entire tag with matte finish gel medium to give it some stiffness and to lock all the color in.
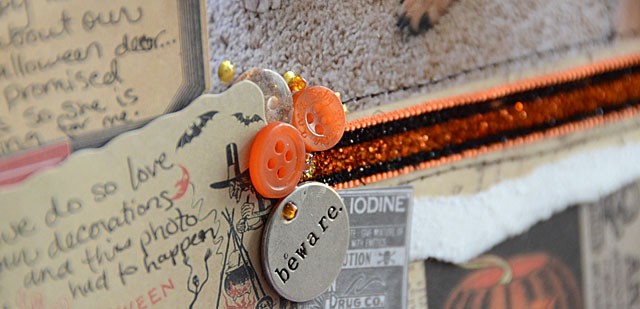
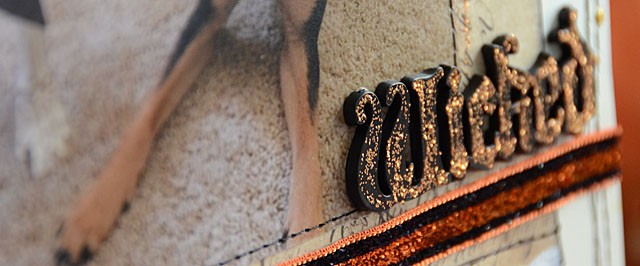
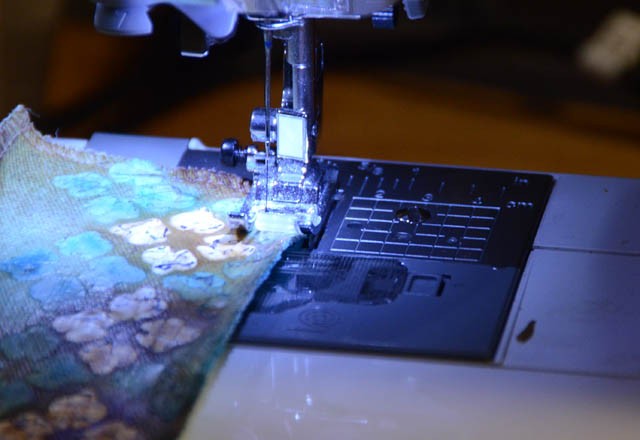
  4. Archival ink design stamped on, check! Now it’s just play time! Stitch, add stickers, add fabric elements trim, and top a gift bag!

fabricelements_mayflaum

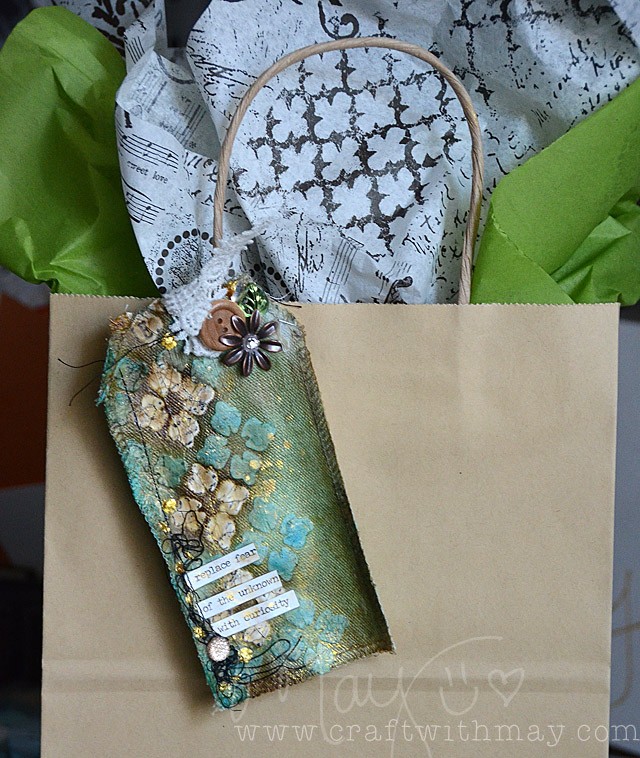
I threw a bit of Fabric Elements tissue inside my bag just for fun – love that! Speaking of love – I just love how this turned out, and how this tag takes color!! My tag looks super complicated and full of rich color but it really only took a few steps. You know I love when a project works out like this.

DSC_7735

Fabric Elements Creative Challenge
Fabric Editions, Inc. wants to see how mixed-media artists can adopt and play within the new fabric substrates of the Fabric Elements product line. To kick off the product launch we are having a Creative Challenge using the Fabric Elements products. Each of the 20 finalists will receive a copy of Rebekah Meier’s book, “Techniques For Mixed Media”. The Grand Prize Winner will receive 1 of each the items in the Fabric Elements product line, plus a Fabi Sizzix cutter and 3 dies: Prize valued at $379.00 (no cash prizes). Click here for the full details on how to enter, and for more details on this line.

DSC_7733

The products are in Jo-Ann Fabric and Craft stores and on joann.com. Fore more Fabric Editions information check out: the blog, Facebook, Instagram, Pinterest, or Twitter

Thank you to Rebekah Meier for inviting me to play with these fabulous products!

Thankful card featuring Tim Holtz Feather Duo

thankful2

One of my favorite ways to utilize my Tim Holtz texture folders is by making a card – they are the perfect size, after all! Today I’ve got an autumn inspired one – and I’m using (for the first time!) the feather duo that came with both die cuts and the texture folder to make them really have great detail. So impressed!

I added pops of metal, brown, and green in my embellishment cluster to balance out all those lovely shades of persimmon and marmalade.

thankful1

The finished results! I love how this turned out, and the choice to add last minute wood and beads was a good one – this cluster needed that texture pop. Most of the embellishments are older and were found by diving through my lovely tacklebox drawers ‘o buttons and things. Love embellishing this way!

Are you in tried & true cards class yet?! Well This and so many more cards will be featured. You can find all of the info for that class coming in November, as well as my ongoing layouts class craftwithmay.com

Key supplies used:
Any dye ink would work – I used Tim Holtz Distress inks (available pretty much everywhere!), an odd assortment of leaves and wood veneer hearts, a few buttons and beads, and of course my beloved Tim Holtz seasonal chit-chat stickers! The background texture folder and feather die+ texture folder combo that I used are also both Tim Holtz, and available lots of shops – some affiliate links listed below.

Blue Moon Scrapbooking: feather dies/texture duo

Ellen Hutson:  Feather Dies/texture and Background texture folder

Scrapbook.com: feather dies/texture

Simon Says Stamp: feather dies/texture and background texture

Tim Holtz 2015 Halloween products Scrapbook Layout (and new online class!)

DSC_5813

Today my newest online class begins – Tried & True Scrapbook Layouts! This layout design isn’t quite the same as ours from class – but you may notice similarities. Not in class yet? Why not?! It’s going to be SO much fun – and seriously packed with content. Get info + register here at my site. Note that the price will be going up in a few weeks (due to the content being added – currently 15hrs of video and it keeps growing!) so I’d recommend getting in soon. It’s self-paced and class will be “live” several months (yes, with access after it ends) so don’t worry if you’re going to be busy for part. Work at your own pace for sure.

Inspired by that – here’s a new layout from me!

DSC_5791

Question: Can you scrapbook 12×12 with 8×8 paper?

Answer: Heck yes!

Today I’ve got a layout to share – this one featuring none other than our tiniest member: Miss Scrappy!

DSC_5811

Notable things:

  • I used 8″ strips of the patterned paper and assembled them together to create the mat for my photo. I stitched a few pieces together as well.
  • All of the embellishments used are 2015 Tim Holtz Halloween line, with the exception of the buttons and beads
  • I stitched three times around the edge, then added stickles and gold paint droplets. One of my favorite tricks!
  • For my cluster of embellishments I first established my journaling area, then worked around that.

Once I was happy with my arrangement of the papers I started adding details. Oh, I do love my details!

DSC_5816

I was also delighted to discover that I had a bottle of orange stickles just perfect for accenting my wicked black plastic word and for dotting all around. Here’s my finished page:

DSC_5827

I love how it turned out – and if you’re hoping for a class coming soon where I dive into scrapbook layout design and putting all these kinds of things together you’re in luck! It began today as I mentioned before and info is up here.

These Tim Holtz Halloween products that I used are now in shops everywhere! I found some at my local shop, and I’ve seen them online at Blue Moon and Simon Says Stamp. Note those are affiliate links – if you happen to use them or any affiliate links here on my site it helps support what I do so thank you for that.