Emboss. stamp. cool.

I made a cool whoops that has become a cool discovery.

I used:

I have no affiliation with them – but just FYI www.simonsaysstamp.com has all Tim’s product – so it’s a great source if you don’t have a local store.

Oh, and the product that is SO relied upon these days is vital for this… I’ve taken to yelling out “heigh ho silver!” when I pull it out…

oh yeah baby. perfect pearls mist in perfect pearl is THE must have these days.

So what am I talking about? Here’s the video to show you:

[youtube=http://www.youtube.com/watch?v=lruTLE4Gqhc]

Happy National Scrapbook Day Eve

Art Part project #1

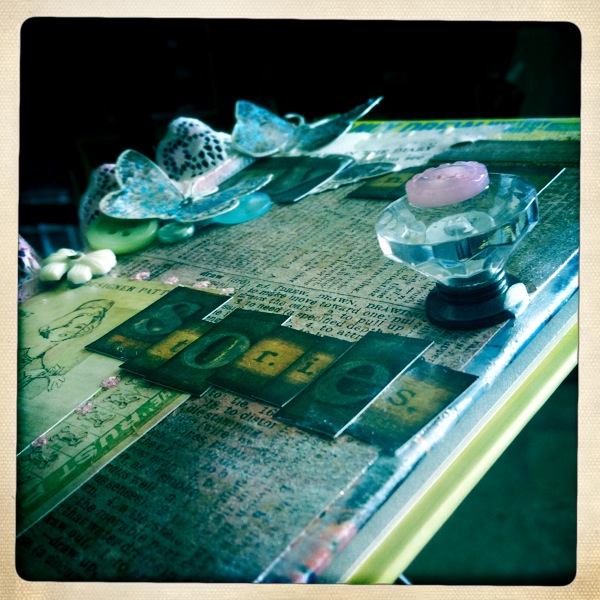
I’m teaching an altered book class later this month (details here) in Berkeley, and I’ve got Nancy Drew book pages strewn all over my studio! Such fun. So I’ve been feeling very “girl sleuth-y” in my crafting in general now too.

I just got my very first Art Parts (designed by fabulous Wendy Vecchi) today, and I’m excited to play! The material is hard (kind of wood-like vs chipboard-like) and I’m excited that I can abuse & mess with it to my hearts content without worrying about warping or bending.

SO! Since it’s May, I figured I’d tape my adventure & share with you. I hope you enjoy!!

[youtube=http://www.youtube.com/watch?v=WeOrRrnBZeo]

note: yes, I realize now that having iPhone lower/zoomed in would have = better video… but as this was a spur of the moment “peek” into my creative process + little project I am sharing, and will remember next time that small project = don’t need the high shelf to hold phone for taping!!

the kraft resist.

Oh I won’t pretend even for a second that I resist-ed purchasing the new Tim Holtz idea-ology kraft resist paper stash.

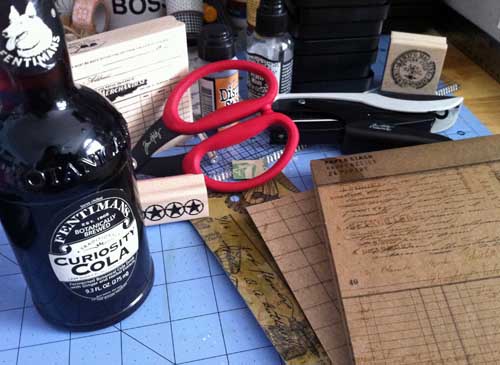
I’ve worked with them here before (you’ve seen my CHA projects), but now I have a WHOLE PAD… and it’s kraft (reverent whisper) and it’s every bit as fun as I thought it would be!!! So I pulled out a special drink (Curiosity cola, of course!) and got down to making both class projects + samples for my upcoming Kraft classes!

Not quite sure where I wanted to jump in, I started with the cover. Oh yes, the cover is even useful! Below you see me using my favorite stapler to attach trim that has been dyed with distress stain (my post about those can be found HERE)…

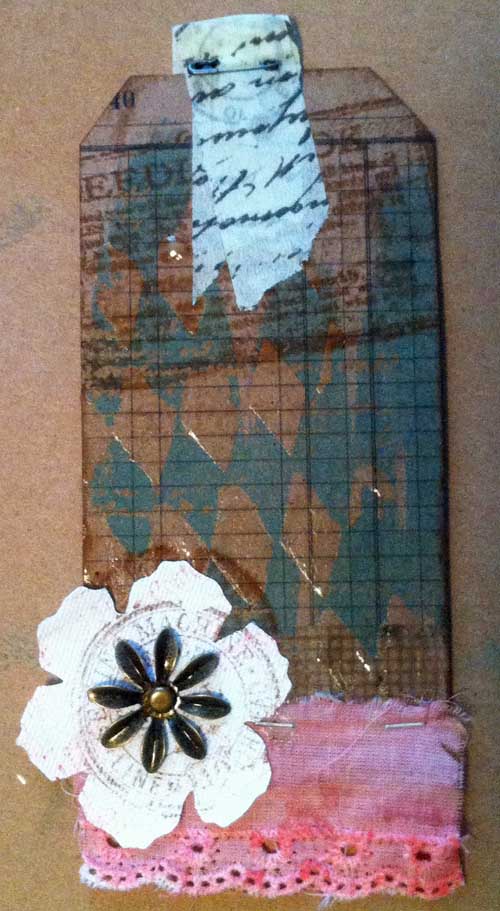
I’m still playing with this tag… but I’ve had some fun layering on stamping and canvas die cut flower and even some multi-medium to add a whole ‘nother level of resist!

Oh yes, my order from www.simonsaysstamp.com came in, and with it some shiny new (wood mounted, of course) Tim stamps…

I took out a library pocket (I can tuck a treat, a tag, or anything else I want in here now…) and played for a while with more stains and inks and…

Even used one of Tim’s seasonal stickers (LOVE THOSE!) and once again I’m stapling my lovely delicate trim. What’s up with that?! I am not quite sure, but I’m having a lot of fun.

Now I’m all warmed up and ready to actually open the package and play…

this is gonna be fun!

A stained spring…

I have a new obsession this spring – and that is Tim Holtz distress stains. If you’re taking a class from me at a local store you’ll be seeing them in action often. (Above: a spun sugar stained card + stained doily from my “tea party” class coming soon)

Distress stains are the SAME colors as their ink pad counterparts. So WHY did Ranger & Tim Holtz make them? What could possibly be so enticing about them? I think it’s great that they match the ink pads, but also that they can go places (and be applied so smoothly as they are liquid) that previously my distress ink could not go. JUST LIKE THE INK PADS – they can be mixed with paint, water, mist, or anything else you might like and they keep their color. So what am I loving about them?

1. Doilies. I have both been coloring my beloved little paper embellishments AND I have been using doilies as masks and coming up with cool backgrounds too. (you’ll see that in action SOON!)

2. Covering larger surfaces. An entire tag or paper or canvas (or whatever) without any streaks or lines from ink pad, and with a much more liquid/fluid coverage. LOVE!

3. Making dots. LOVE that it can be used as more of a ‘dabber’ and I can dot color wherever I feel the urge.

4. Dab onto slick surface (craft mat or plastic – something that it won’t absorb into) and then mix with water, mist (I LOVE perfect pearls mists for this), or other medium and use paintbrush to apply as shown above.

5. Here I mixed with liquitex iridescent medium (think sparkly thin white paint) and covered a canvas. Then I went back and accented the canvas along the edges with the brown distress stain a bit more.

Stay tuned… I will be sharing installments of this particular project as I work on it…

So that’s 5 reasons I’m obsessing over distress stains. If anything they’re replacing some paint and mist use for me – and they’re quite convenient. I hope Ranger releases ALL the distress colors in time. Right now I have (and LOVE): Spun Sugar, Wild Honey, Vintage Photo, and Antique Linen.

I’m going to be adding to my collection VERY soon. *LOVE* them!!

PS – I’d recommend www.simonsaysstamp.com for on-line shopping for these.

Tim Holtz: D&B layout

Today I’m sharing a layout I made for Tim Holtz (CHA) – it’s a fairly straightforward one too.

First off – I don’t know what I ever did without Tim’s design ruler. It’s great for tearing (seen on this layout) and also has holes so you can punch measured holes for stitching like I did on this layout.

I really wanted to play more with the kraft glassine, so I used these photos of Rebecca meeting ‘Wilderness Donald’ at Disney World. I *love* that kraft glassine so much! I crumpled it, then flattened and taped to paper and printed my journaling onto it. I also accented with stickles, a paper bow, and a few other fun details.

The edges of my paper bow are distressed with Tim’s distress tool.

Another great addition to my Disney World album! Glad to see that book starting to fill up!