Filming at Scrapbook.com

IMG_4654

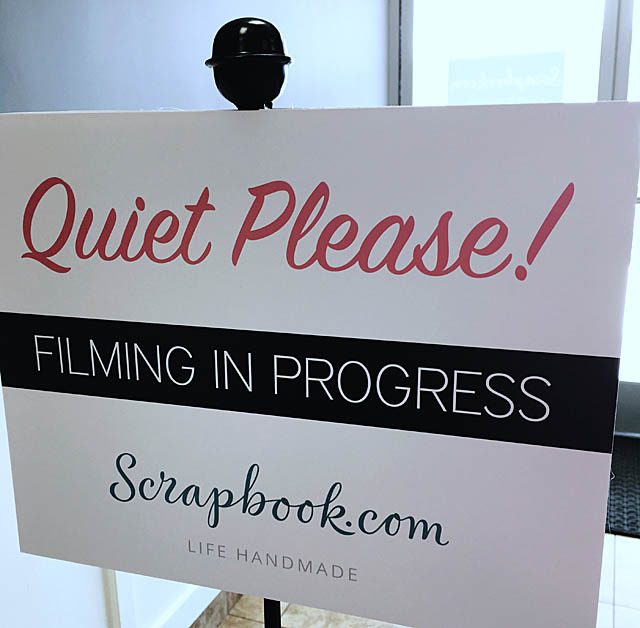
I’m so excited to share some great news with you – I have two FREE classes filmed and coming to you from Scrapbook.com!

IMG_4667

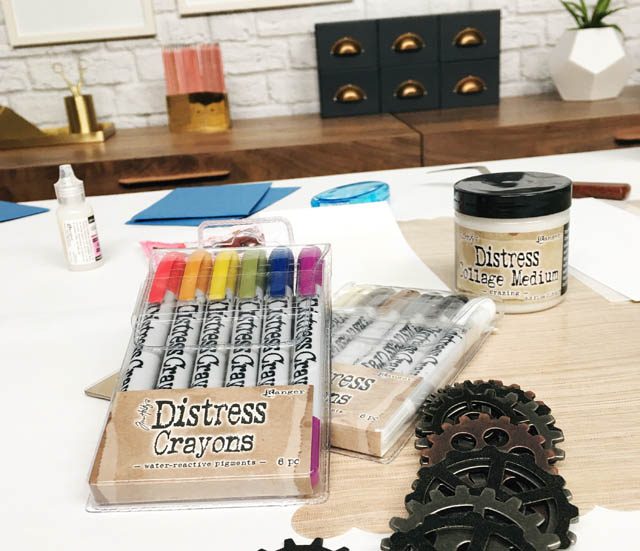
You see a few months ago they flew me down to Arizona to film… and what a great experience! Prior to going down I prepped two classes (1o lessons each!) and we went filming crazy…

IMG_4665

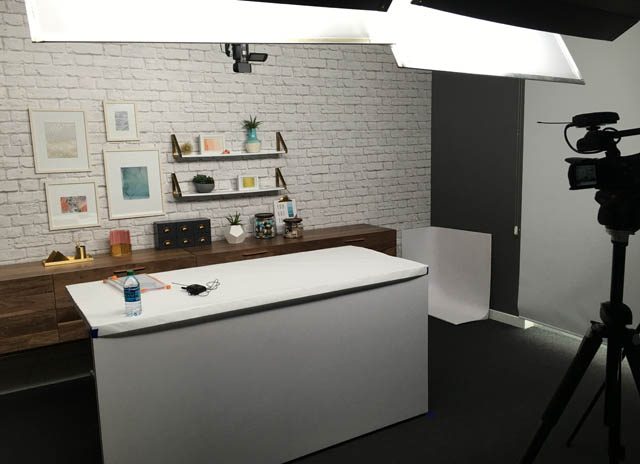
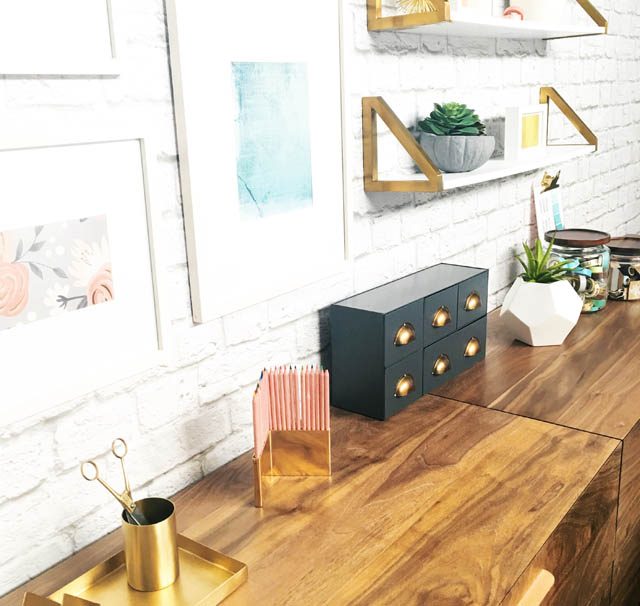
The Scrapbook.com staff were so fantastic to work with – and their studio is beautiful! So much work went into each and every lesson, and I’m so excited to begin sharing with you soon.

IMG_4673

The classes are card focused – but as always with my stuff the techniques and ideas can apply. The first class will be open SOON – so stay tuned!!  Class will be free as I mentioned before, and also I will be doing spin-offs from all 10 lessons here on my blog to add even more ideas.

IMG_4691

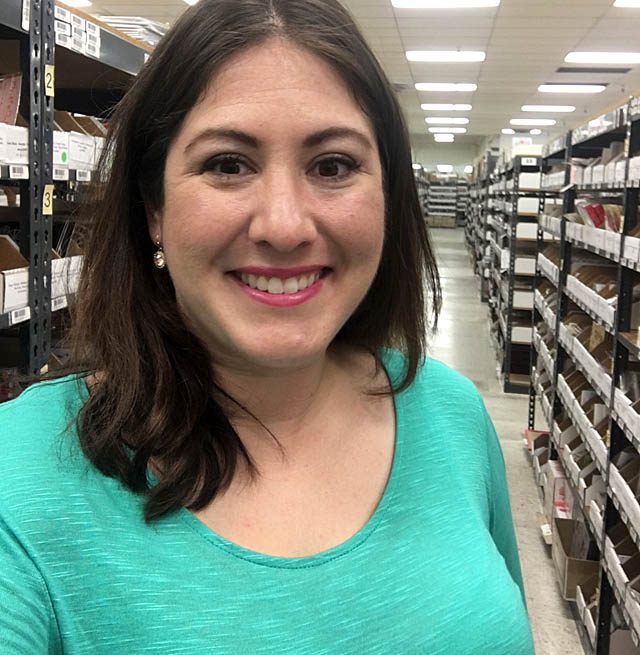
From setting up lessons to going over supply lists and touring the warehouse – it was such an excellent experience and I’m excited to share the lessons with you starting soon!

IMG_4706

What will the classes be about? More to be revealed very, very soon! Have a great week.

Is the ScanNCut for me?

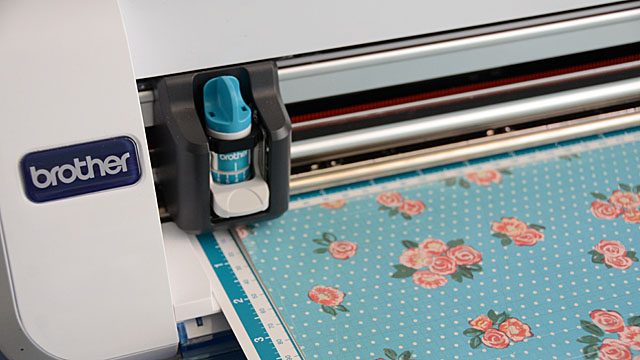
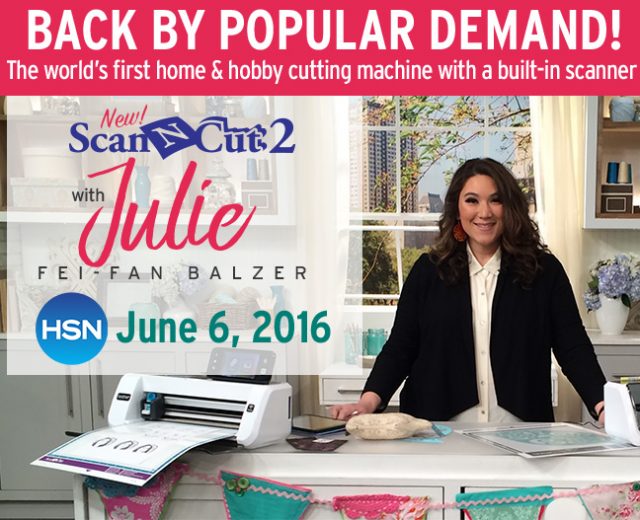
June 6th Julie Fei-Fan Balzer will be demonstrating the ScanNCut2 on HSN. Want to know what time and check her out live? Visit HSN.com and look at their schedule since things are subject to change I don’t want to post wrong info! Now as you know, I’m a paid consultant for Brother, specifically for the ScanNCut. From helping test ideas to creating projects (the banner you see at bottom of picture below? That’s one of mine!) – I love working with Brother and with the ScanNCut.
snc1

Normally I share my projects, today in this post I thought it’d be a fun idea to share WHY I recommend the ScanNCut, and what model. All ideas & opinions are my own of course – and it’s not for everyone. Let me explain.
DSC_2839 copy

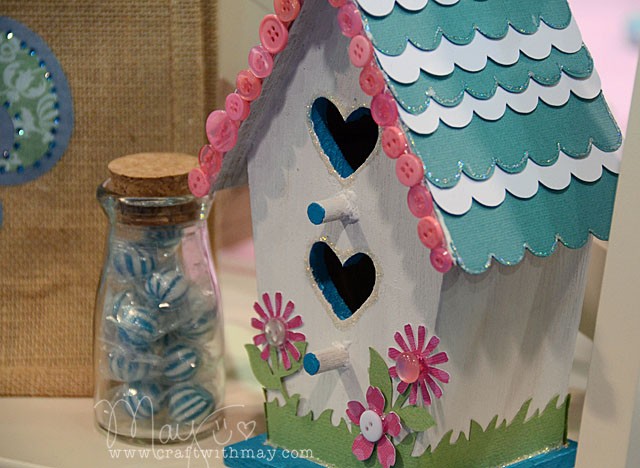
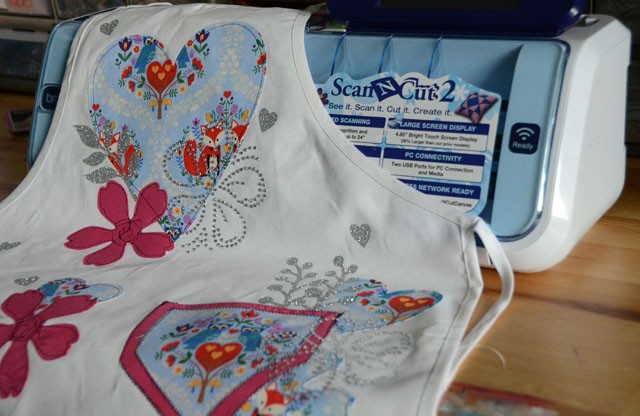
The ScanNCut is the only machine that will let you scan a file in, turn it into a cut file, and cut it out of just about anything paper to fabric. There is so much creative freedom, which makes it the perfect choice for someone like me.

Who is the ScanNCut good for? Some one who wants…

  • to cut out stamps with clear outline, without any need for dies and being able to control how wide of an outline
  • to be able to scan in anything from clipart to hand drawn designs to create cut files
  • a simple to use machine that requires no computer
  • a machine that can cut anything from fabric to cork to specialty papers
  • machine that is capable of working with stamping material, making rhinestones designs, drawing with many pens, and more

There are hundreds if not thousands of ways to use this machine, so the first step is to determine if you’d like a machine that does what this one does!
mayf_apron (1)a

Each electronic cutting machine is different, but without a doubt this is the best one for me. Being so easy and simple to use, so straightforward, and never needing to use my computer are all key. Being able to visually draw out a design on paper then scanning it – avoiding technology for so much of the process? HUGE for me! So often I can’t visualize things well on a screen, and being able to work with paper first really is huge for me.

Thinking you’d like some tutorial examples? Here are links to Julie Fei-Fan Balzer’s YouTube as well as Erin Bassett’s YouTube. You can also find my full listing of videos and blog posts here.
DSC_3982

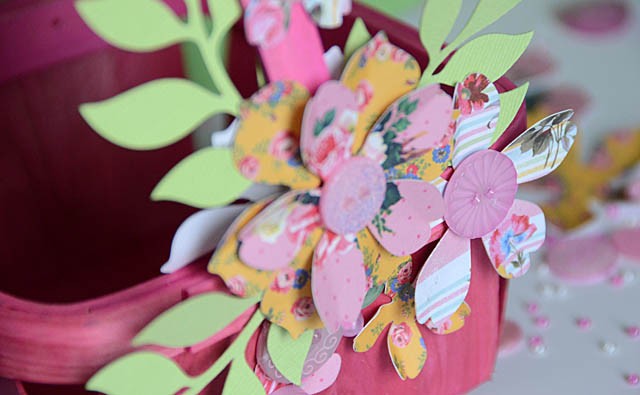
Once you’ve decided the machine is for you, which model to pick? ScanNCut has a full comparison chart here between the 350 and the 650W. So what one is right for you?

First understand that the 650W is only available through authorized Brother dealers. You’ll need to get it from an independent sewing shop, or other official Brother products dealer. The machine you more commonly see is the 350 – which is available from anyone from HSN to Amazon, a scrapbook or stamping shop to online stores.
DSC_5229

So what are the key differences? As I said before the full chart is viewable here. The 650W has more extras. Things like nearly double the built-in designs, it comes with the wireless activation included, and can scan up to 24″ (vs 12″). Most of the things (pens, mats, wireless activation card) CAN be added on for the 350 at an extra charge/separate purchase though it adds up. So which is better?

They’re both the same machine as far as being able to scan, cut, and play. Both same wonderful quality – it’s a matter of what YOU will do with it.

You can’t upgrade or change the 350 to include the extra built-on designs or make it capable of scanning 24″. So those two key features are going to be what you really want to focus on.

This is GREAT news if you already have a lot of .svg or other cut files you want to use, or if you don’t anticipate wanting to use those designs (or the larger format scanning). It means the much less expensive 350 will be perfect! Otherwise, you’ll need to weigh pros/cons/cost and decide.
DSC_3948

If you determine the 350 will be a good fit, watch for a good deal or special bonus. I’ve seen a number of offerings come around – including bundles like the one being offered on 6/6 on HSN.

If, however you want the extras that come with the 650W I recommend checking for a local dealer or dealer with an on-line shop to order from. Personally I have the 650W (provided by brother) and I use the built-in designs only available on that machine a ton! So for me, it’s a perfect fit.
DSC_3528

If you have any questions, or if I can assist in any way please do let me know! Always happy to help people determine if the ScanNCut is a good match. I’ve long used a Brother sewing machine, and I’ve been really impressed with the product quality as well as how well it works for my own style.

Card with 28 Lilac Lane and Lawn Fawn

Hey everyone, and happy June!

DSC_5315

note: affiliate links  to Simon Says Stamp used in this post

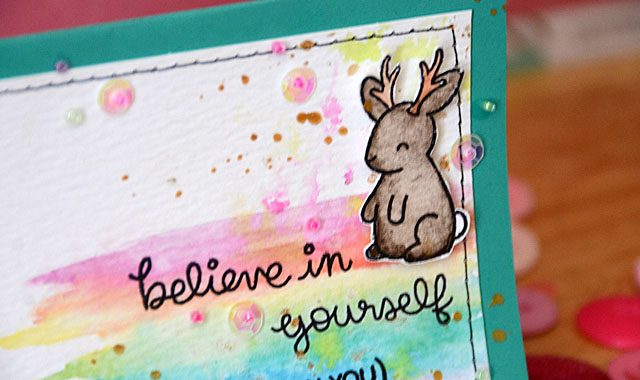
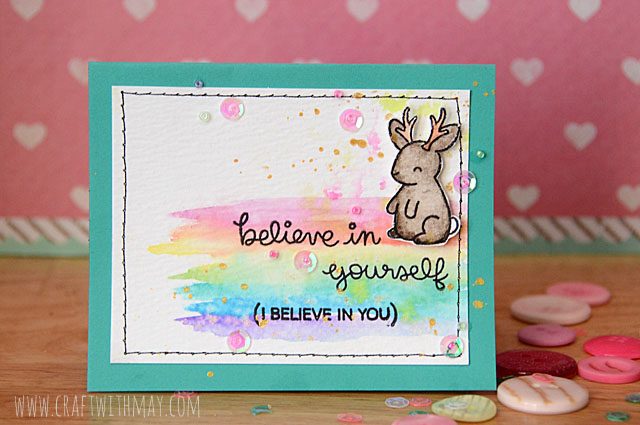
I’ve been playing with new Lawn Fawn stamps (even if just for a few minutes, I’ll always take a bit of coloring!) + my 28 Lilac Lane line. I think they’re a match made in heaven! I’m using pretty princess bottle from my line with the Lawn Fawn Believe in You stamp set. The background is just some swipes of watercolor on watercolor paper. Easy & quick!

For some accents I splattered some pink watercolor and gold mist. Once this was done I decided where to add seed beads and sequins (from princess bottle). Stitched & mounted – this card is ready to rock!

DSC_5324 copy

I really love how it turned out. My special bunny (jackalope?!) friend was colored in a similar way- just dropping watercolor and blotting it off! This is definitely a stamp set that I want to use a lot – such a great sentiment!!

heads up! I spotted my 28 Lilac Lane line at Simon Says Stamp! You can check it out here.

countdown to summer: paper banner

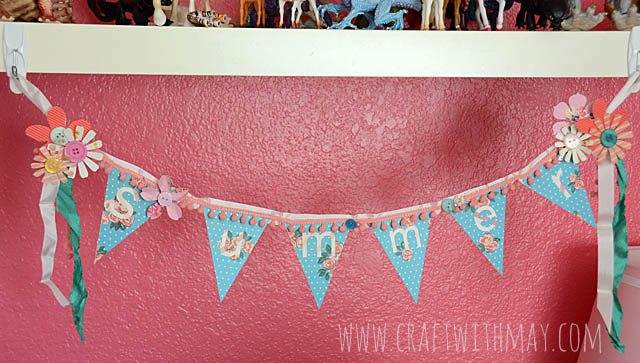
I’m back with a project that before I’d even finished my eldest daughter claimed for herself. This is a popular one – and a great way to dress up seasonally, for a party, or just because!

DSC_5254

note: I am a paid consultant for Brother, however all ideas and opinions are my own.

DSC_5264

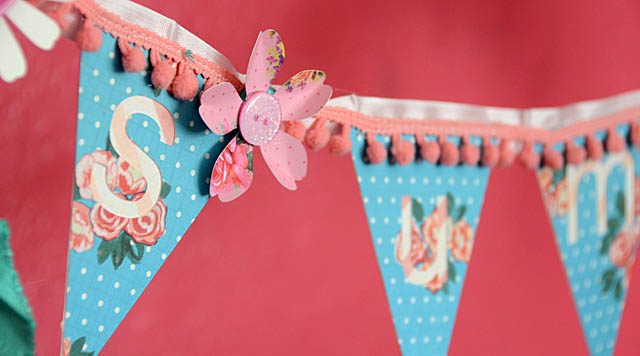
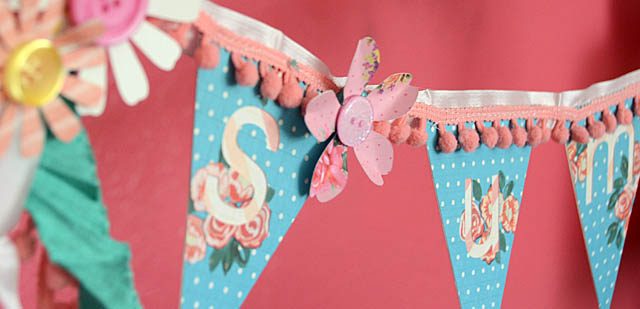
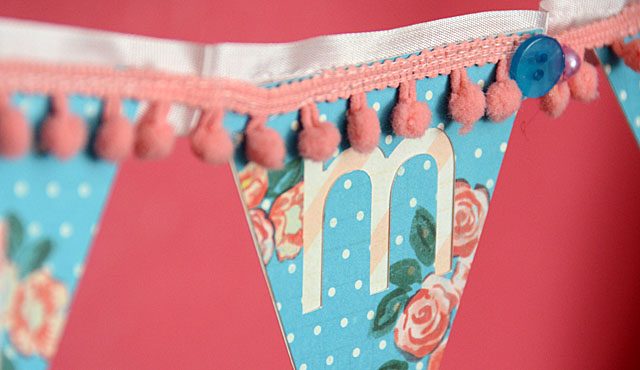
The project is a summer banner! I stitched trims onto mine, however stapling, hand stitching, or even gluing it together could work! I always think big for banners so creating a little 4 1/2″ high one was delightful!

DSC_5273

For my full video tutorial, check it out here!

Before I even finished Miss Elizabeth asked that I put it up on her shelf! I used those removable hook “no damage” stick to the wall things. LOVE these for displaying banners!

DSC_5276 copy

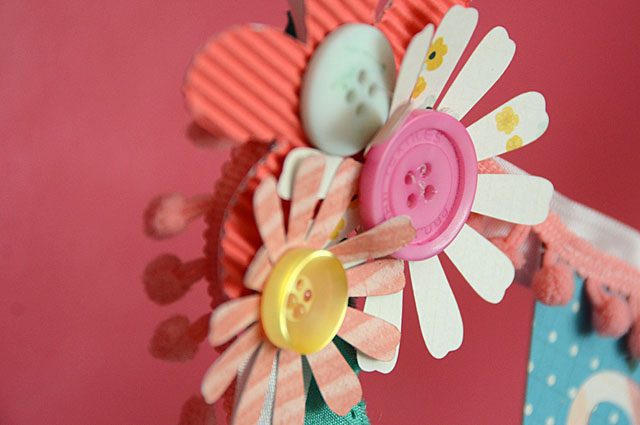
Even more than that, I love how some paper, buttons, and trims came together to make something so festive. With just 3 days of school left the girls are definitely ready…

DSC_5281

Here you can see some more details of the banner up close. Contrast between the layers is definitely key. If you really were feeling fancy you could raise it up and create shaker box style banners!

DSC_5285

So many little ways to add some crafting to summer, and loved creating a few with you this week. I hope you’ve enjoyed as well!

Countdown to summer: decorative picks

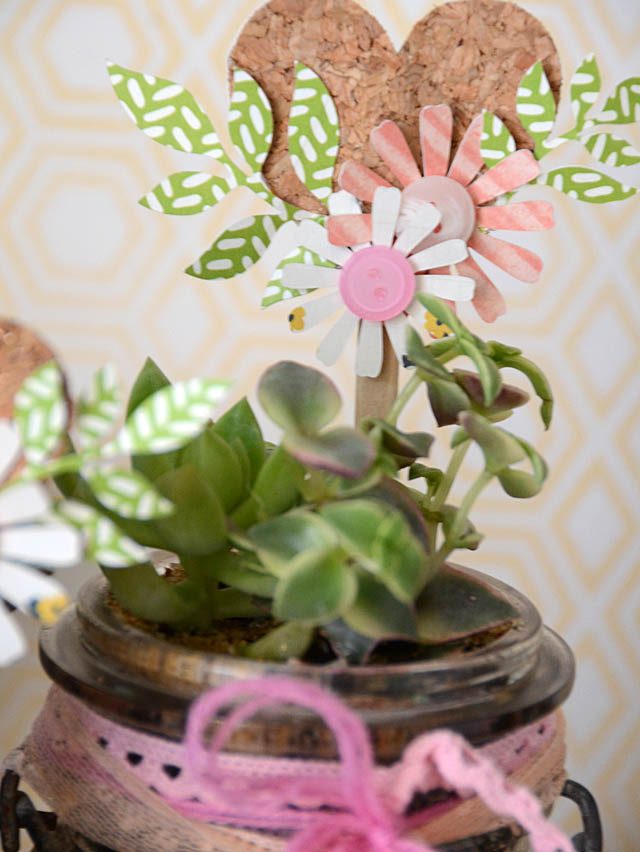
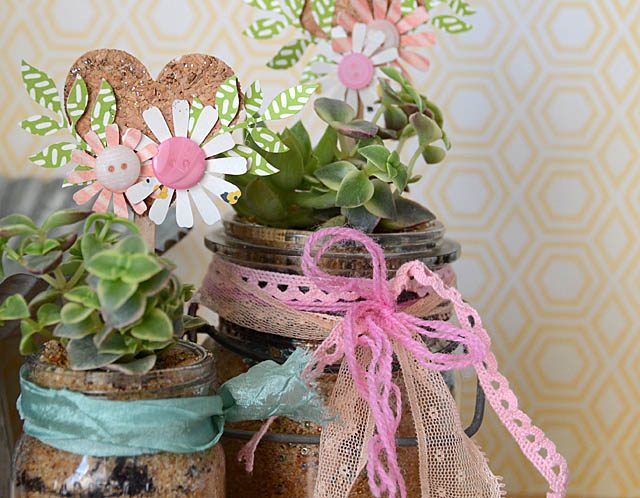
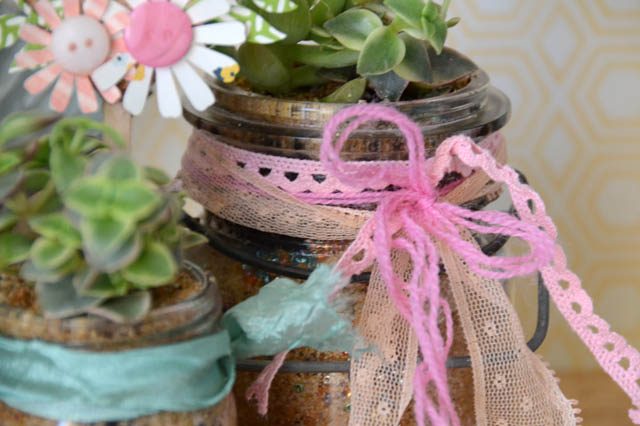
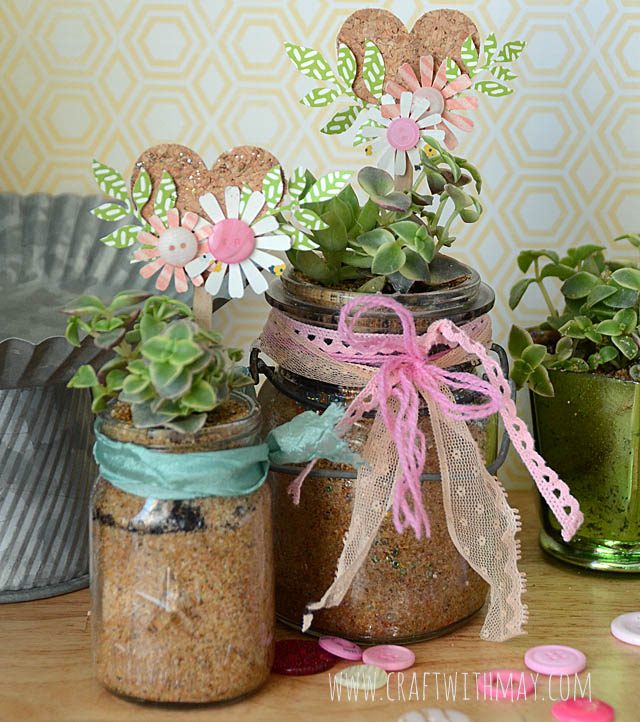
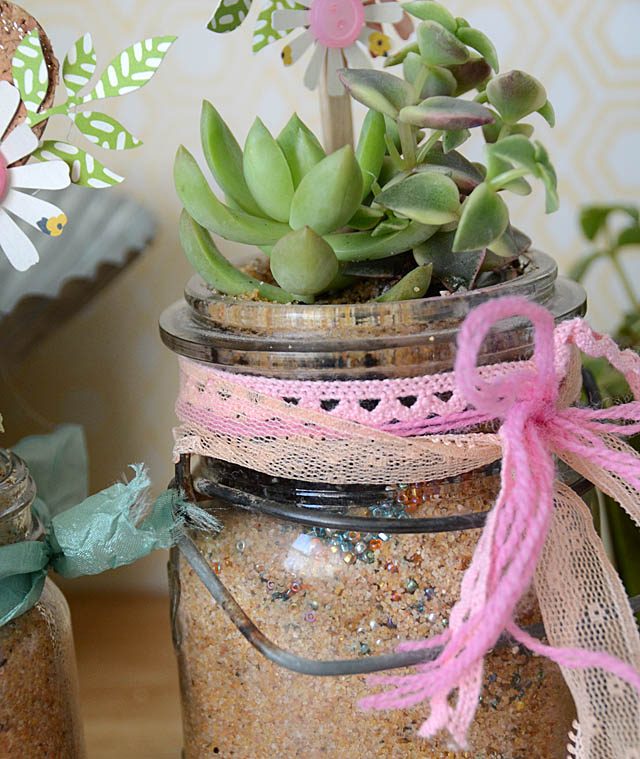
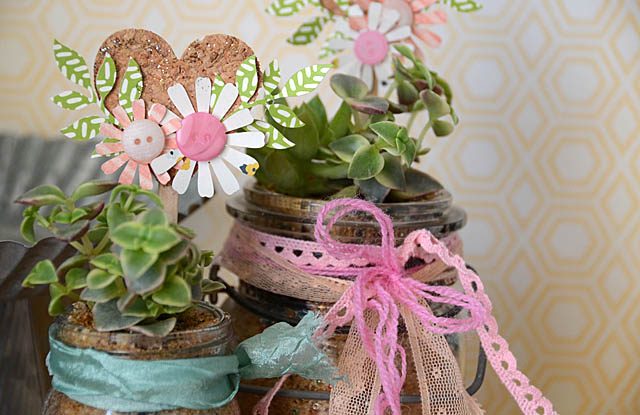
From plants to brighten my studio to hostess gifts I’m planting succulents this weekend and having a blast! There is a mix of sand and potting soil inside my mason jars (I will report back on how well this works!) and to make it extra fun I got out my ScanNCut to help make some decorative picks.

DSC_5229

There are so many ways you could create – I stuck with simple designs built into my machine, but you could get more intricate adding different materials as well.

DSC_5227

As always, I disclose that I am a paid consultant for Brother and my machine was provided to me, but all ideas and opinions are my own.

DSC_5233

Here is my video tutorial (YouTube) on creating these picks.

You could easily create them for use on cupcakes, flower arrangements, or anything else! You could add on a tag, and so much more. For me, I’m just excited to have these guys prettying up the studio. I will be replanting two of these outside (once I can get my husband to move some planters I can’t currently move on my own!) but in the meantime this is perfect.

DSC_5236

I’m looking forward to planting some ferns and other things for my studio in this same way- I’m simply loving how these turned out!! One last thing I did here: I added some seed beads into the sand. I’m hoping this works well and adds some crafty sparkle too – we shall see!

DSC_5245 copy

I hope you’ve enjoyed this little tutorial and one more way my ScanNCut is helping me to prepare for summer as well as craft some fun stuff! I think I could see myself making these as party favors, for gifts, and of course I now want to stick decorative picks in everything!

DSC_5248

I’ve got more ideas for kicking off summer – so stay tuned!