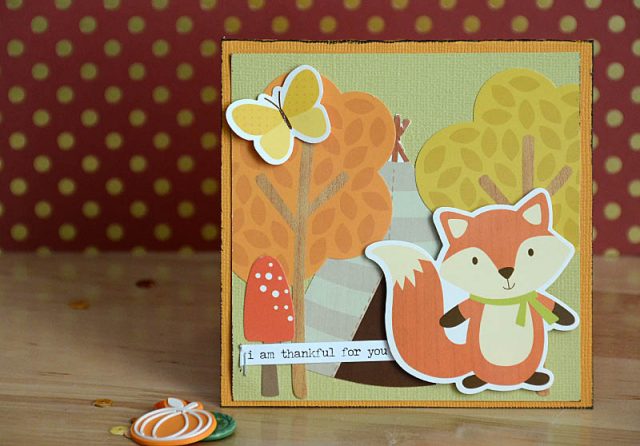
This sweet little card was made not because I was inspired, but because I wanted to finish out a sheet of stickers. I couldn’t see a use for the huge trees and teepee… so now what? Well I’ll tell you the answer:
make a card or tag
Color me crazy, but I’d always prefer to have finished giftables ready to go than a sticker sheet with 3-4 stickers left on it! For this, I created the background of trees and teepee, then layered on a sentiment and 3 additional stickers. Using my stash, making a card, and it was quick and easy! The fall kit I put together to make this project is from my Kittastic 2016 all new class. Want to learn more and join the fun? Click here! The pre-registration price ends this week!
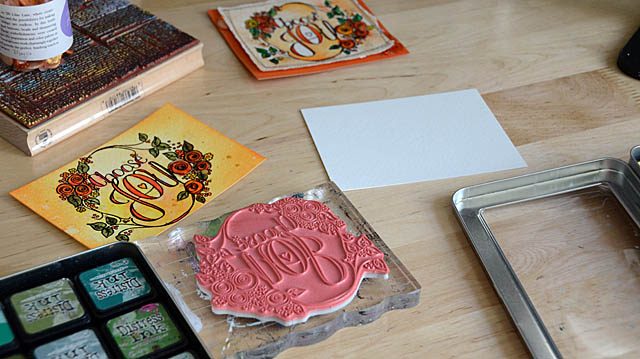
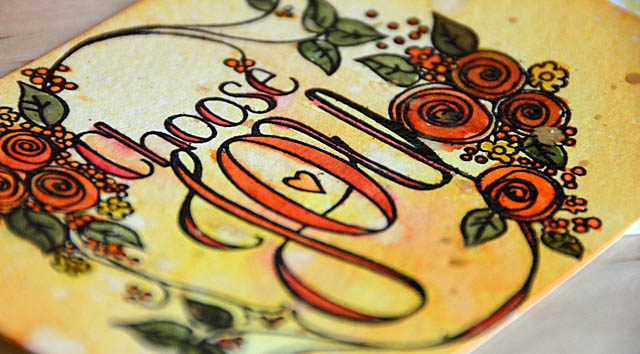
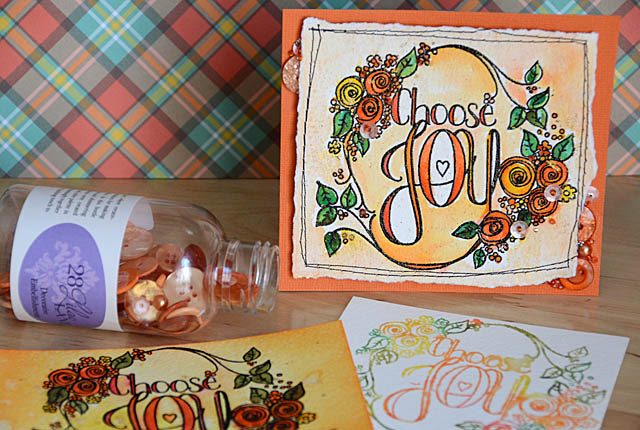
Hey guys! A quick video post here today showcasing a stamp from Tammy Tutterow + various ways of coloring it. I used fall colors and my Pumpkin Spice embellishment bottle as well (affiliate links below).
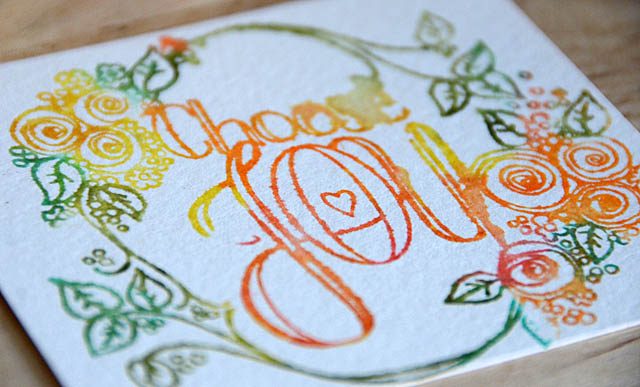
When I have a new stamp, I really like to test it out. What can it do? What do various color mediums do when used on it? What way do I like it best? No pressure, just coloring. Here is a link to my YouTube video.
Coloring multiple inks onto a background or coloring in once stamped, colored or white background… these are just a few options.
My Pumpkin spice embellishment jar and this Tammy Tutterow stamp are available in stores now including scrapbook.com.
Have you ever had one of those “aha” moments and you just can’t stop wondering why in the world you’d never tried something out before? Well I was playing with masking stamps with my ScanNCut (post on how-to here) and all of a sudden I thought… whoa. What if I got all the stamps to overlap (thanks to EASY masking) and then cut that whole image out using the ScanNCut. Would that work? Is it too crazy to dream?
Well friends, turns out the only crazy thing is that it took me this long to do it! I am intensely in love with this – and I have visions of Christmas scenes, spooky haunted houses, and sweet garden scenes like this one too! Oh how much fun this is.
Now before I share my video I remind you (as always) that I am a paid consultant for Brother, but that all ideas and opinions are my own. Just for your information – I disclose that in spirit of full honesty but if you know anything about me or how I roll you know it’s always HONEST here! I adore working with Brother, and oh man I love this machine. Ok, let’s get to the how-to. Here is a link to my YouTube video.
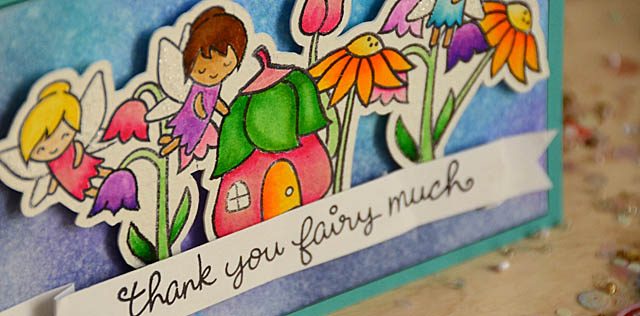
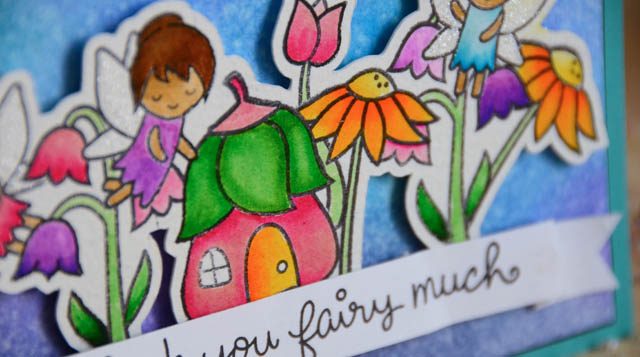
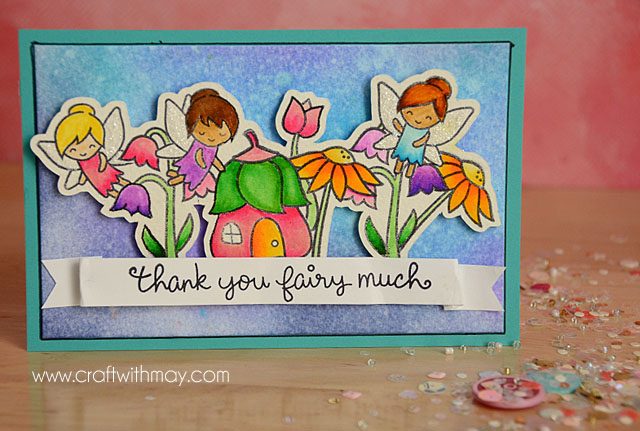
Here is my finished card – it’s so sweet! I love that this technique allowed me to color away, then mount the scene onto any background I might like. This is a bit wider of a margin (.08)- I really love that doing this is an option vs being stuck with one specific size, and I adore that I can make any scene I want and cut it out!
The only ‘rule’ you’ll want to follow is to ensure every single image is attached to another in some way so that in the eye of the machine scanner brain, it sees “one” outline and not many. Although I suppose you could layer multiple scenes to create even more depth? Oh the possibilities! I hope you’ve enjoyed this as much as I have sharing it. This sweet fairy card is on its way to a dear friend and I am off to dream up some Halloween inspired ways to put this technique to use…
Hey guys, so guess what? I’ve got a video tutorial for you (yay!) but also – Kittastic 2016 my all new class is here! Click here for more info/to register. The fun starts on the 19th (September), and it will be six weeks of fun!
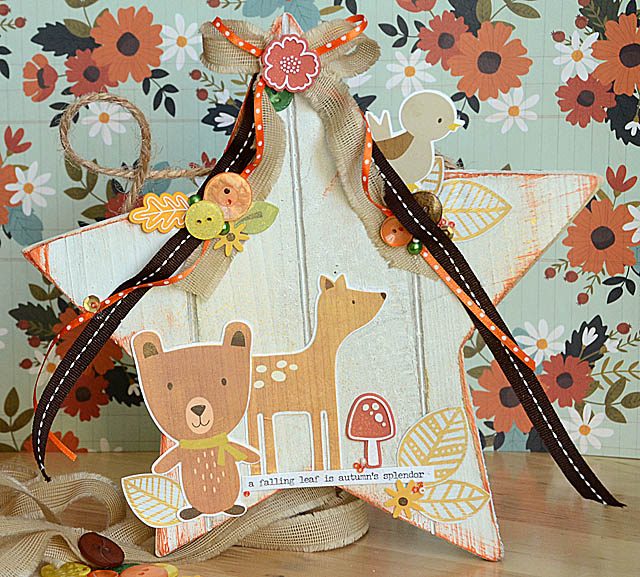
This project was made with my autumn kit. What do I mean by that? Well I *love* to create my own seasonal kits to use and enjoy throughout the season for everything from home décor to cards, gifting to scrapbooking! It helps me use up my stash, get new and old stuff mixed together, and it’s a lot of fun! This particular kit is featured in class, but today I’ve got a project to share on the blog with you!
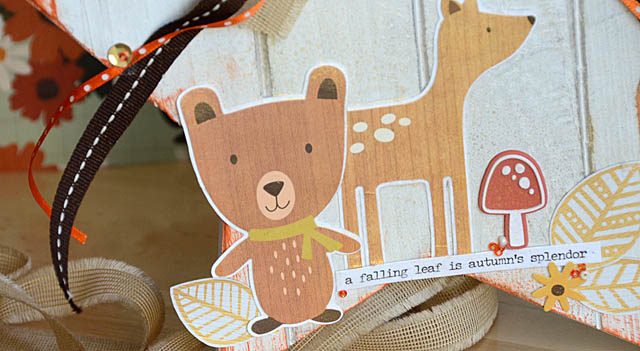
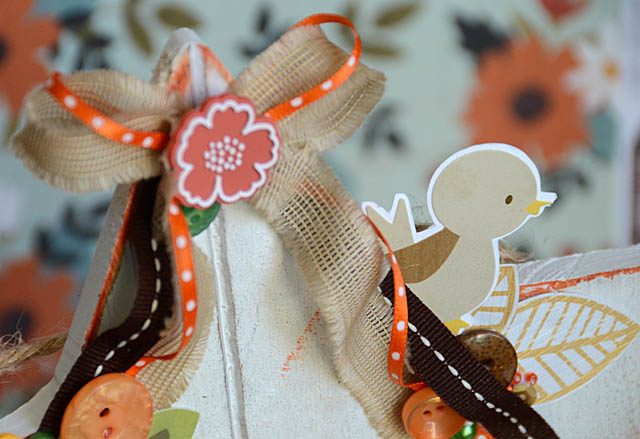
These little paper backed animal friends were created with my ScanNCut (that post will go up tomorrow!)
I absolutely LOVE how this came out, and I couldn’t be happier to hang it on my wall. I also hope you’ll join me in my new class where we play with the full range of paper crafting projects! (info/register here)
You know that the ScanNCut can cut stamps, but did you know it can also be used for creating stamp masks?
I so love the look of layered stamping, but man do I dislike having to use masking fluid, cut masks, or otherwise take a lot of time to achieve the effect! So guess what? I’ve come up with a far faster way to do it!
Step 1: Pick your stamps, and stamp them with permanent ink onto masking paper.
Step 2: Scan, and cut out the images.
Step 3: arrange/set up your scene, then stamp (starting with images you want at the “top”) and cover with masking paper images.
Step 4: color, stamp, and remove the masking paper as you please.
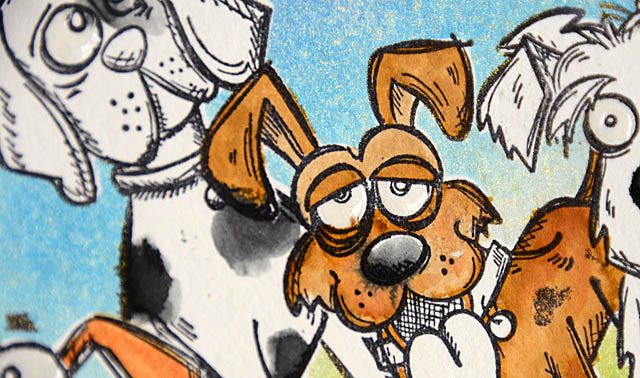
You can do this as simply or with as many layers as you like! I do have *one* cautionary tale: If working with watercolor or water reactive mediums, be sure to let the layers/colors dry fully or you’ll end up like my image below.
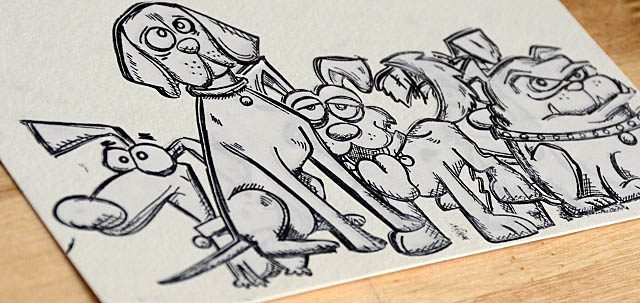
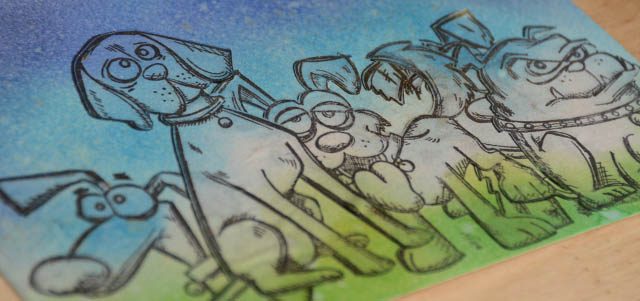
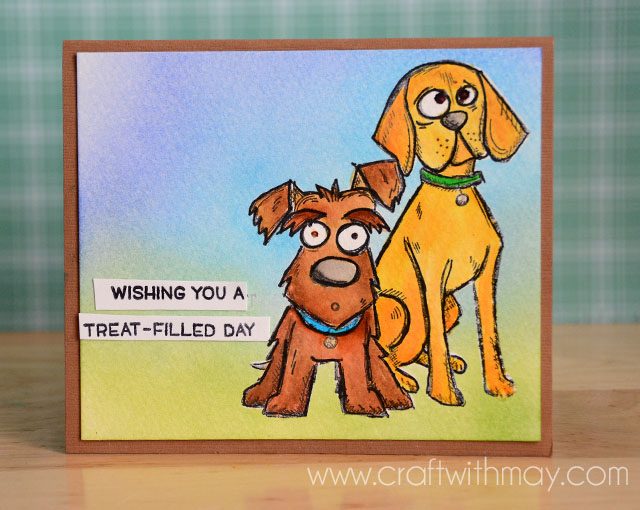
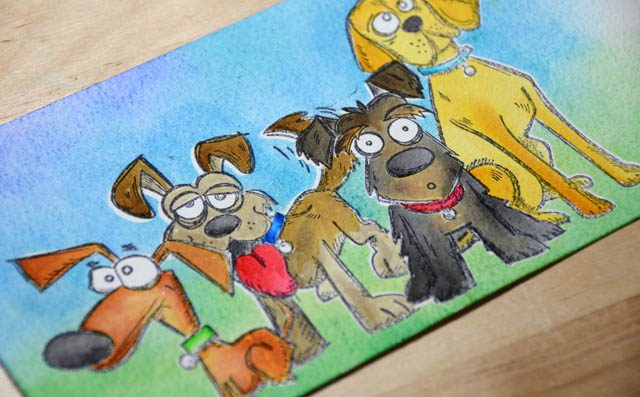
Here is my finished card (as seen in the video) – I just love how it turned out! Below you can see my progress on another version. I just love I can have this pack of goofy dogs – and spend very little time actually setting up the prep for the layers! This would work for any number of stamps, and in a few different ways that I’ll be sharing over the next few months.
Note that I am a paid consultant for Brother ScanNCut, a machine I use, love, and enjoy tremendously! All ideas & opinions expressed here as always are my own.