ScanNCut: custom vinyl fun

I’ve got a confession to make – I’ve become totally obsessed with all things vinyl.
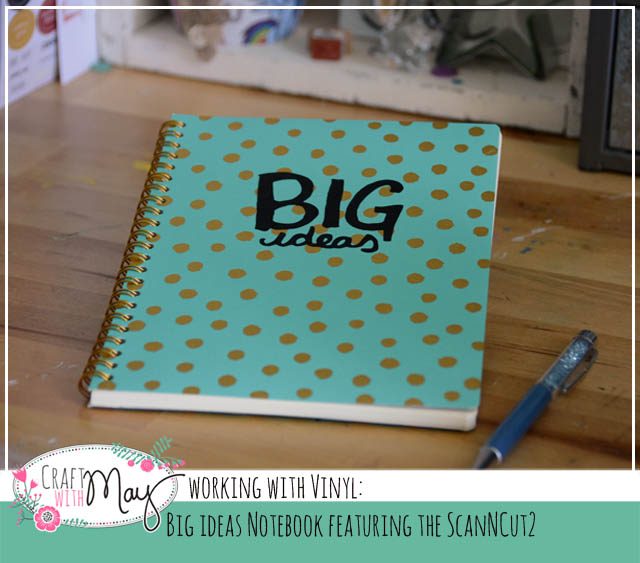
I was making some projects for Brother (usual disclaimer that I’m a paid consultant for Brother, but all ideas & opinions are my own – LOVE the ScanNCut! Note affiliate links are used in this post) and vinyl was a good choice of material. I checked out Julie Fei Fan Balzer’s videos on the topic – specifically an umbrella. Armed with great tips and an initial idea, I got to work!
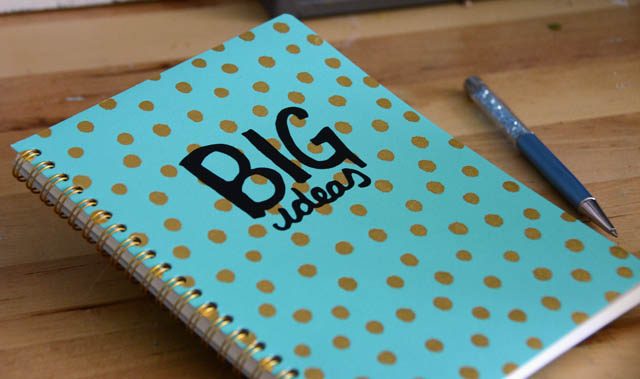
I’ve quickly become absolutely obsessed with making my own vinyl stickers. A few reasons I’m loving it?

  • Quick and easy – no adhesive needed
  • Adds new possibilities (onto glass, plastic, etc)
  • Expands what I can do with my ScanNCut

In short, now that I’ve begun I can’t stop! Today I’ve got a video to share showing how I took a doodle and turned it into a sticker perfect for my notebook!

I was able to adjust the size to be exactly what I wanted – and no pressure because I could doodle until I had it just right. Speaking of love – the ScanNCut has a great deal going right now! $50 off the CM350 (here’s a link to amazon) for a limited time.
I’m consistently amazed by how many things I come up with and continue to do with this machine – new ideas and materials to test all the time!
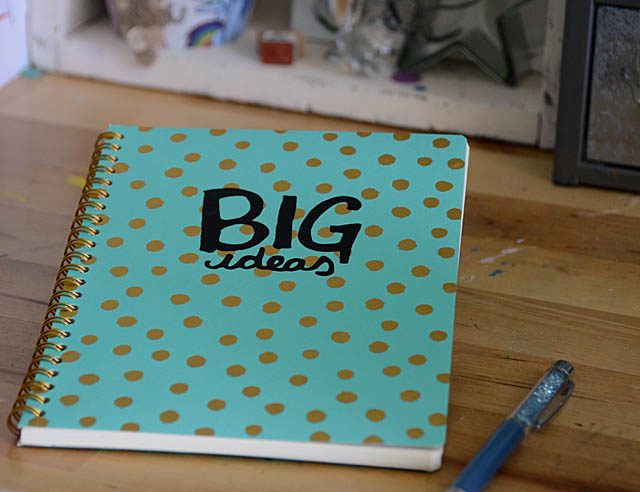
I have a lot of ideas for creating some custom projects – including new pencil cups for the kids, a makeover for a boring stapler, and I’m thinking about some laptop top decorations as well. So much fun! I used black vinyl and transfer sheet by Brother – though you do not need to use their brand of product any brand should work in the ScanNCut.
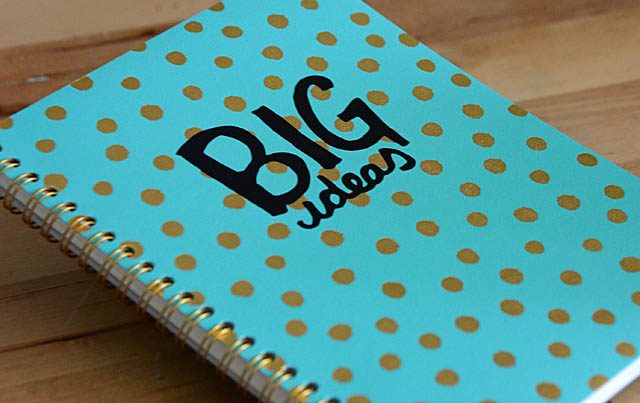
The vinyl used here is indoor/outdoor “regular” craft vinyl. One word of caution – I did buy some beautiful mint color vinyl at the craft store last week… and realized today that it’s “iron-on”. WHOOPS! That will work but not what I had in mind at all so it’s good to be sure you double check what type of vellum it is and know there are different styles as well as colors. Lesson learned – now I’m off to dream up some new concepts for vinyl!
Camp Scrap: some prize winners to announce!

I have two batches of winners to share – in a few more days I will post all of the happy mail/random prize draw winners as well as the Camp Scrap wrap up. Today I’m sharing the specific prize winners from Camp Scrap. HUGE thank you to the companies who supported this event! If your name is listed here, please email me (craftwithmay at gmail) with your mailing info and what prize you won.

Continue reading “Camp Scrap: some prize winners to announce!”

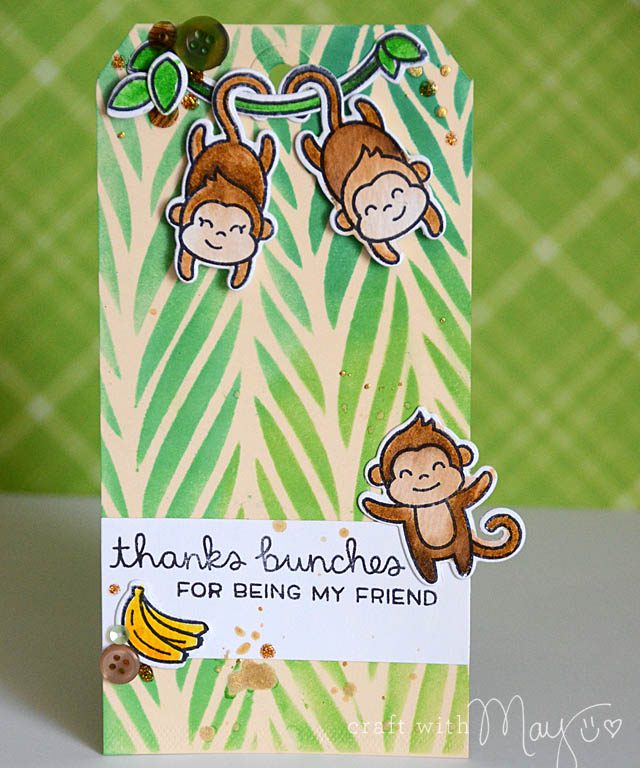
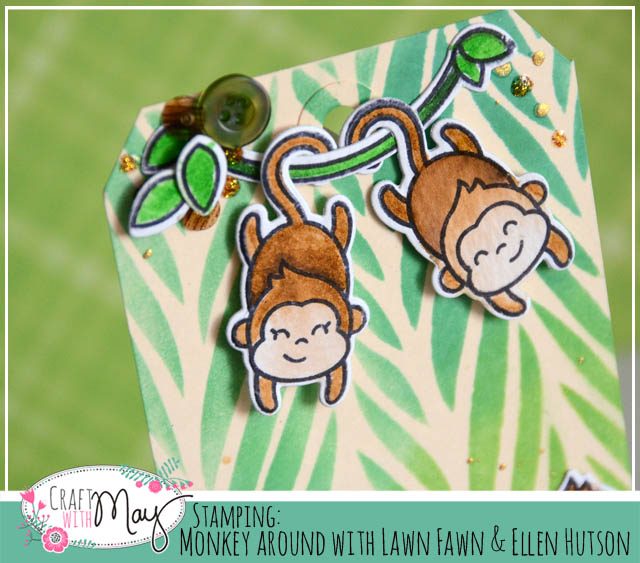
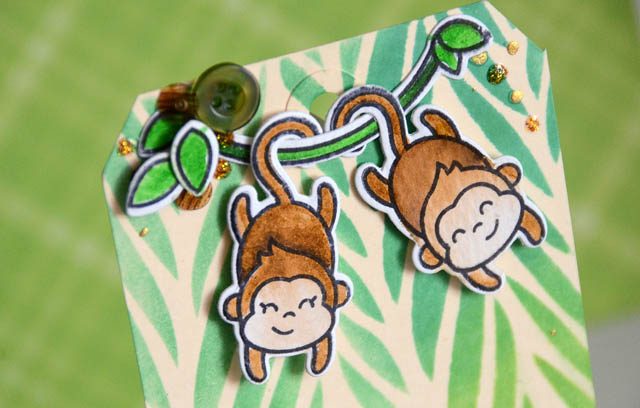
stamping: monkey around with Lawn Fawn

Today I’m just monkeying around with my stamping – won’t you join me?

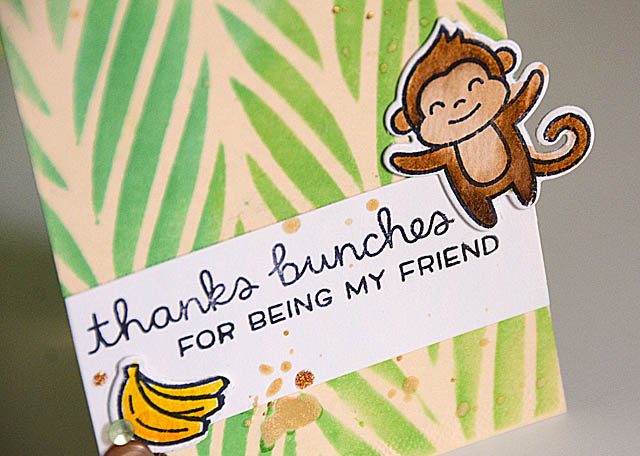
Sometimes it really is just fun to monkey around – and for this project I used a new Ellen Hutson exclusive set. I love the idea behind “united we flourish” and small businesses coming together- and Lawn Fawn and Ellen are two of the best I know (affiliate links used). You can find out more and check out this set on the website here.

I filmed a YouTube video to share the process of stamping + creating this fun gift tag.

My favorite is the background. The colors didn’t turn out as I expected – but I love them all the same.

Using stencils as I did here is always fun – I love ink blending! The aqua hues didn’t turn out as I expected – however in person as I look at this project I can see the subtle blue tones. That’s why I like to create without rules – you never know what you’ll come up with or like! This stencil I used (I believe) is an old Hero Arts one – but no worries if you want a similar one. There are sooo many stencil companies out there now you can easily find some!

Color medium wise I used clean color pens to work on my stamped images. So far none of mine have run out and I’m pleased overall with how they work for the coloring I do. That said – any color medium you like can work here!

Thanks bunches for tuning in – I’m going to gift my monkey stamp set + dies, as well as a few other surprises to one of you! Just leave a comment on this post and the winner will be announced in the final Camp Scrap 2017 roundup post next week. Good luck – and happy stamping!

Mixed Media: techniques to try

Camp Scrap is coming to an end soon – but don’t despair!! For a few reasons.

  1. This is my blog and lovely readers, I have HUGE plans for its future and the continued sharing of tutorials and inspiration!!
  2. You can always take a class from me for more – including the FREE ones at scrapbook.com (affiliate links used in this post) like my new mixed media class. 
  3. You can always access the archives! This blog has YEARS of projects, my YouTube has over 400 videos – I’ve got you covered!

All that said, I want to use today’s Mixed Media post to share some techniques you wanna use no matter what kind of paper crafting you’re into. So enjoy this round-up! Continue reading “Mixed Media: techniques to try”

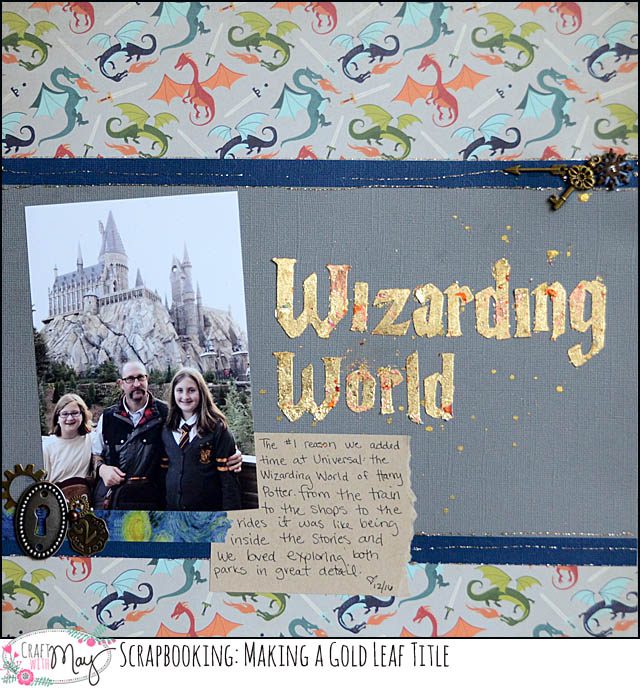
gold leaf scrapbook title featuring the ScanNCut

When I scrapbook, the process goes photo + story sorted out then I figure out what room is left for embellishing (paper layers, metal bits, buttons, title, etc). Today I am going to share a layout that is the total opposite! Using my ScanNCut (disclaimer, as always that I am a paid consultant for Brother, but all ideas and opinions are my own) I created custom letters which I cut out from paper covered with double sided adhesive… and wow.

I made a YouTube video to better explain how I made my title. This was a lot of fun to do. Note I used double sided adhesive sheets which had covering still on the side not adhered to cardstock so that I could cut them without any “sticky” situations. Continue reading “gold leaf scrapbook title featuring the ScanNCut”