ScanNCutDX: Customize planter

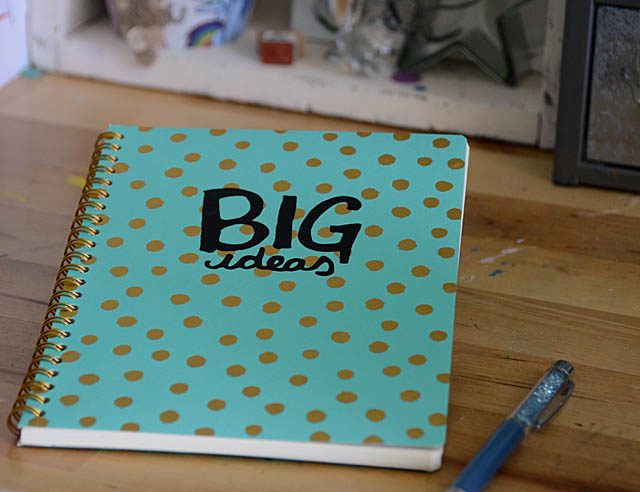
I really want more plants in my office, but I also want them to be fun container wise and don’t like most of what is available at the store. What’s a crafter to do? Just add vinyl! Usual disclaimer here that I am a paid consultant for Brother and work with them, however all ideas and opinions are always my own.

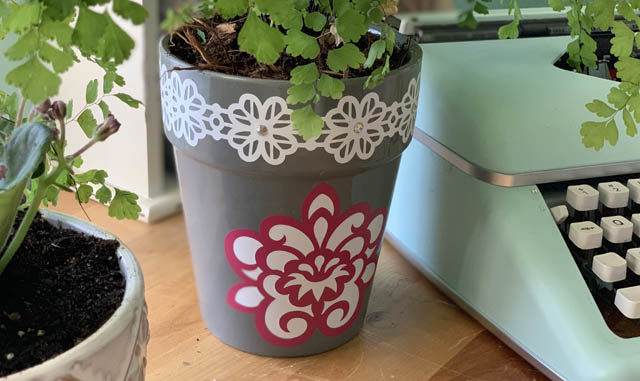
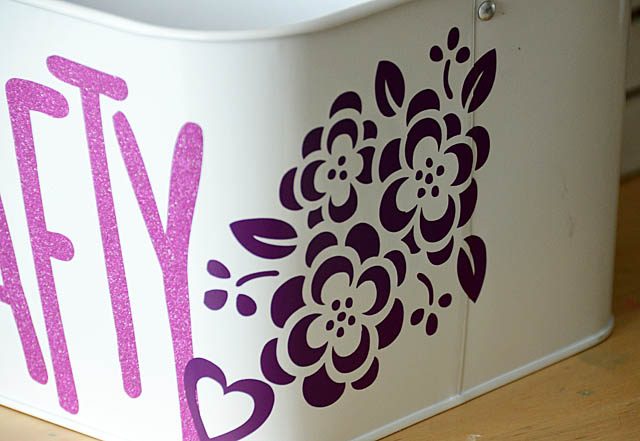
I started with a smooth grey pot that I felt sticker vinyl would stick well to. I picked a dark grey so white would pop, as well as other colors. I also I wanted intricate patterns, made note of height and widths, and otherwise just did a bit of planning before cutting and preparing my materials.

I decided to cut my main (pink) design, as well as a different design in white and apply them before I made any further choices. I like this tactic when building a project like this because it lets me see how my design is going, and choose when and where I should add more.

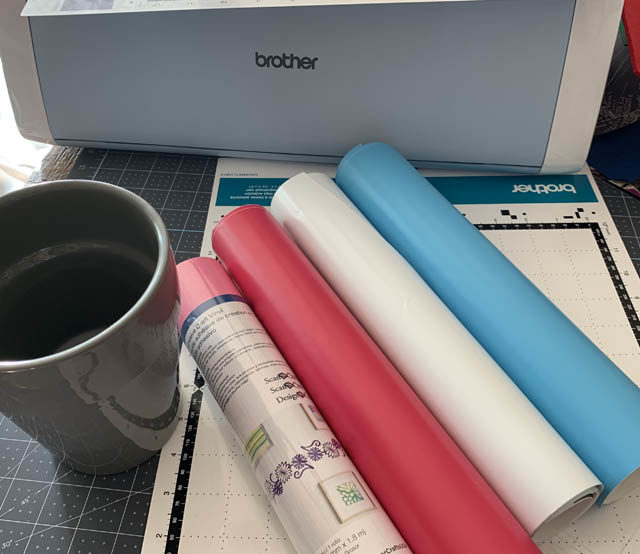
Here is a link to my YouTube video. That shows the full process of prepping vinyl and reminds of the basic process:

  1. Place vinyl on mat, load mat
  2. Select & size pattern. Select cut, change to 1/2 cut, and let auto blade on the SNCDX do the rest!
  3. Cut around vinyl closely, then weed out what you do not wish to transfer.
  4. Use transfer material to take vinyl design and place onto your surface
  5. Repeat and enjoy!

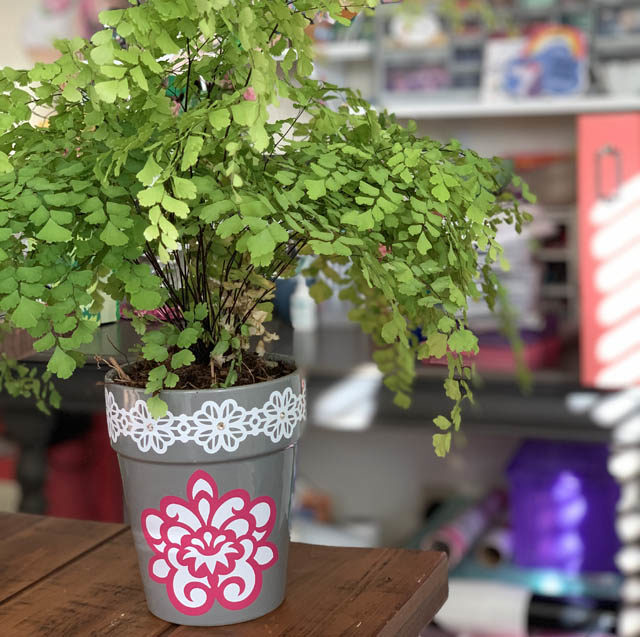
I ended up placing white cuts into the pink design for more contrast and pop – and I LOVE that!! How to achieve this? I cut a second pattern exactly the same as the first (same size), but this time in white. Then I removed the “pattern” vs weeding out the small bits. Once done, I used transfer material to transfer all those small white parts onto my grey pot – I love the results! I’ve always wanted to try that and I am really happy with how it turned out.

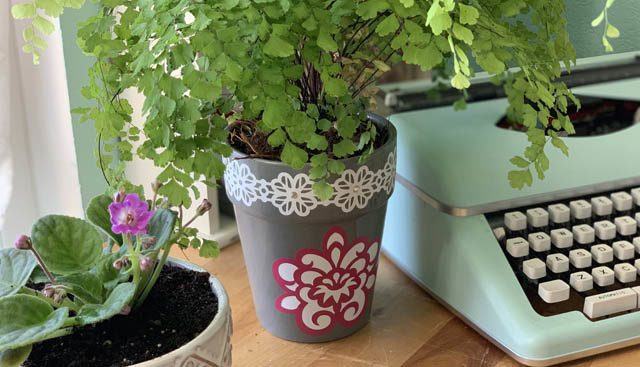
I’m tempted now to add some vinyl to that typewriter of mine – the possibilities are endless! I also want to play more with layering vinyl colors as I did here with the floral design – that was easier than I imagined and I think it really looks neat. With this corner of my office so nice and ready to work… I guess I better get back to paperwork!

ScanNCut Vinyl: Never have boring documents again!

A few months back I shared my “Taxes” artwork that I created and added vinyl to my tax document storage. Take something dull, make it fun! Well NOT wanting to lose any very important documents for our upcoming trip from airline confirmations to trip insurance information I decided to once again use my handwriting to create a fun project.

Continue reading “ScanNCut Vinyl: Never have boring documents again!”

ScanNCut: Crafty tote

I recently went from a bunch of smaller containers to one large crafty tote on my “messy desk” aka mixed media station. Inside I store everything from my heat tool to paper towels, water brushes to watercolor pens! It really has come in handy… but it is awfully boring!

Continue reading “ScanNCut: Crafty tote”

ScanNCut: custom vinyl fun

I’ve got a confession to make – I’ve become totally obsessed with all things vinyl.

I was making some projects for Brother (usual disclaimer that I’m a paid consultant for Brother, but all ideas & opinions are my own – LOVE the ScanNCut! Note affiliate links are used in this post) and vinyl was a good choice of material. I checked out Julie Fei Fan Balzer’s videos on the topic – specifically an umbrella. Armed with great tips and an initial idea, I got to work!

I’ve quickly become absolutely obsessed with making my own vinyl stickers. A few reasons I’m loving it?

  • Quick and easy – no adhesive needed
  • Adds new possibilities (onto glass, plastic, etc)
  • Expands what I can do with my ScanNCut

In short, now that I’ve begun I can’t stop! Today I’ve got a video to share showing how I took a doodle and turned it into a sticker perfect for my notebook!

I was able to adjust the size to be exactly what I wanted – and no pressure because I could doodle until I had it just right. Speaking of love – the ScanNCut has a great deal going right now! $50 off the CM350 (here’s a link to amazon) for a limited time.

I’m consistently amazed by how many things I come up with and continue to do with this machine – new ideas and materials to test all the time!

I have a lot of ideas for creating some custom projects – including new pencil cups for the kids, a makeover for a boring stapler, and I’m thinking about some laptop top decorations as well. So much fun! I used black vinyl and transfer sheet by Brother – though you do not need to use their brand of product any brand should work in the ScanNCut.

The vinyl used here is indoor/outdoor “regular” craft vinyl. One word of caution – I did buy some beautiful mint color vinyl at the craft store last week… and realized today that it’s “iron-on”. WHOOPS! That will work but not what I had in mind at all so it’s good to be sure you double check what type of vellum it is and know there are different styles as well as colors. Lesson learned – now I’m off to dream up some new concepts for vinyl!