Working on card formulas, and checking in!

I’m just back from New Jersey – a whirlwind trip that was so fast a hotel room wasn’t even involved! Now that I’ve caught up on sleep I have a few cool things to share with you. First up – as always – disclosure that I work with Brother, they provided me with a ScanNCut machine, but all words/opinions/ideas shared here are my own.

I’m currently building a new online class all about card designs that are Tried & True. Find the info and register at www.craftwithmay.com – note the pre-registration will increase on 10/3 so you wanna get signed up quick! Anyhow, this class is prompting me to put my card making skills to the test and try out different ideas as well as tinker with ideas I know to work.

DSC_6910

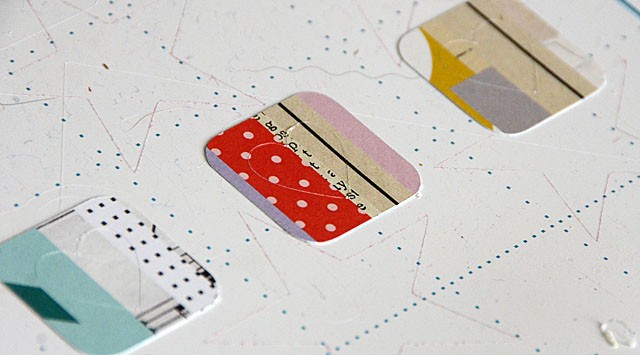
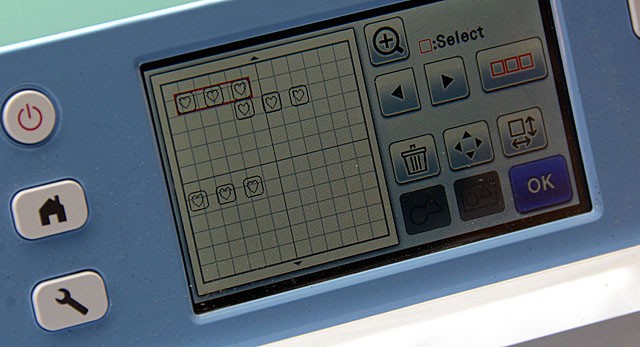
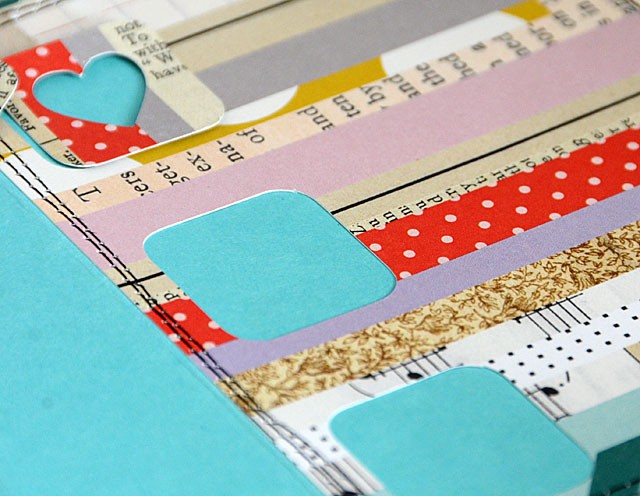
Just hours before I boarded the plane to New Jersey (because that’s when all the great ideas hit) I hopped on my ScanNCut and was playing with putting shapes inside shapes, unifying, then adding more shapes and repeating this to get lots of little cut shapes all set. Above you can see how I did this with a heart inside a rounded corner square.

DSC_6914

Then I got to playing with materials. Colors. Sizes. Placement. I do so love the “hmmm, let’s see how this will work” stage of ideas!

DSC_6916

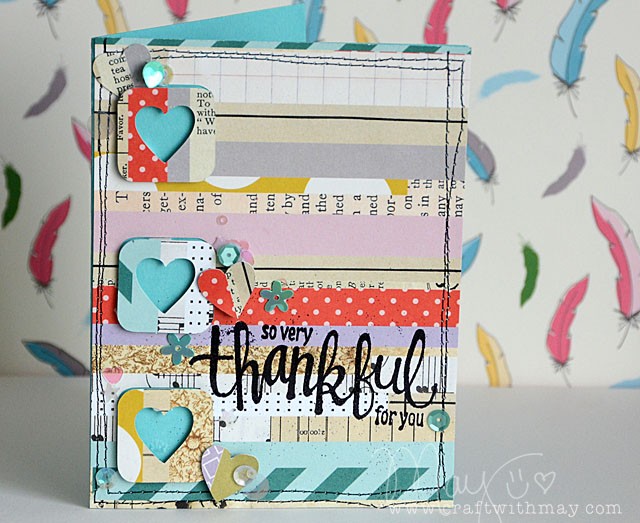
Ultimately I ended up adding a stamp, some sequins, and stitching and I really do like how the card turned out! The stamped sentiment is also embossed with black powder to add a bit of dimension and shine.

DSC_6924 copy

So simple and every piece could get used thanks to how I did this design. I am constantly pushing my ScaNNCut machine and trying to come up with ways it can help me and my creative wackiness – and it continues to wow me. For those wondering about the new machine, in a few weeks I will be doing a whole series with mine covering ideas, features, and favorites.

Custom Gift Card with my ScanNCut

This time of year I start thinking about gifts. Budgeting for the holidays, people I’m thankful for, ideas I want to make happen craft wise… I just get all full of creative inspiration! Today I’ve created a video tutorial for how I’m doodling my own word art to create custom gift card holders and cards.

Disclosure: I am a paid consultant for Brother International Corporation and have received a ScanNCut from Brother to evaluate. However, the opinions expressed are entirely my own and based on my use of the product.

Link to YouTube

DSC_6290

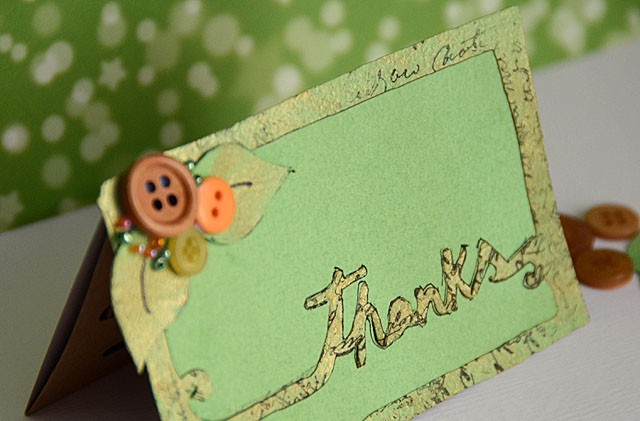
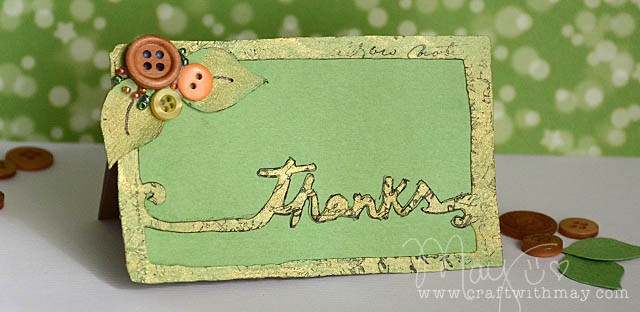
Here is the card I created in the video – including my new homemade leaves. I love how simple this is but I also just adore that I can use the whole paper – no waste!

DSC_6286 copy

There is so much potential here – I also want to create with a pocket inside that word – I will keep doodling, scanning, cutting, and creating and be sure to share with you here!

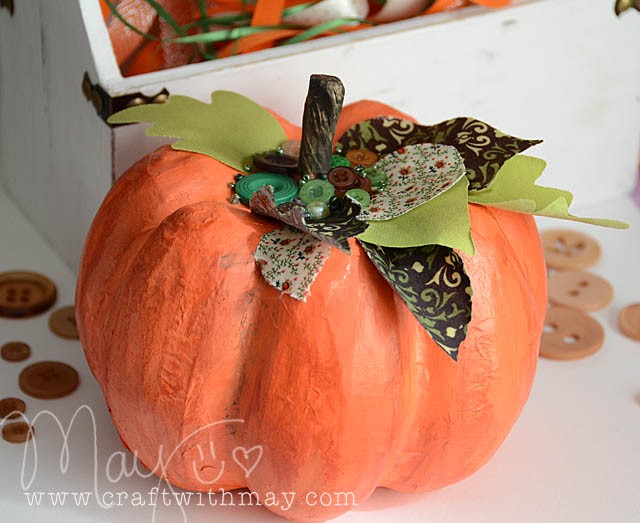
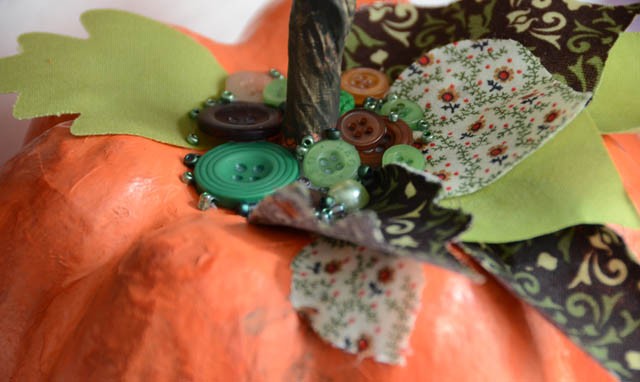
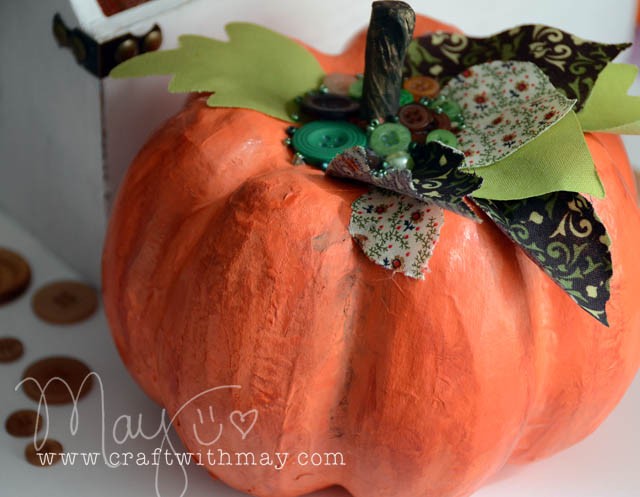
Painted pumpkin with fabric leaves featuring ScanNCut

DSC_5998 copy

They’ve exploded all over my local craft store. Pumpkins. From craft foam to paper mache- they’re around but you know? Not usually the prettiest. I picked up a few and this fall I’ll be sharing my how-to’s and tips for redecorating. First up? This painted pumpkin with a bounty of fabulous fabric leaves!

DSC_6003

Disclosure: I am a paid consultant for Brother International Corporation and have received a ScanNCut from Brother to evaluate. However, the opinions expressed are entirely my own and based on my use of the product.

Here’s my video tutorial:

link to YouTube

DSC_6011 copy

You guys – I just LOVE how this turned out! It’s totally me, and the fabric leaves are fabulous!

ScanNCut Rhinestones: Dia de los Muertos inspired skull bag

Disclosure: I am a paid consultant for Brother International Corporation and have received a ScanNCut from Brother to evaluate. However, the opinions expressed are entirely my own and based on my use of the product.

I’ve been apprehensive about diving into the ScanNCut Rhinestone kit that I was sent. Would it be hard? What would I use it on? Did I really need this in my life?

Now that I’ve begun? I can’t get enough!

First of all, I cant recommend enough that you watch this video for a full and detailed how-to. Julie Fei-Fan Balzer walks you through the EXACT process. She does a fantastic job as always – and that really did answer all my start-up questions. Now you want to listen to her every word because what I learned with this first trial is:

  • Do NOT cut through the backing paper! This is vital as if you do, you’ll really truly never get those little circles out without hand doing each one.
  • Don’t be afraid to give your gems a bit more space! This is an option in the Canvas/online portion.
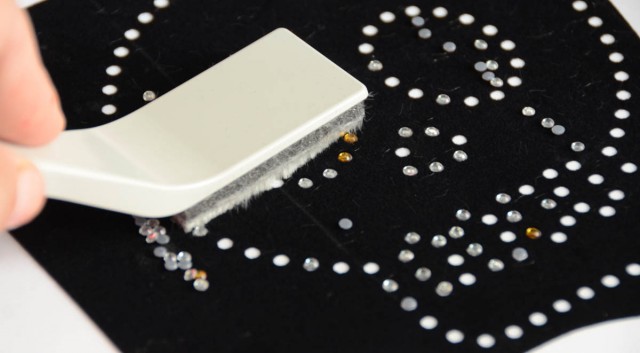
  • Put a LOT of rhinestones down. It worked best when a load to spread around and was much faster.
  • DO NOT wiggle, shake or tilt the box while you have the rhinestones in your pattern and loose. They will so fly everywhere and you’ll have to start over
rhine1

Most importantly: This is a TON of fun! For my design this was my process. Note you can start with any number of files – this is how I made mine:

  1. Go in the ScanNCut machine and select the skull pattern. Save to USB drive. Eject it. Get to computer and open up Canvas.
  2. Re-size skull as desired and save as “outline” to USB. This will give you the outline exactly the same size as your rhinestone outline that you make in the next step.
  3. Use the rhinestone function and size as desired. Save pattern.
  4. Head back to ScanNCut, cut from the black velvet-y material your “rhinestone outline” (USB drive)
  5. Do your rhinestone thing, get your rhinestones ready…
rhine2

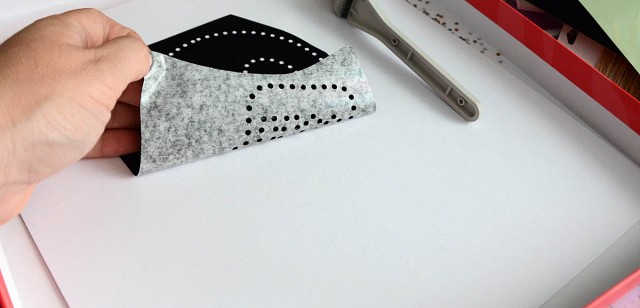
But wait! This is where I tried something funky. Remember how I said I saved the “outline”? Go into the ScanNCut and pull up and cut out that file. When you do this, put a bit of tape over the cut-out parts (eyes, teeth…) so it all sticks together. Scan this back in (so it shows as just one solid shape. Then cut out fabric using a seam allowance. (Steps shown below)
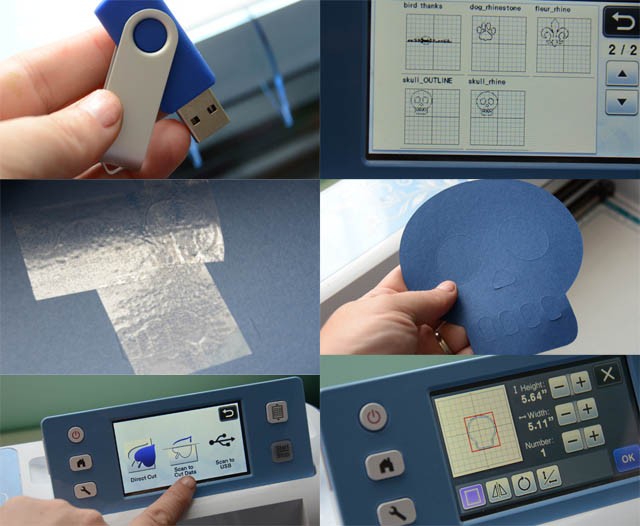
skull

Why do all this? Well first because I didn’t want the eyes and such cut out. Secondly because I wanted the pieces to match exactly, and finally now you have fabric cut out 1/4″ or so larger than your skull design, and the rhinestones will be the eyes, teeth, etc. and match up perfectly!
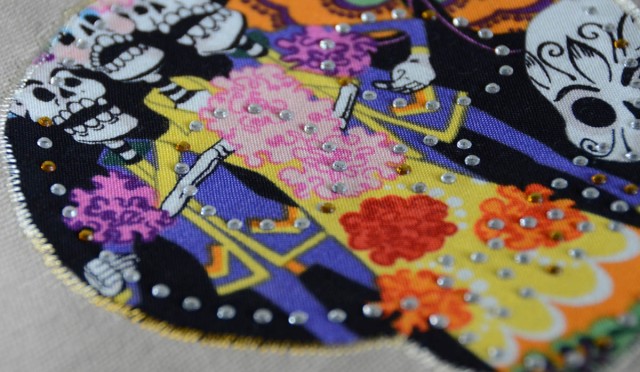
rhine3

This definitely isn’t the perfect example – if I did it again I would not use a patterned fabric. The rhinestones would show up better on a solid. Oh well! It was still really fun.

After I stitched my fabric down onto my tote bag and heat set my rhinestones (so easy!) I added some felt layered flowers cut out with ScanNCut, and I stitched the top with a strip of the same patterned fabric.
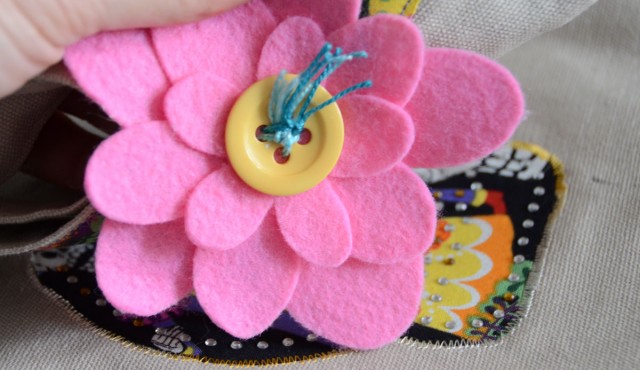
rhine5

I love learning and trying new things and I am REALLY impressed with the rhinestone kit. I will be sharing a video tutorial of a different project using this technique next month. Now that I see what I do (and don’t) like about the approach I took with this bag I know what I’ll adjust and that should make for an even better project – though I do quite like this one!
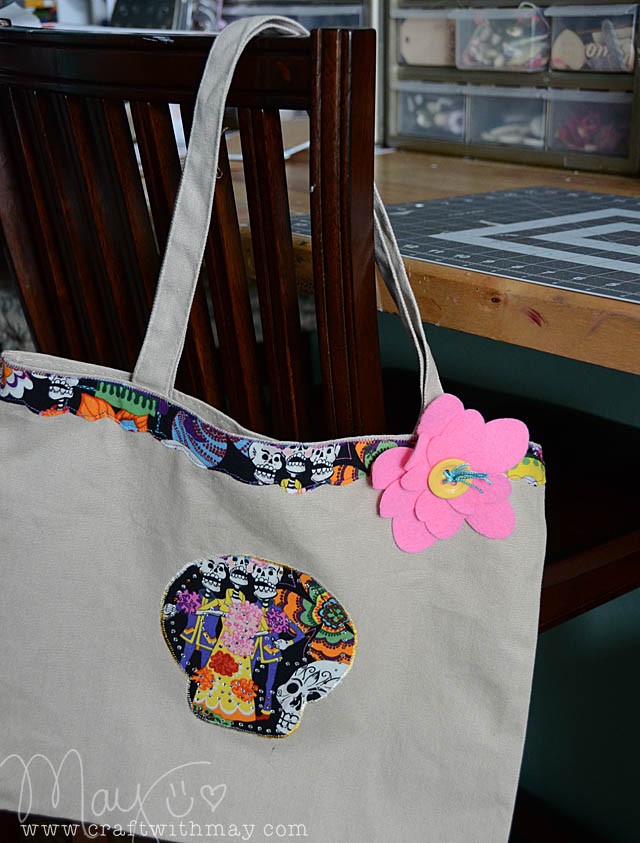
DSC_5739 copy

You can use any heat set rhinestones it says – so I’m eager to find more colors and play around with this tool even more. I’m really excited about how much it can add to my machine’s usefulness and that I can add some touches to fabric projects without getting a sewing machine involved if I just use the rhinestones. Or the rhinestones and the iron-on glitter sheets!

So many possibilities – I’ll have to dive in once again for more.

Note – The rhinestone kit is available at Brother retailers and online including amazon (affiliate link).
Iron-on sparkle with the ScanNCut

iron

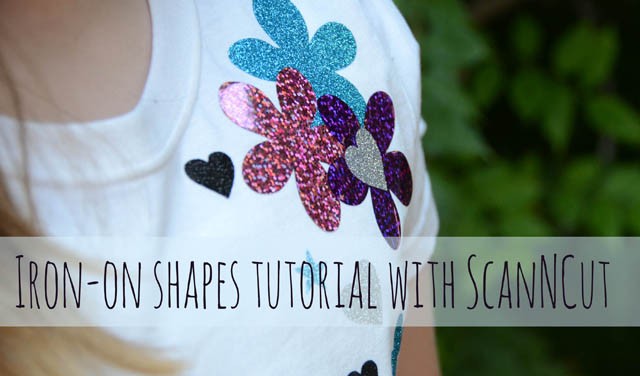
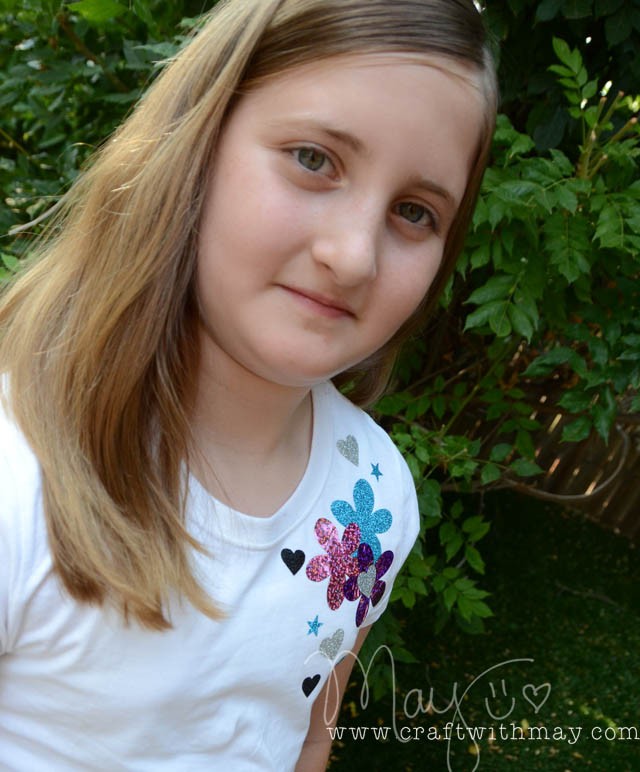
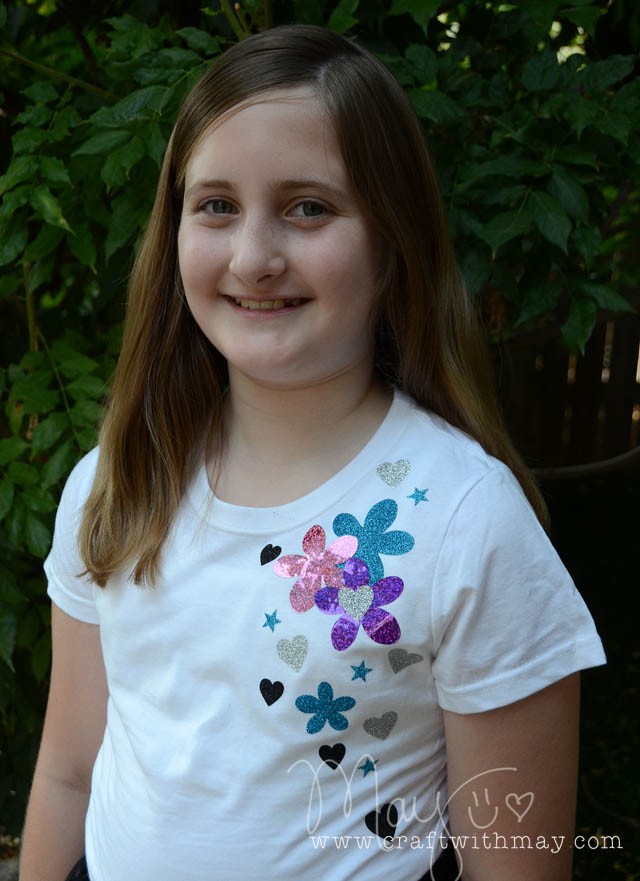
I am super excited about this. Like… too excited. Iron-on hologaphic and glitter paper that is super easy to use with my ScanNCut machine. I wish I’d started using this earlier! I created a video tutorial – so quick and easy and no sewing machine needed!  link to YouTube

Miss Elizabeth walked in as I was making this Tshirt and she claimed it! Love that! She’s off to school in it…

DSC_5347 copy

Now I’m imagining possibilities for birthday shirts, maybe a table runner accent… so much I can glitter up in a new (mess-free!) way… and you know how I love mess free sparkle!

DSC_5339 copy

Disclosure: I am a paid consultant for Brother International Corporation and have received a ScanNCut from Brother to evaluate. However, the opinions expressed are entirely my own and based on my use of the product.