Rose scrapbook page

I’ve been making an effort to scrapbook a bit more – and today I’m excited to share with you that I created a layout featuring the ScanNCut and stencil material as well as one of my favorite photos from my last vacation. (disclaimer that I’m a paid consultant for Brother, but all ideas and opinions are my own) I created a full YouTube video tutorial that you can watch here.

I love how this layout turned out!

Using shading and ink, a bit of gold spray and wow! That stencil has long been a favorite design in my machine and this is by far the best way I’ve used it. It reminds me that when I don’t have the right themed embellishments, I should make my own themed stuff with my ScanNCut!

edited to add: I did indeed catch my whoops on my title and fixed it – but I didn’t initially load the right photo of the layout! Whoops x2. That’s ok! When scrapbooking mistakes happen, and we can almost always fix them. By gently removing my letters and re-applying with liquid adhesive I was able to quickly and easily fix my layout with no damage or issue.

In scrapbooking especially, don’t worry about making mistakes… because they’re bound to happen! Know that there’s almost always a fix and usually a fairly easy one and have fun!

Around here (April edition)

This week was a busy one, so today I thought I’d share some glimpses from my iPhone (aka camera I use most) and take you along!

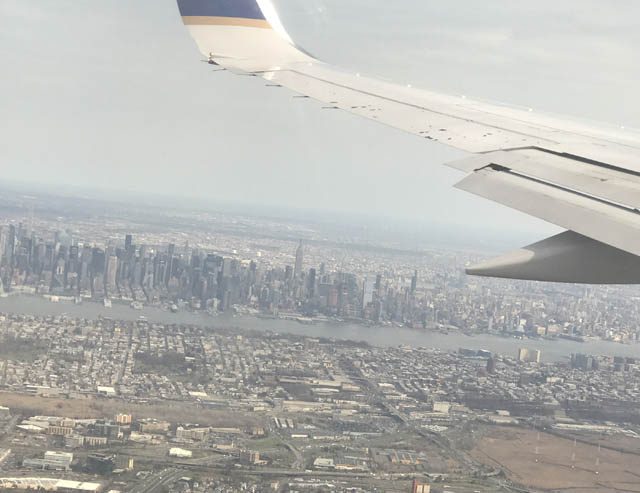
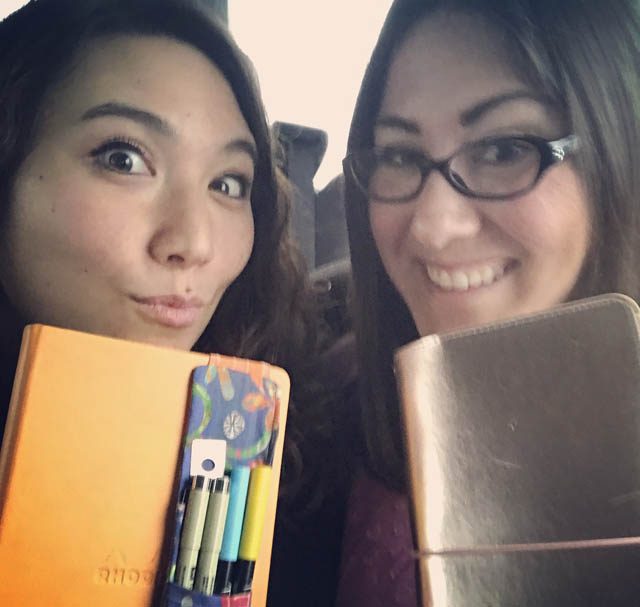
It began at 3am Monday flying to New Jersey (with just a glimpse of NYC!) for a meeting with Brother, and some really great folks. I even got to chat a bit and ride the bus back to the airport Tuesday afternoon with Julie Fei-Fan Balzer – one of my favorite ladies to spend time with.

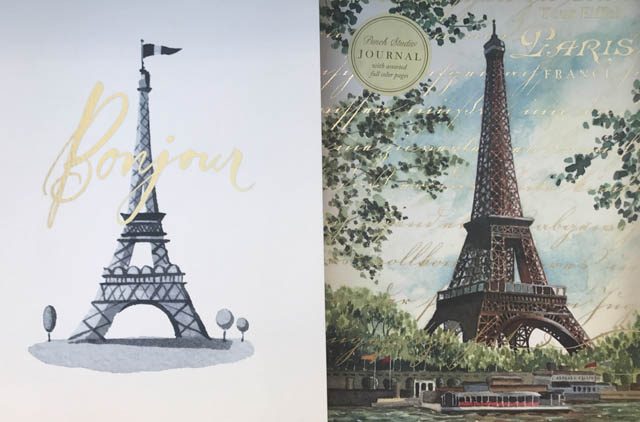
Back home and exhausted, I decided to spend the next day on errands, housework, all that fun stuff. I did find some amazing notebooks – but I couldn’t decide which one I wanted for a trip to Paris in the very distant future so I left them both. Just as well, since I had just turned in my tax payments!

Cruising Target for some toothpaste and shampoo (exciting, I know) I did come across this pillow which gives me some art fiber inspiration and ideas:

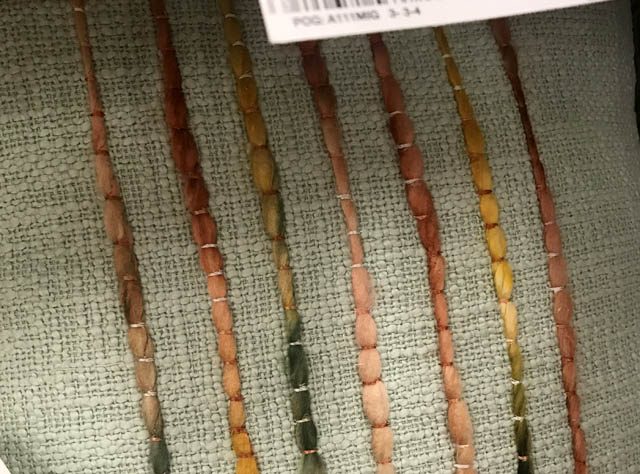
Whenever I see something that gives me a spark of an idea, I try to snap a photo! I can’t always remember the idea, but it does help. Speaking of help, several nice weather days and walks with the crew.

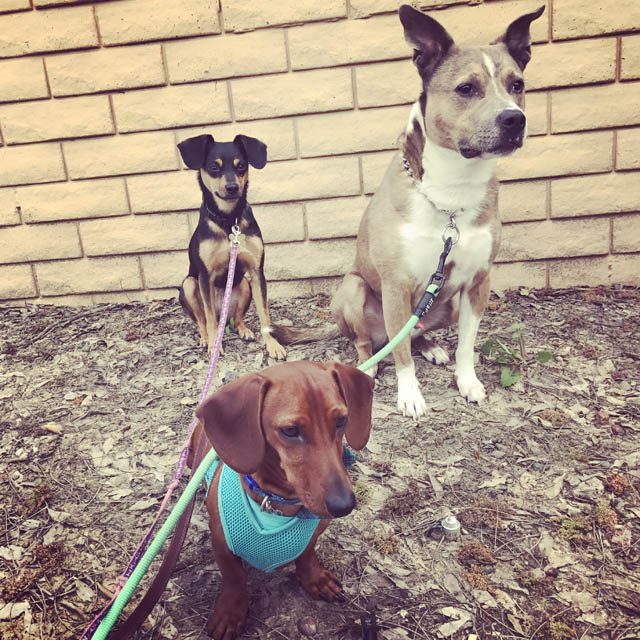
Scrappy, Bandit, and Ranger are all doing well! They love taking walks and love walking down to get the girls after school whenever we can. Speaking of the girls, we enjoyed a Girl Scout meeting at a local pottery painting place.

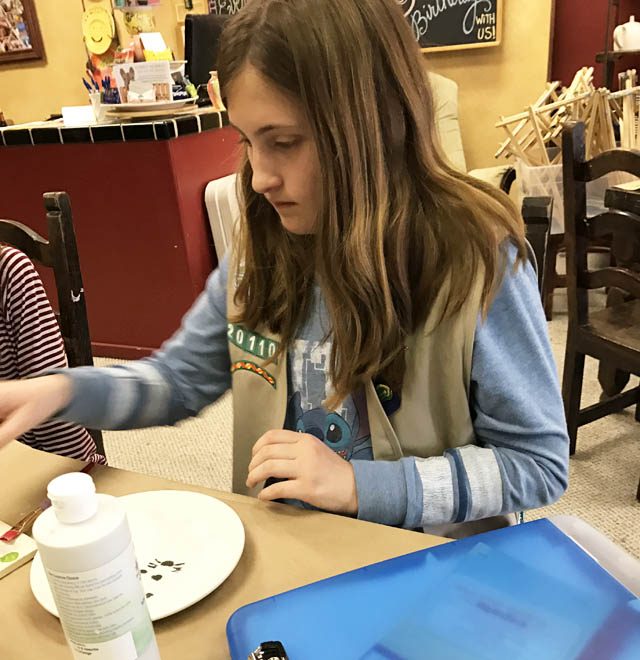
Miss Elizabeth painted some wolves, Becca went with rainbows on her plate. Love doing these monthly meetings and activities!

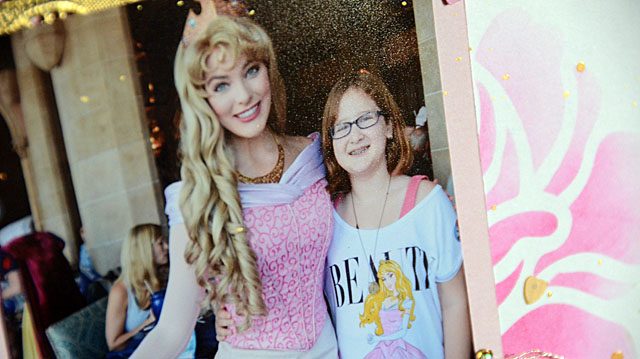
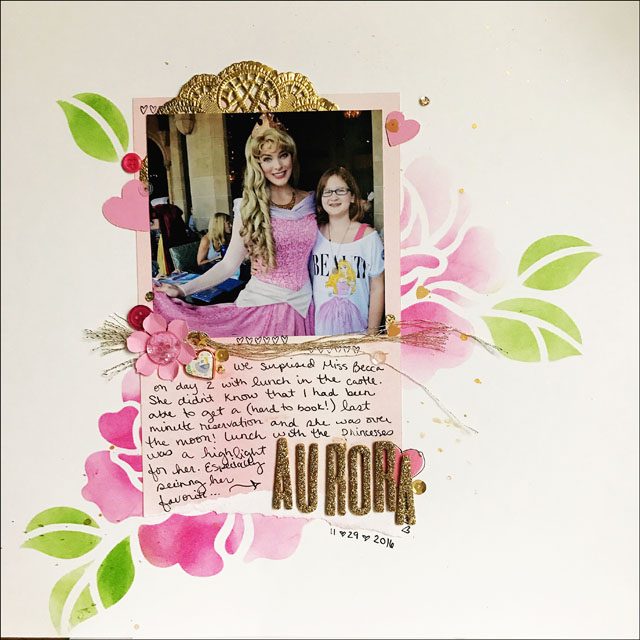
Speaking of activities, the next morning it was off to the scrapbook store!

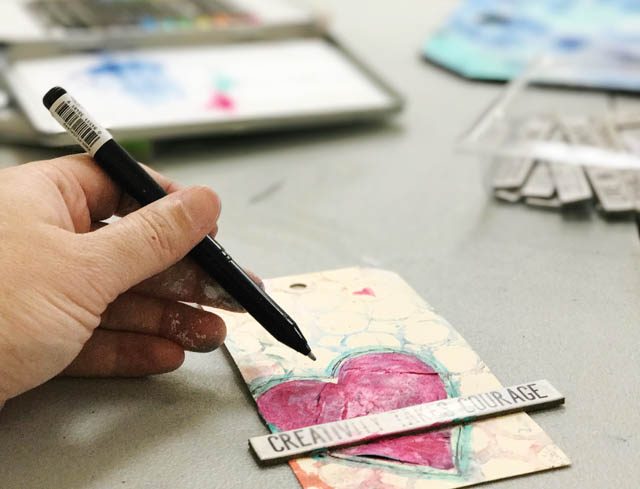
It’s All About the Scrapbook has a lovely space, and Rebecca and I spent the day cropping with the most wonderful ladies. So fun, always inspiring, and I can’t wait for next time!

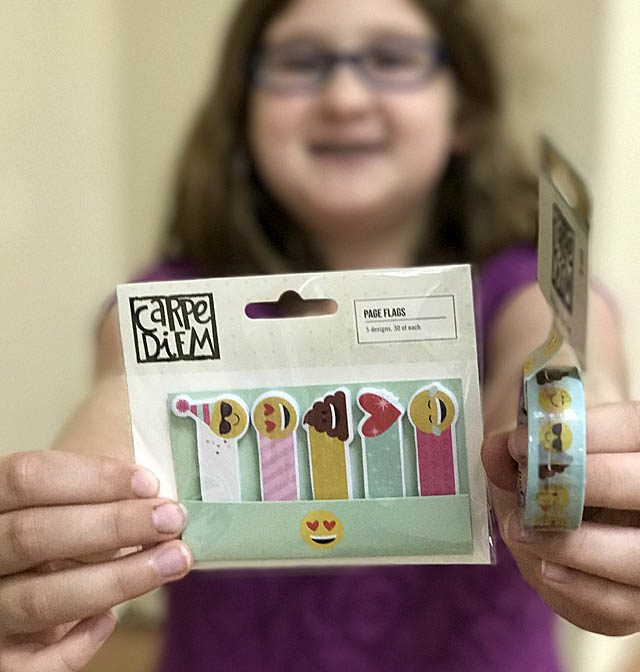
Rebecca fell in love with the “emoji” line from Simple Stories, while I was really into the new Dina Wakley Scribble Sticks. (Video coming soon)

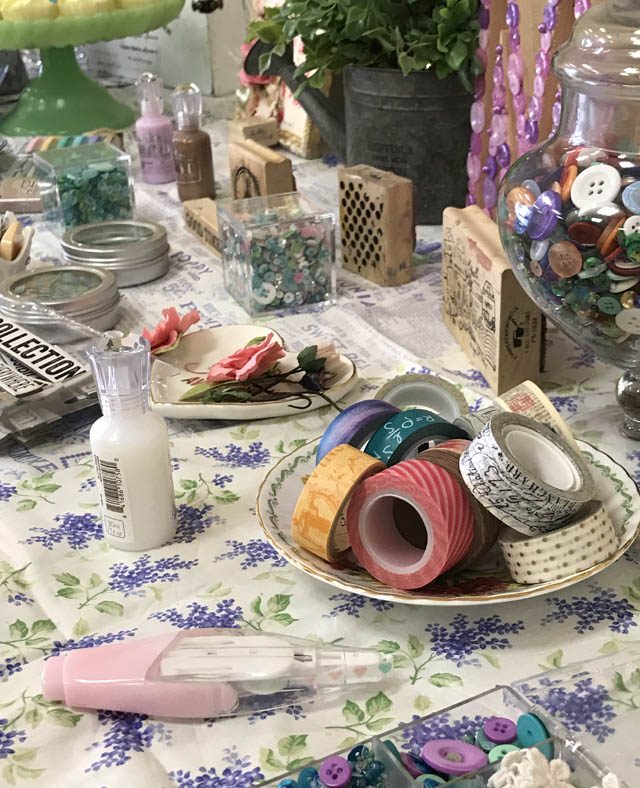
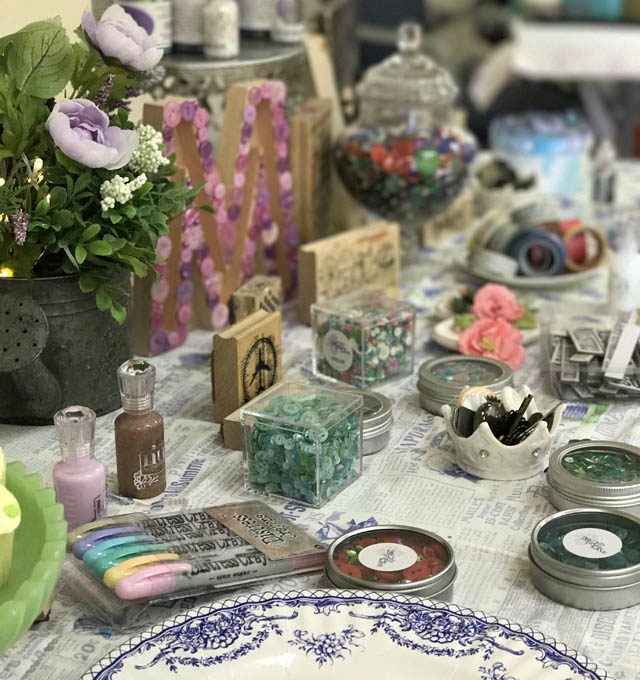
Something new I am doing when hosting events, is to be sure and have an “art table”. I bring things from my studio that I love to share, as well as visual inspiration and things to check out! Here you can see a few photos of the table set up. Cookies to washi tape – I had plenty of fun to share!

Speaking of fun – Sunday it was off to the Fremont Diner in Sonoma, CA for a birthday lunch for Jason. We love this place – such great food and a wonderful vintage vibe. Plus they have mostly outdoor seating so the (little) dogs came with us. Ranger just gets too dang excited to handle being still around so many new friends. ha!

And now as I type this it’s Monday evening once again. That sure was a busy week!! Now I’m back to working on my online classes, assignments, some fun videos for YouTube and here, and more. Well, I will be as soon as somebody convinces Bandit he doesn’t “need” to be in my face…

I hope you’re having a wonderful week – and making some fun moments among the chaos. I’m looking forward to a blissfully quiet Easter weekend, and to carving out some creative time this week to get my ideas from my brain into reality!

Where to begin?

There are a lot of things “they” say.

It doesn’t matter where you start as long as you take the first step.

It’s a process.

Do your best.

There are dozens if not hundreds of vague and mildly motivating sayings. Some I actually like. But I have a problem. HOW am I turning these vague ideas and concepts into results?

Now I’ve posted before about my current-ish planner setup (here’s a link), but things as always are changing. I have not missed one deadline or appointment since setting things up as they are now. That’s a win. It’s real easy for me to answer the question “are you available….” because the one book has everyone’s appointments and schedules in it, and is easy for me to use.

I’ve also come to really like my business planner though I am using it to about 50% of where I should be and could be.

But. Not to sound greedy… I want *MORE*. I want to figure out how to get myself exercising every day and not talking myself out of it half the time. I want to get myself ahead of deadlines and I want a better overall workflow to my day. I’m writing this post days before it will go live which is good. It’s a small step. But I want so many more steps and I have one burning question:

How do I take ideas & plans and make them actually happen?

The simple answer is of course to “just do it”… but the reality of everyday life isn’t always so simple. How do we motivate ourselves without a team of professionals shadowing and optimizing us taking the guess work out of it each day? I’m talking about life in general here, but also about crafting in particular. I have 10 minutes a day to give to my scrapbooks (another story – coming soonish!), and I need to get more of my ideas out of my notebooks and into reality.

I don’t have an answer… yet.

As of today I’m starting a challenge. I’m going to look for expert advise and try it their way for just ONE week applied overall to my life and see what things stick and what things won’t work at all. What helps and what hurts. A grand life-wide experiment.

Life is short, and each day does matter, so I truly want to make the most of it and I want to share with you things that work. If you’ve got people who are great at organizing or life in general or have your own ideas to add – let me know. The weekly recap will be done via YouTube in a ‘live from the studio’ video series, and once every few weeks I’ll recap ideas here that work.

Because what is the point of learning if we don’t share the success with our friends?!

Have a great week.

Baby gift bag with ScanNCut

The conversation began was a familiar one – a baby gift needed for a baby not yet born, gender unknown. Oh yes, and gift by tomorrow, please. Loads of my husband’s co-workers are beginning their families, and there couldn’t be a happier occasion to celebrate! I always try to do something special for the gift wrapping, so today I decided to go with the shower invite theme of stars.

What materials to use? I found a variety of adhesive backed materials in my stash and decided to adhere them to heavy cardstock then cut them out. Here’s a tip: since thin materials don’t hang well for a project like this I always like to

To watch the full tutorial, check out my YouTube video.

Gluing the stars to the bag wasn’t in my original plan, but sometimes plans must be altered! In this case it worked out well, and I love how the bag turned out.

There is something so fun about gift wrap, and whenever I can take the time to add a bit of craftiness to my gifts it always feels so great! I love sharing a bit of happy crafting with someone else, as well as putting my own spin on things. It’s just one small way I can add some happy crafting to my life and someone else’s. What I really ought to do is to start pre-crafting gift bags and boxes so I always have some ready! Not quite at that level of organization yet, maybe some day?!

Speaking of organization – yikes how is it April?! I’m off to a meeting with some folks at Brother – secret stuff! Watch my Instagram and Facebook (@craftwithmay both places) for updates from the road. In the meantime, a disclaimer as always that I am a paid consultant for Brother but as always opinions and ideas about the awesome ScanNCut and any of their products is all my own.

Tim Holtz for Tonic New Stamp Platform Tool

note: Affiliate links are used in this post, and this tool was sent to me by Tonic & Scrapbook.com to review. All ideas, opinions, and thoughts are totally my own!

When I was contacted asking me if I’d like to test out the new Tim Holtz Stamp Platform (link), I immediately accepted for a few reasons. First of all, Tim’s scissors with Tonic are by far and away my favorite ever since he convinced me to give them a try years ago. Secondly, Tonic is a very high quality tool manufacturer and I anticipated they would get the job done right. Third, as I have yet to be convinced of the “must have” nature of any stamping platform (and I’ve seen and owned a number of them over the last 10+ years!) I wanted to really test this with a critical eye.

The great:

  • The platform comes apart to allow for 2 different thicknesses of stamp (clear and rubber unmounted), also for easier cleaning
  • The platform grid is textured/part of the plastic which means no amount of heavy scrubbing will change that. Important for us messy folk!
  • The base is designed beautifully including two open sides (so any size paper can be used) as well as having a rubber-ish base that prevents it from moving even on slick surfaces

The overall design means that when I’m doing heavy water stamping, I can stamp upside down. Or at least set it up that way at first so easily. A HUGE plus. If I found any fault with it I wish the magnets were rectangular and about 3x larger (or at least that one of them was!) for better holding down of paper while I get crazy.

Here is my video review and a look at one type of stamping (link to YouTube).

Overall, I’m just incredibly impressed with this tool.

This tool is not needed if you like to take one stamp, stamp with a single color ink, and move on. For that type of stamping a stamp block makes far more sense, and I will still use my various stamp blocks for sure. This tool becomes an awesome tool for those who want to:

  • Color parts of a stamp separately
  • Repeat stamp (as shown in video) same image
  • Work with multiple mediums on same project with precision
  • Want a more controlled way of getting wild and messy with stamping

With all the experiments over 3 days that I did, not one drop of water or liquid medium hit my desk surface. Not only that, but this tool was so easy to clean off! I am sure there are even more uses for this stamp platform, and as I work with it more and discover good uses I will be sure to share those with you here.

Scrapbook.com has this tool in stock now- here’s a link. Other links you may want – here is a link to the dog stamps I used, as well as some similar to the wildflower stamps used.

I am delighted to find this a “must” tool for me – and that I was so very impressed with its construction. What is your favorite tool these days, and what are you crafting? I’d love to hear from you!