Persimmon week!

I’m excited that the Basic Grey line Persimmon is finally out and in stores – and to celebrate this beautiful line I’m going to be bringing you a week full of projects.

bg

First up, I’m warming up my inking skills and getting the stamps put to use!

bg2

I used distress markers to color the background leaves – oh how I love that stamp, as well as the Thanks is for Giving label stamp. I think I will have to incorporate them into my Thanksgiving table somehow this year.

Stay tuned – I’ll be back tomorrow with another project!

Supplies used:

Fabric… err… CANDY friday!

Ok so here is proof I’m working my fabric magic and not slacking:

012

Long story short, I’ve gotta stay off the site for a bit while some work gets done which = I just don’t have time to format this Friday’s anticipated fabric post because it’s a full on tutorial!

Oh, but I’ve got something to share today! I’ve been playing with the October Simon Says Stamp card kit still – oh it’s a good one.

042

I mean, all their kits are good ones, but this one is just extra awesome and my style. I decided to hop out of cards and instead decorate a little box of chocolates with the kit. I LOVE wrapping candy and boxes like this – it’s decorative, reusable, easy, and so much fun!

034

Whether fall or Christmas or for a birthday, I just love how quickly I can add some color, texture, and homemade feel to a simple box.

047

As I mentioned before I made this project with the new kit. Here’s a link to it if you want to check it out.

SSS_cardkit_oct13_final

I do so love a good kit – and this one with all that glorious Lawn Fawn papers + sequins just makes my autumn loving heart so happy.

Have a great weekend!

ScanNCut project: thanks card

I’m so excited to kick off my project + tutorial sharing featuring the ScanNCut machine from Brother(tm) International! I’ve had such fun working with this exciting new machine. There are a lot of patterns on the machine made for quilting and such – and I love seeing how they translate to my paper crafts! First – here’s a quick video I made showing and explaining with the ScanNCut machine and how I’m using it for this project:

Creating a square card is the perfect way to highlight one of those designs and create a special card to let a special person really know how much they mean to me.

mayf_project3

Supplies:
Cardstock, patterned paper, stamps, black ink, glitter glue, paint, adhesive sheet

1. Print the pieces of the flower design (except the tiny center, smaller inner leaves, and light strip on the buds) using the ScanNCut machine.

2. Once these pieces are cut, assemble onto a sheet of cardstock.

Tip: It can be easier to use an adhesive sheet on cardstock instead of trying to individually add adhesive to each piece, but either way works.

22

3. Cut out the flower design and add a button center.

4. Using the ScanNCut machine, cut a 4.30” scalloped circle.

5. Gather all of your pieces and prepare to assemble your card. You will need a 5 x 10 piece of cardstock (Folded in ½ to create card base), a 4 ½” square of patterned paper, and the pieces we cut from the ScanNCut machine.

6. Attach the patterned paper to the base of your card by stitching with a zig-zag stitch.

7. Attach the circle and floral elements, and edge the card with purple paint.

8. Stamp “Thanks” using black ink at the bottom of the card.

9. Finish the card by accenting the flower with purple glitter glue.
mayf_project3_detail
I hope you’ve enjoyed this fun card. Happy Crafting!


Brother_International_Scanncut_Scan_N_Cut

Brother International introduces the first home and hobby cutting machine with a built-in scanner! For more information and inspiration on the ScanNCut machine visit www.scanncut.com. You can also connect with Brother social media on Facebook, Twitter, YouTube, and Pinterest.

I am a paid consultant for Brother International Corporation and have received a ScanNCut from Brother to evaluate. However, the opinions expressed are entirely my own and based on my use of the product.

A bat & a pumpkin walked in…

530

and they wish you a very Happy Halloween!! Here’s a card I created using new Tim Holtz blueprint stamps – LOVE those blueprints!

539

how-to:

  1. Stamp the bat and the pumpkin onto specialty stamping paper. Color pumpkin in with distress markers + water.
  2. Tear + stitch + layer a 4 1/2″ (orange) 4″ (Green), and 3 1/2″ (book) squares of paper. Ink liberally.
  3. stamp onto kraft paper “Happy Halloween”
  4. Cut out & layer bat and pumpkin and sentiment onto card

halloween

It’s that easy, and totally a card that could be produced repeatedly with slight variations. No embellishments needed – just paper + stamps and you know I love that!

Supplies Used:

LaLaLoopsy party: crafty fun & details

So a few weeks back I showed a peek at Rebecca’s party – now I’m back with all the photos!

party

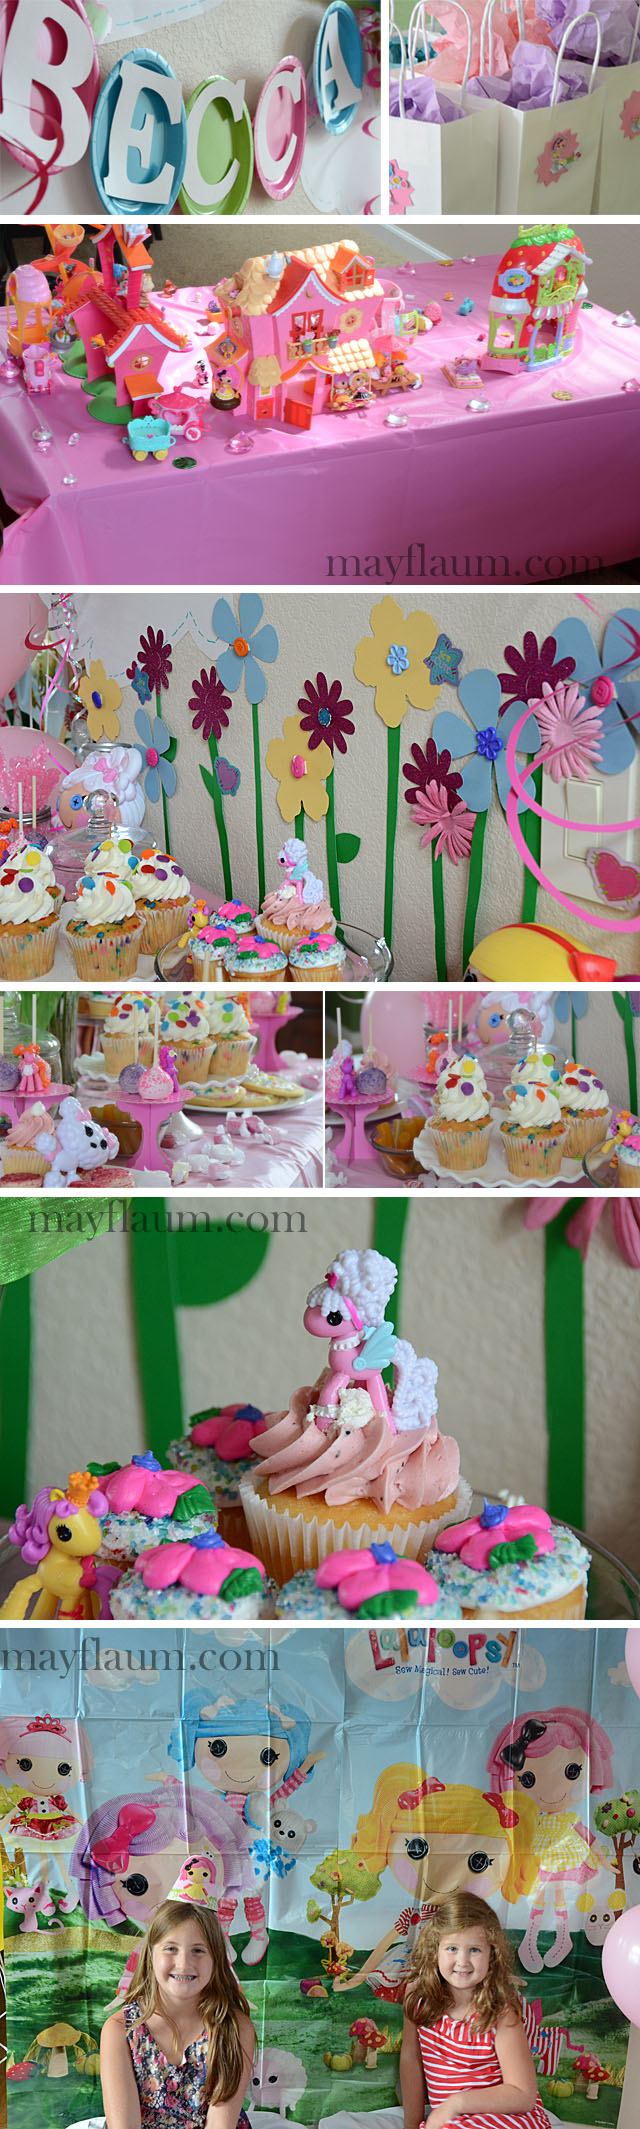
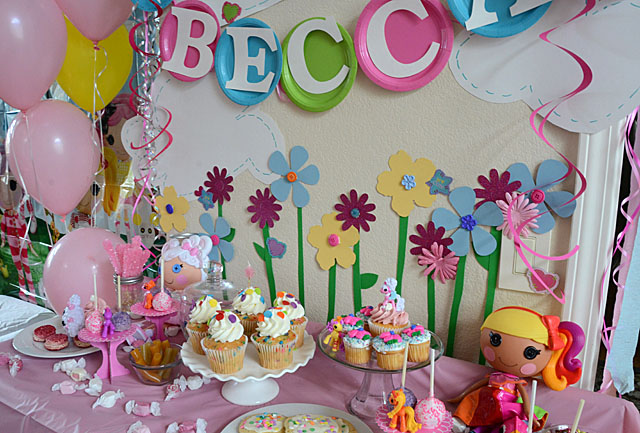
Rebecca and I talked colors, ideas (stitching, buttons, etc) and we looked for solutions to our party needs. Colored paper plates, cardstock cut out in cloud-like shapes, curling ribbon – we went wild making stuff ourselves and customizing her party space.

a

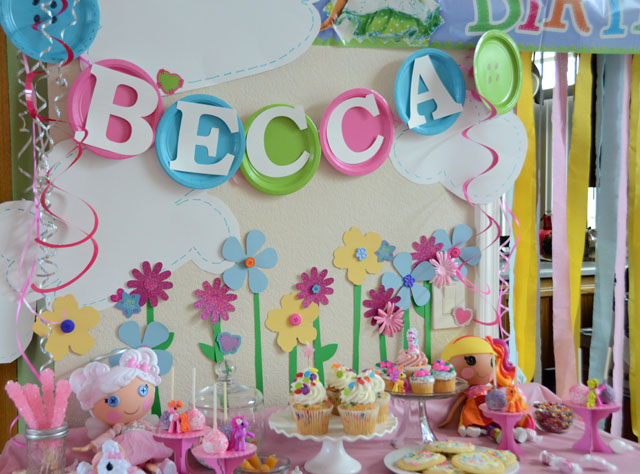
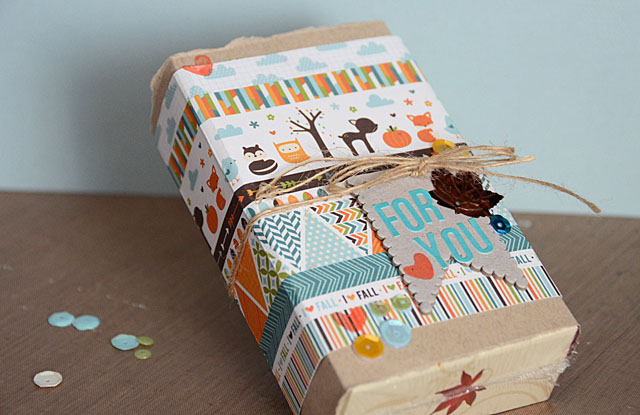
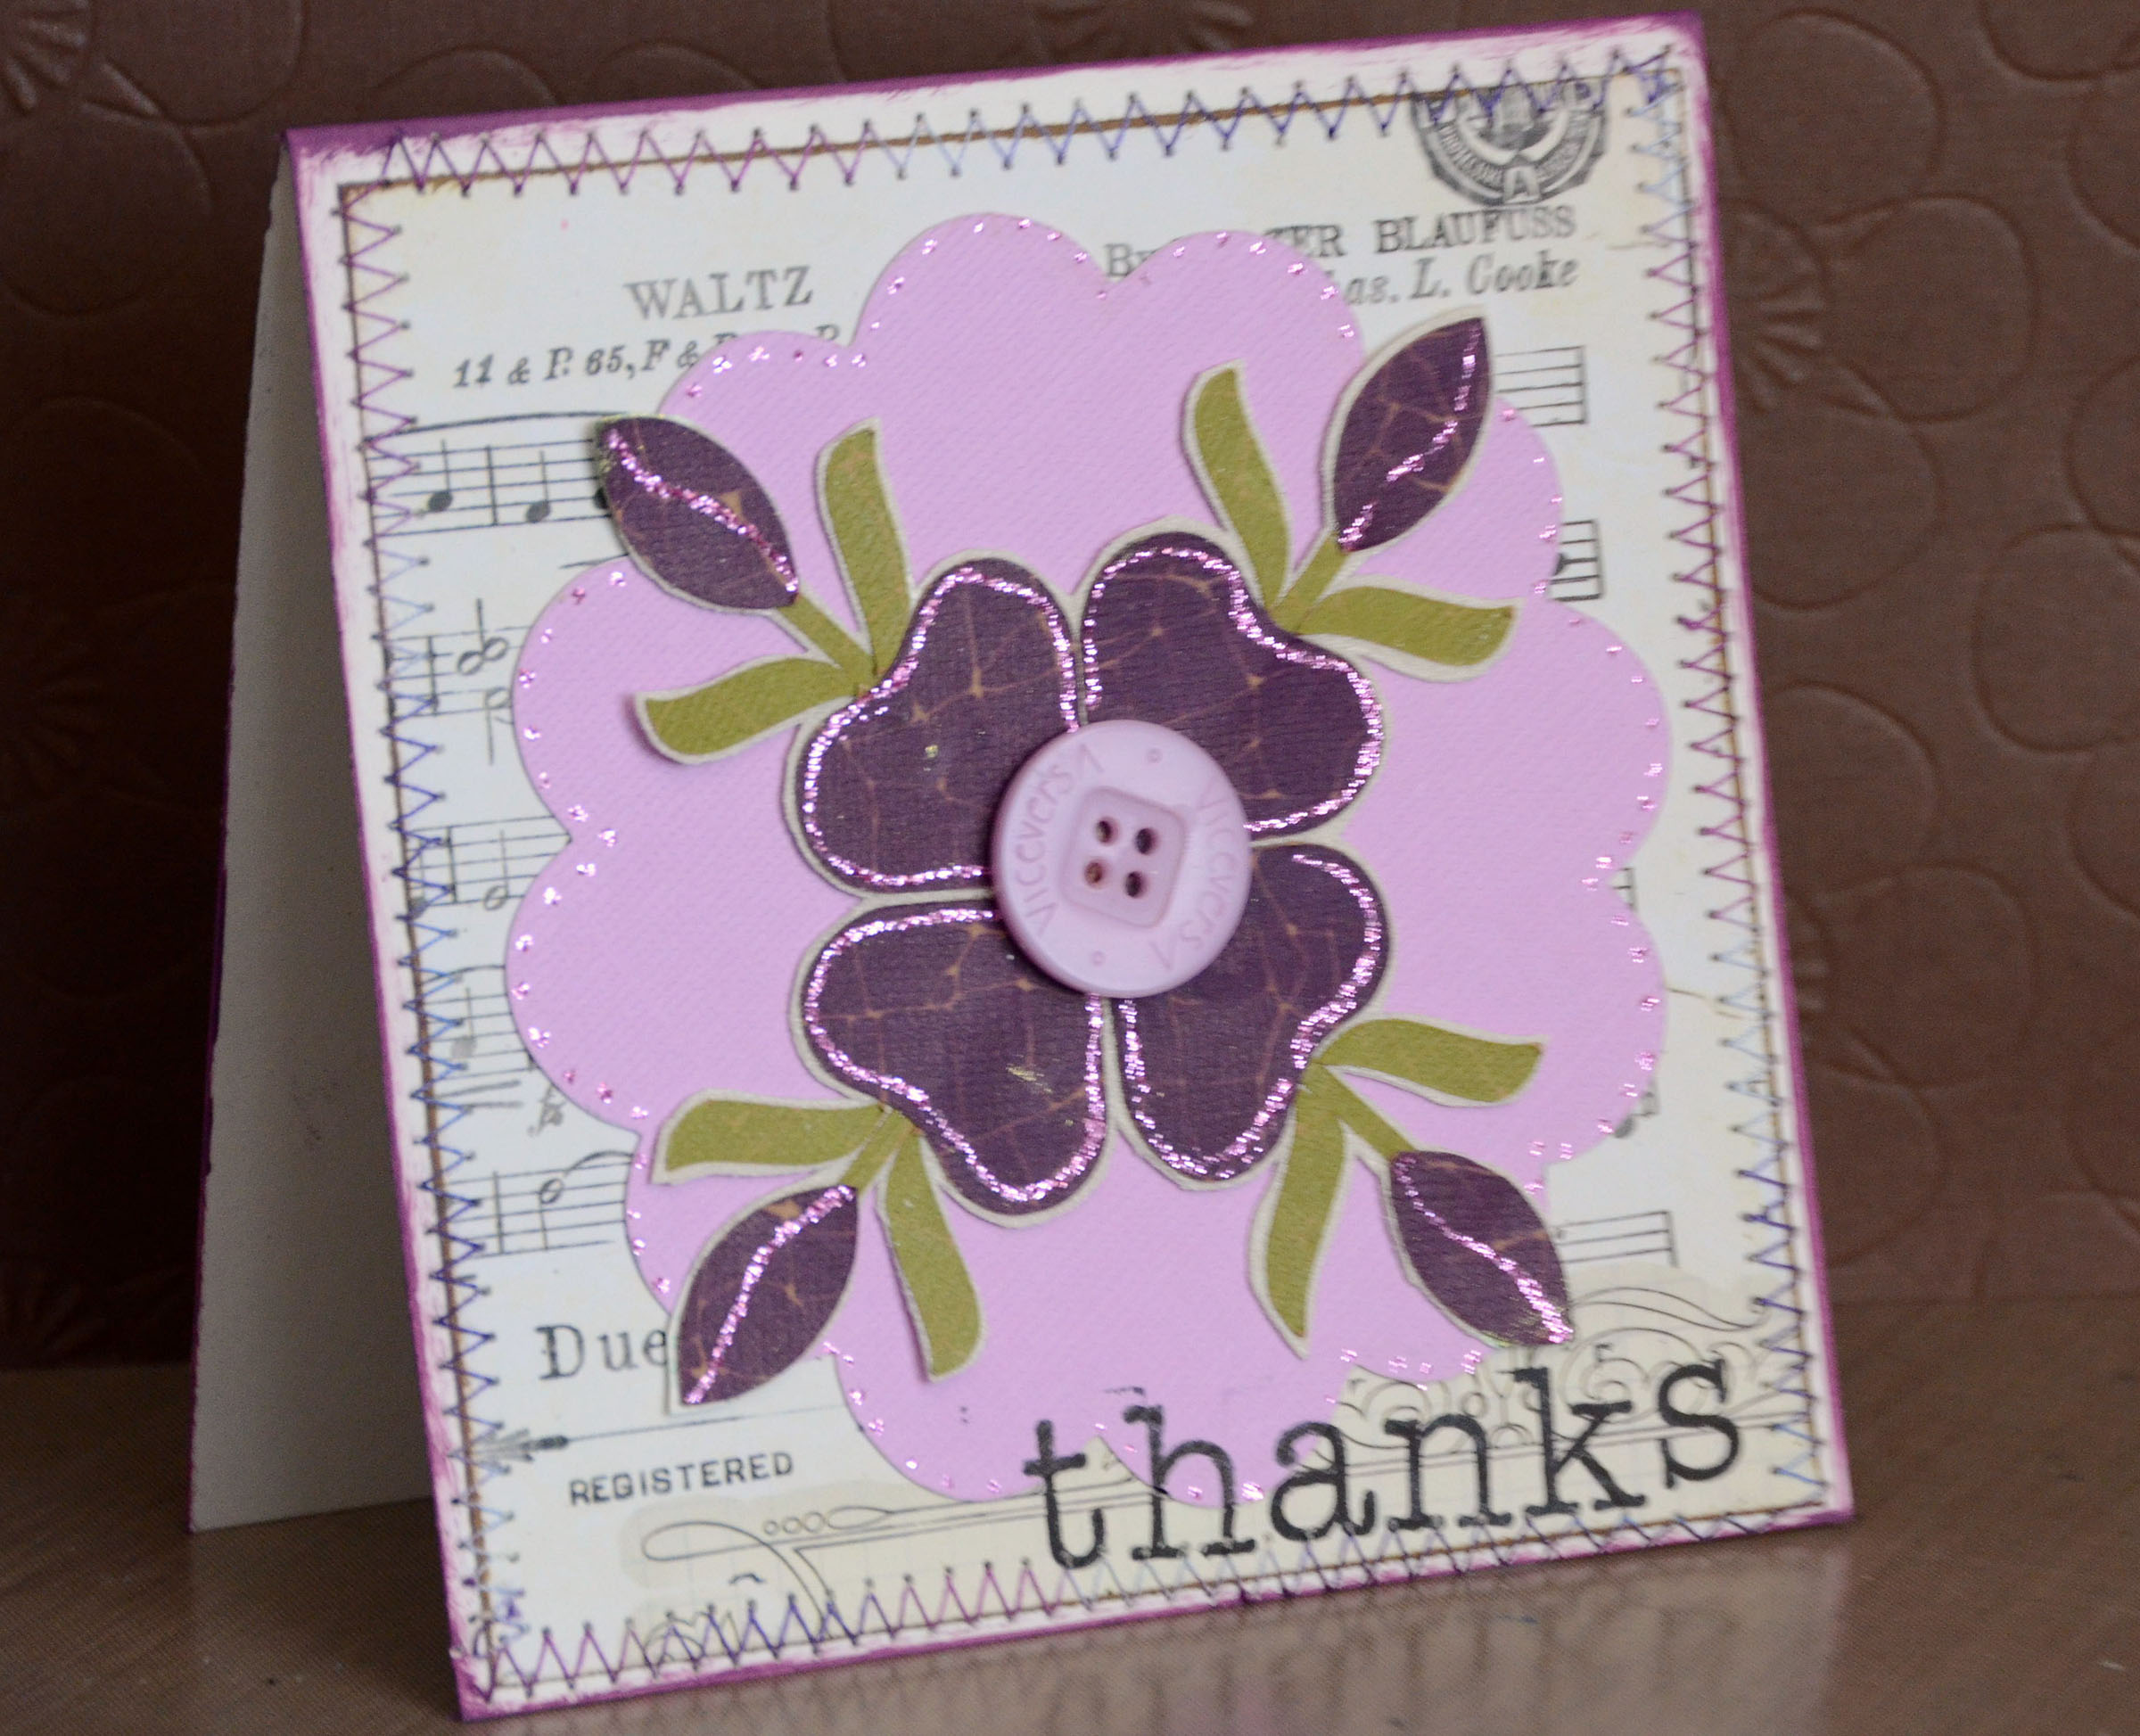
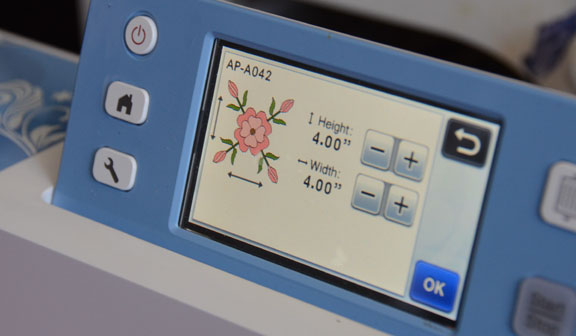
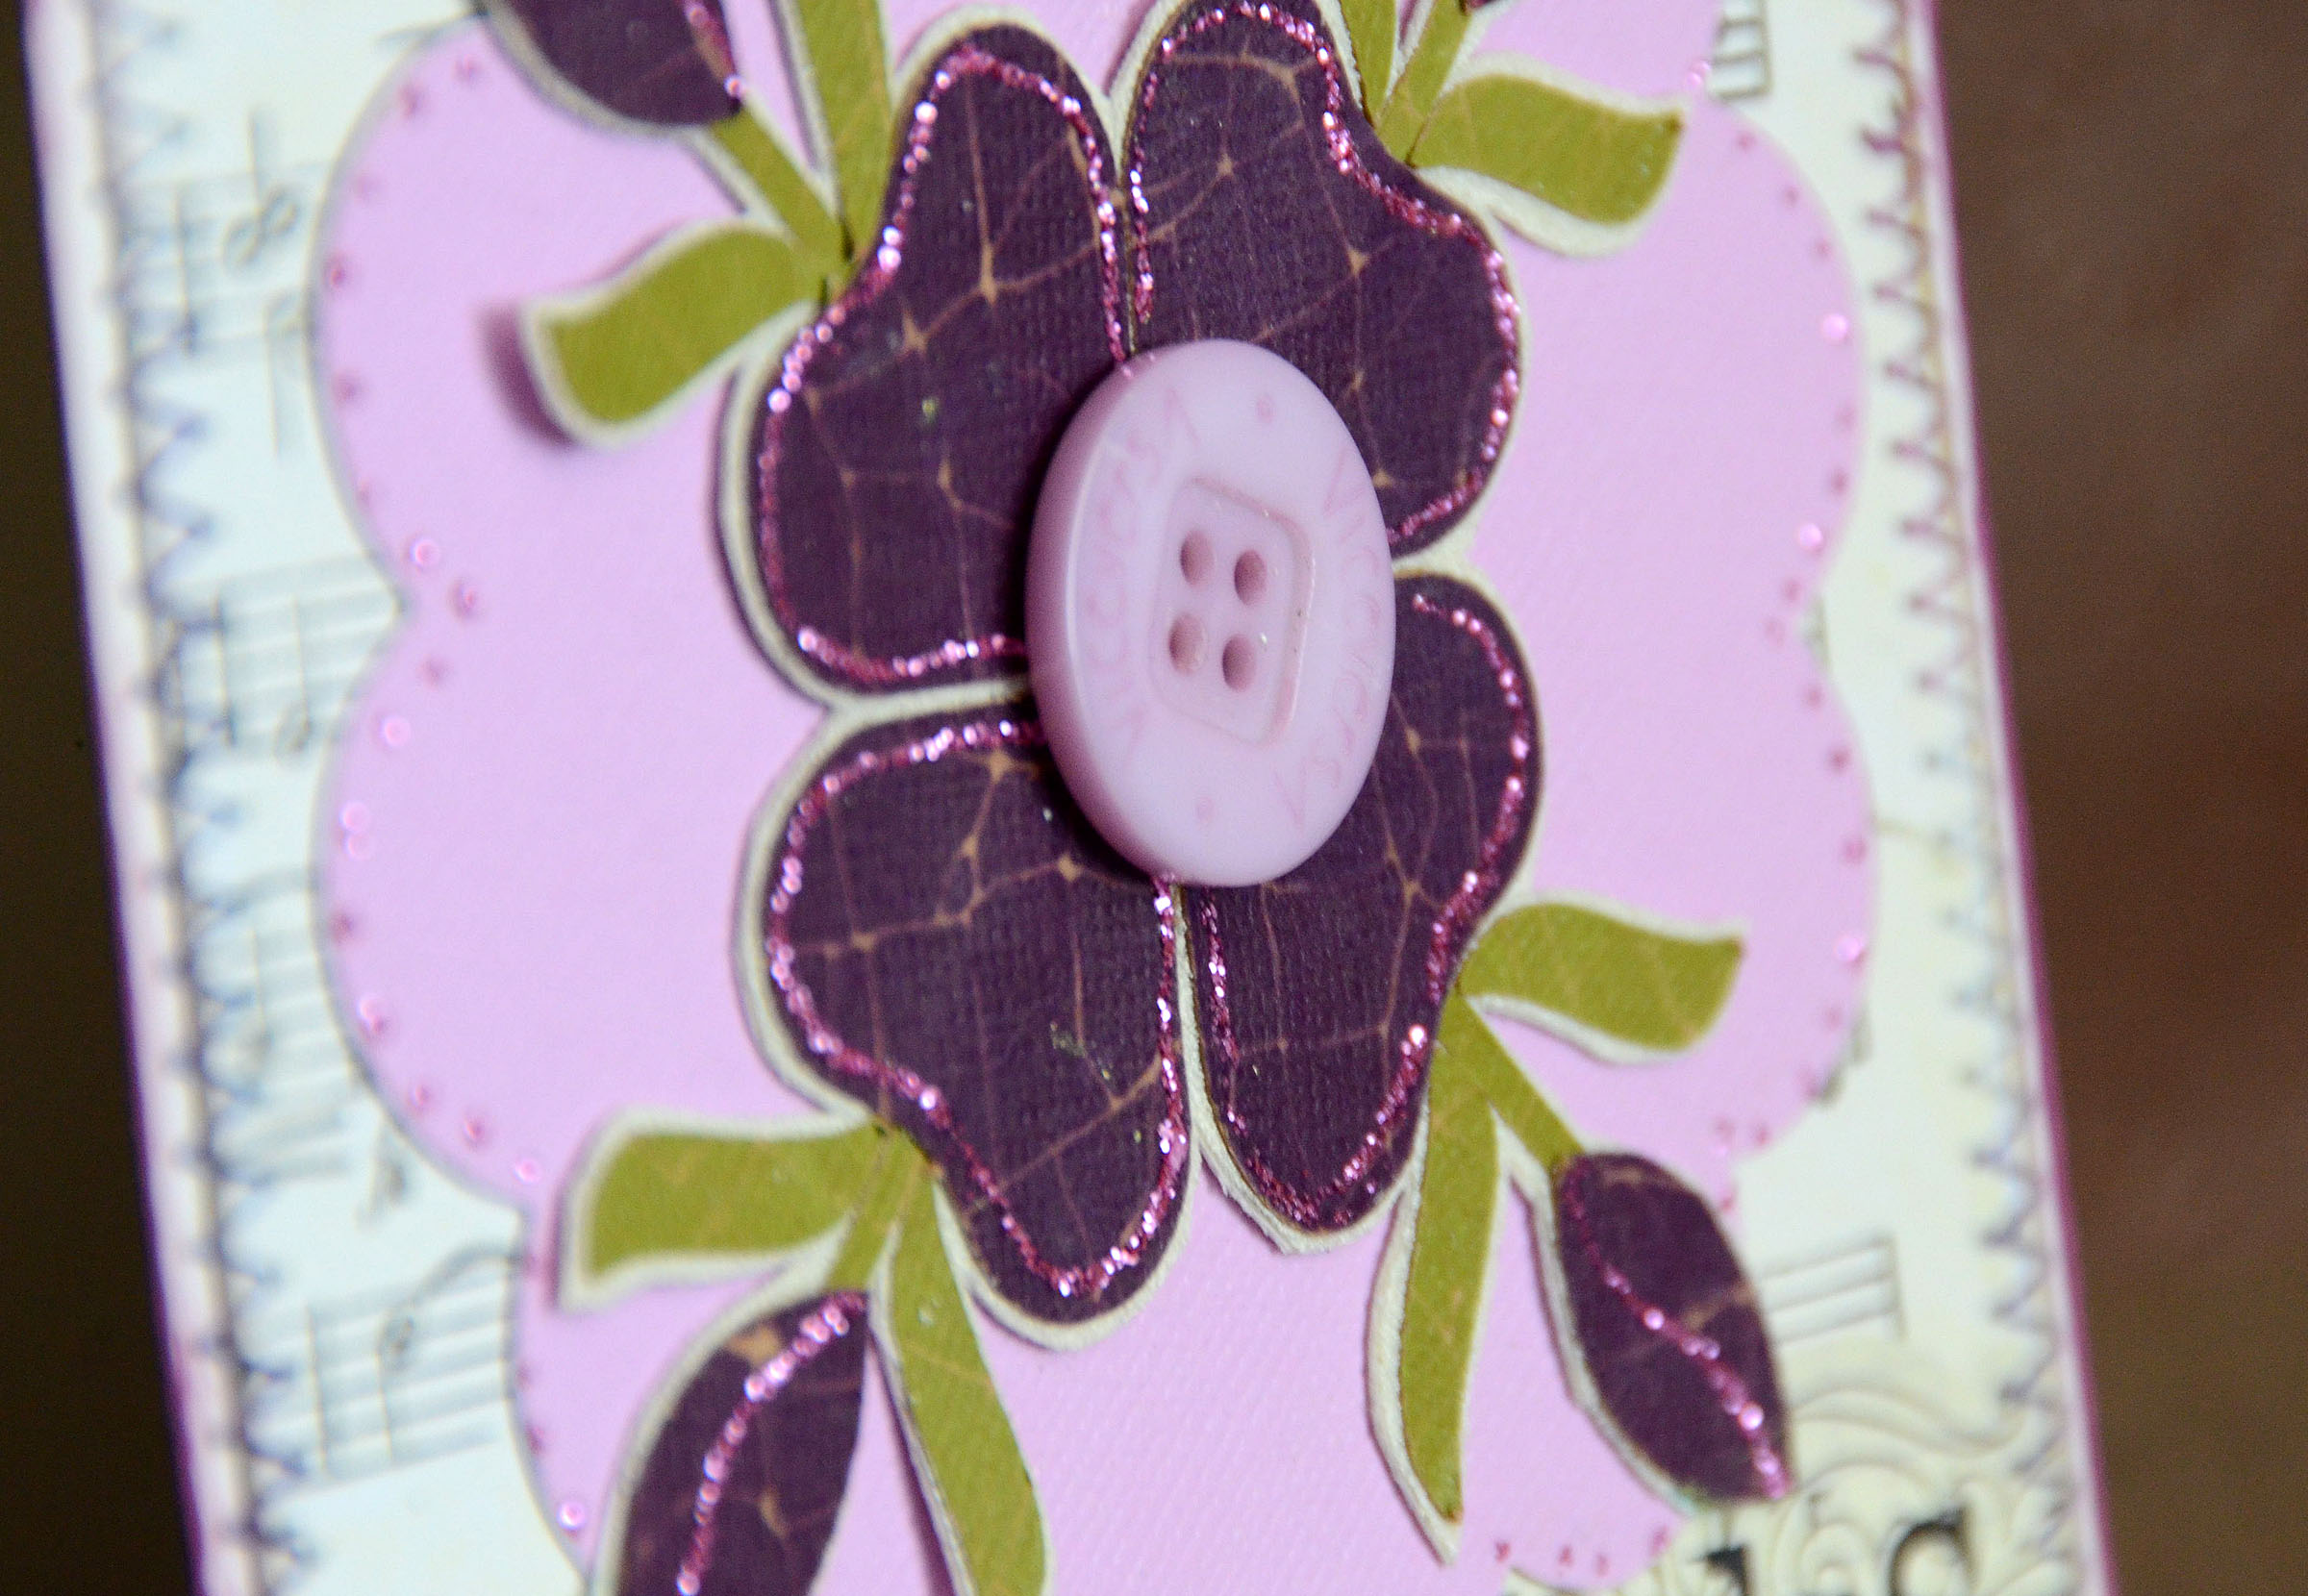
My ScanNCut machine helped me TREMENDOUSLY as I was very short on time and had big plans. I cut all of the flowers and the letters for her banner, as well as the circles for the goodie bags out using that machine in just a few minutes.

Even better?  I was able to create all this on my dining room floor and cut + stick onto the wall as I went so I could really see how much I needed, how big, and how much more. LOVED using the “secret machine” (as the girls were calling it at that time) for this.

b

Other details to note…

I grabbed a few of these and a handful of those as far as desert went – and it worked out great! The girls each picked a treat or two and the variety made it seem like there were tons more goodies than there actually was.

c

Activities… we planned this whole party around the la la loopsy girls and their button eyes. So basically… I dumped a ton of buttons + sequins + fun stuff on the table and let the girls craft the day away!

d

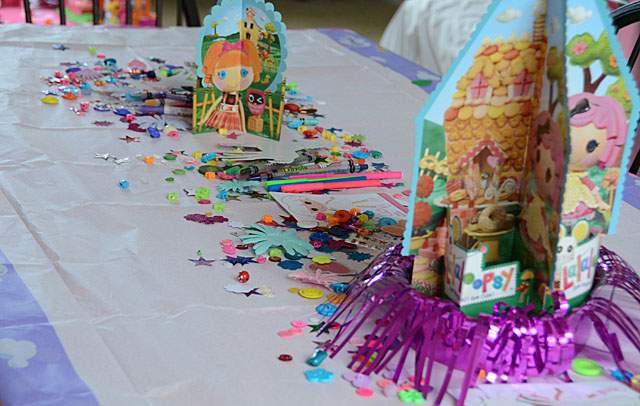
The response? VERY positive! I had cheap wood frames for them to decorate (I coated in liquid adhesive then they applied stuff), coloring pages, chipboard shapes to decorate – loads of options.

e

Bonus? the table looked fun!

f

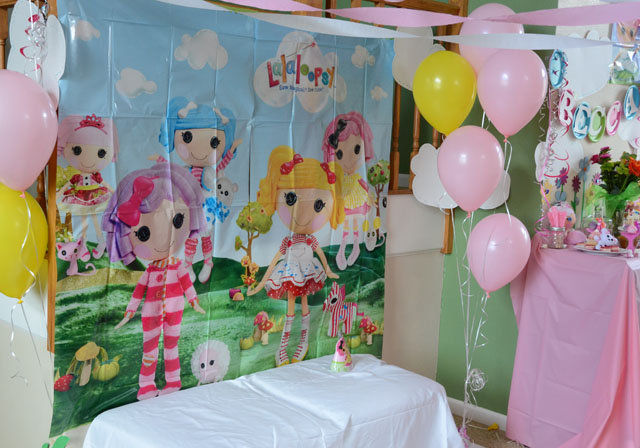
We also had a photo booth and a play area set up with the girls toys. There were some themed/purchased decorations but mostly just me + cardstock + crepe paper. I LOVE crepe paper. Just a few bucks and you can transform a room!

g

The photo booth area was a HUGE hit. I used a white sheet over our ottomans for the seat and the girls loved posing + smiling for the camera.

h

This party was fast, way less expensive than a bounce house/gymnastics/not in my home party, and the girls all had a BLAST. Overall it was an amazing first “School friends” party for Miss Rebecca – one that won’t soon be forgotten.


Brother_International_Scanncut_Scan_N_Cut

I’m so glad to be able to finally share more photos of this party that features the ScanNCut machine!

Brother International introduces the first home and hobby cutting machine with a built-in scanner! For more information and inspiration on the ScanNCut machine visit www.scanncut.com. You can also connect with Brother social media on Facebook, Twitter, YouTube, and Pinterest.


I am a paid consultant for Brother International Corporation and have received a ScanNCut from Brother to evaluate. However, the opinions expressed are entirely my own and based on my use of the product.