I’m so excited to kick off my project + tutorial sharing featuring the ScanNCut machine from Brother(tm) International! I’ve had such fun working with this exciting new machine. There are a lot of patterns on the machine made for quilting and such – and I love seeing how they translate to my paper crafts! First – here’s a quick video I made showing and explaining with the ScanNCut machine and how I’m using it for this project:
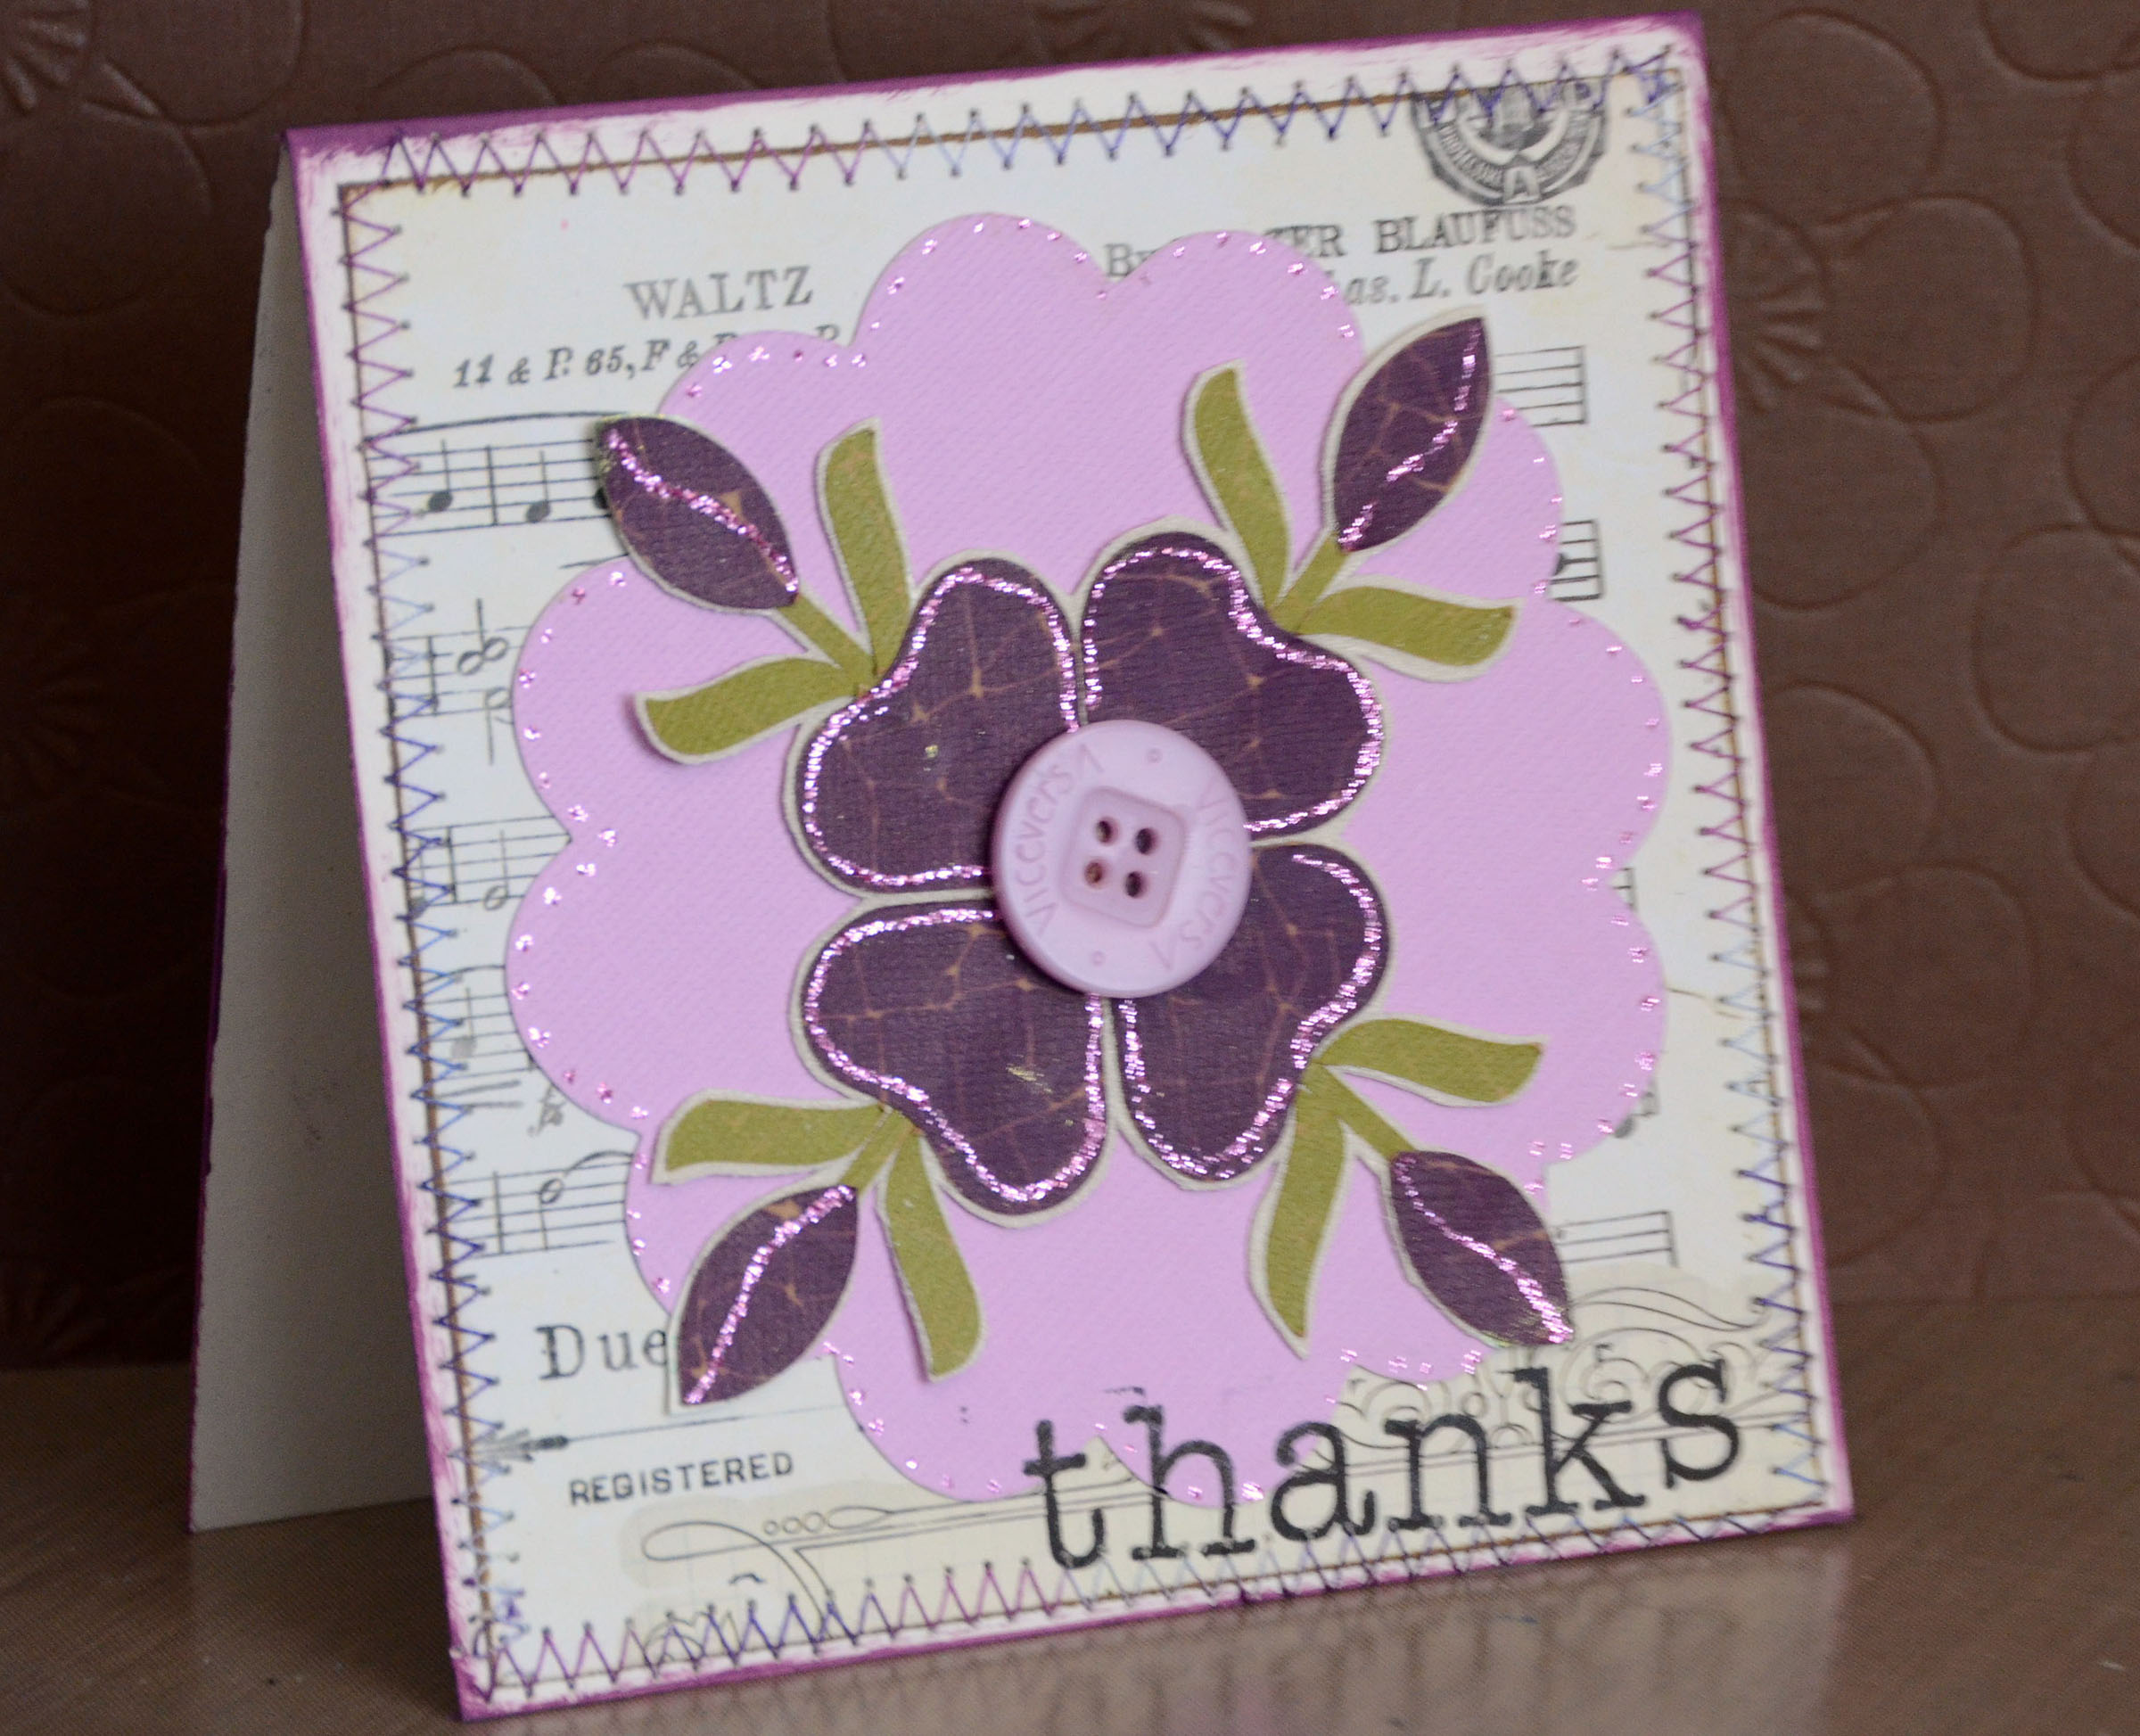
Creating a square card is the perfect way to highlight one of those designs and create a special card to let a special person really know how much they mean to me.
Supplies:
Cardstock, patterned paper, stamps, black ink, glitter glue, paint, adhesive sheet
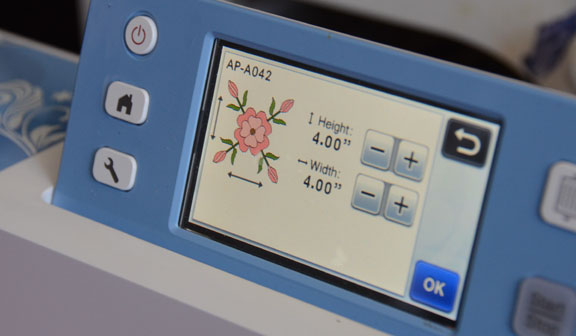
1. Print the pieces of the flower design (except the tiny center, smaller inner leaves, and light strip on the buds) using the ScanNCut machine.
2. Once these pieces are cut, assemble onto a sheet of cardstock.
Tip: It can be easier to use an adhesive sheet on cardstock instead of trying to individually add adhesive to each piece, but either way works.
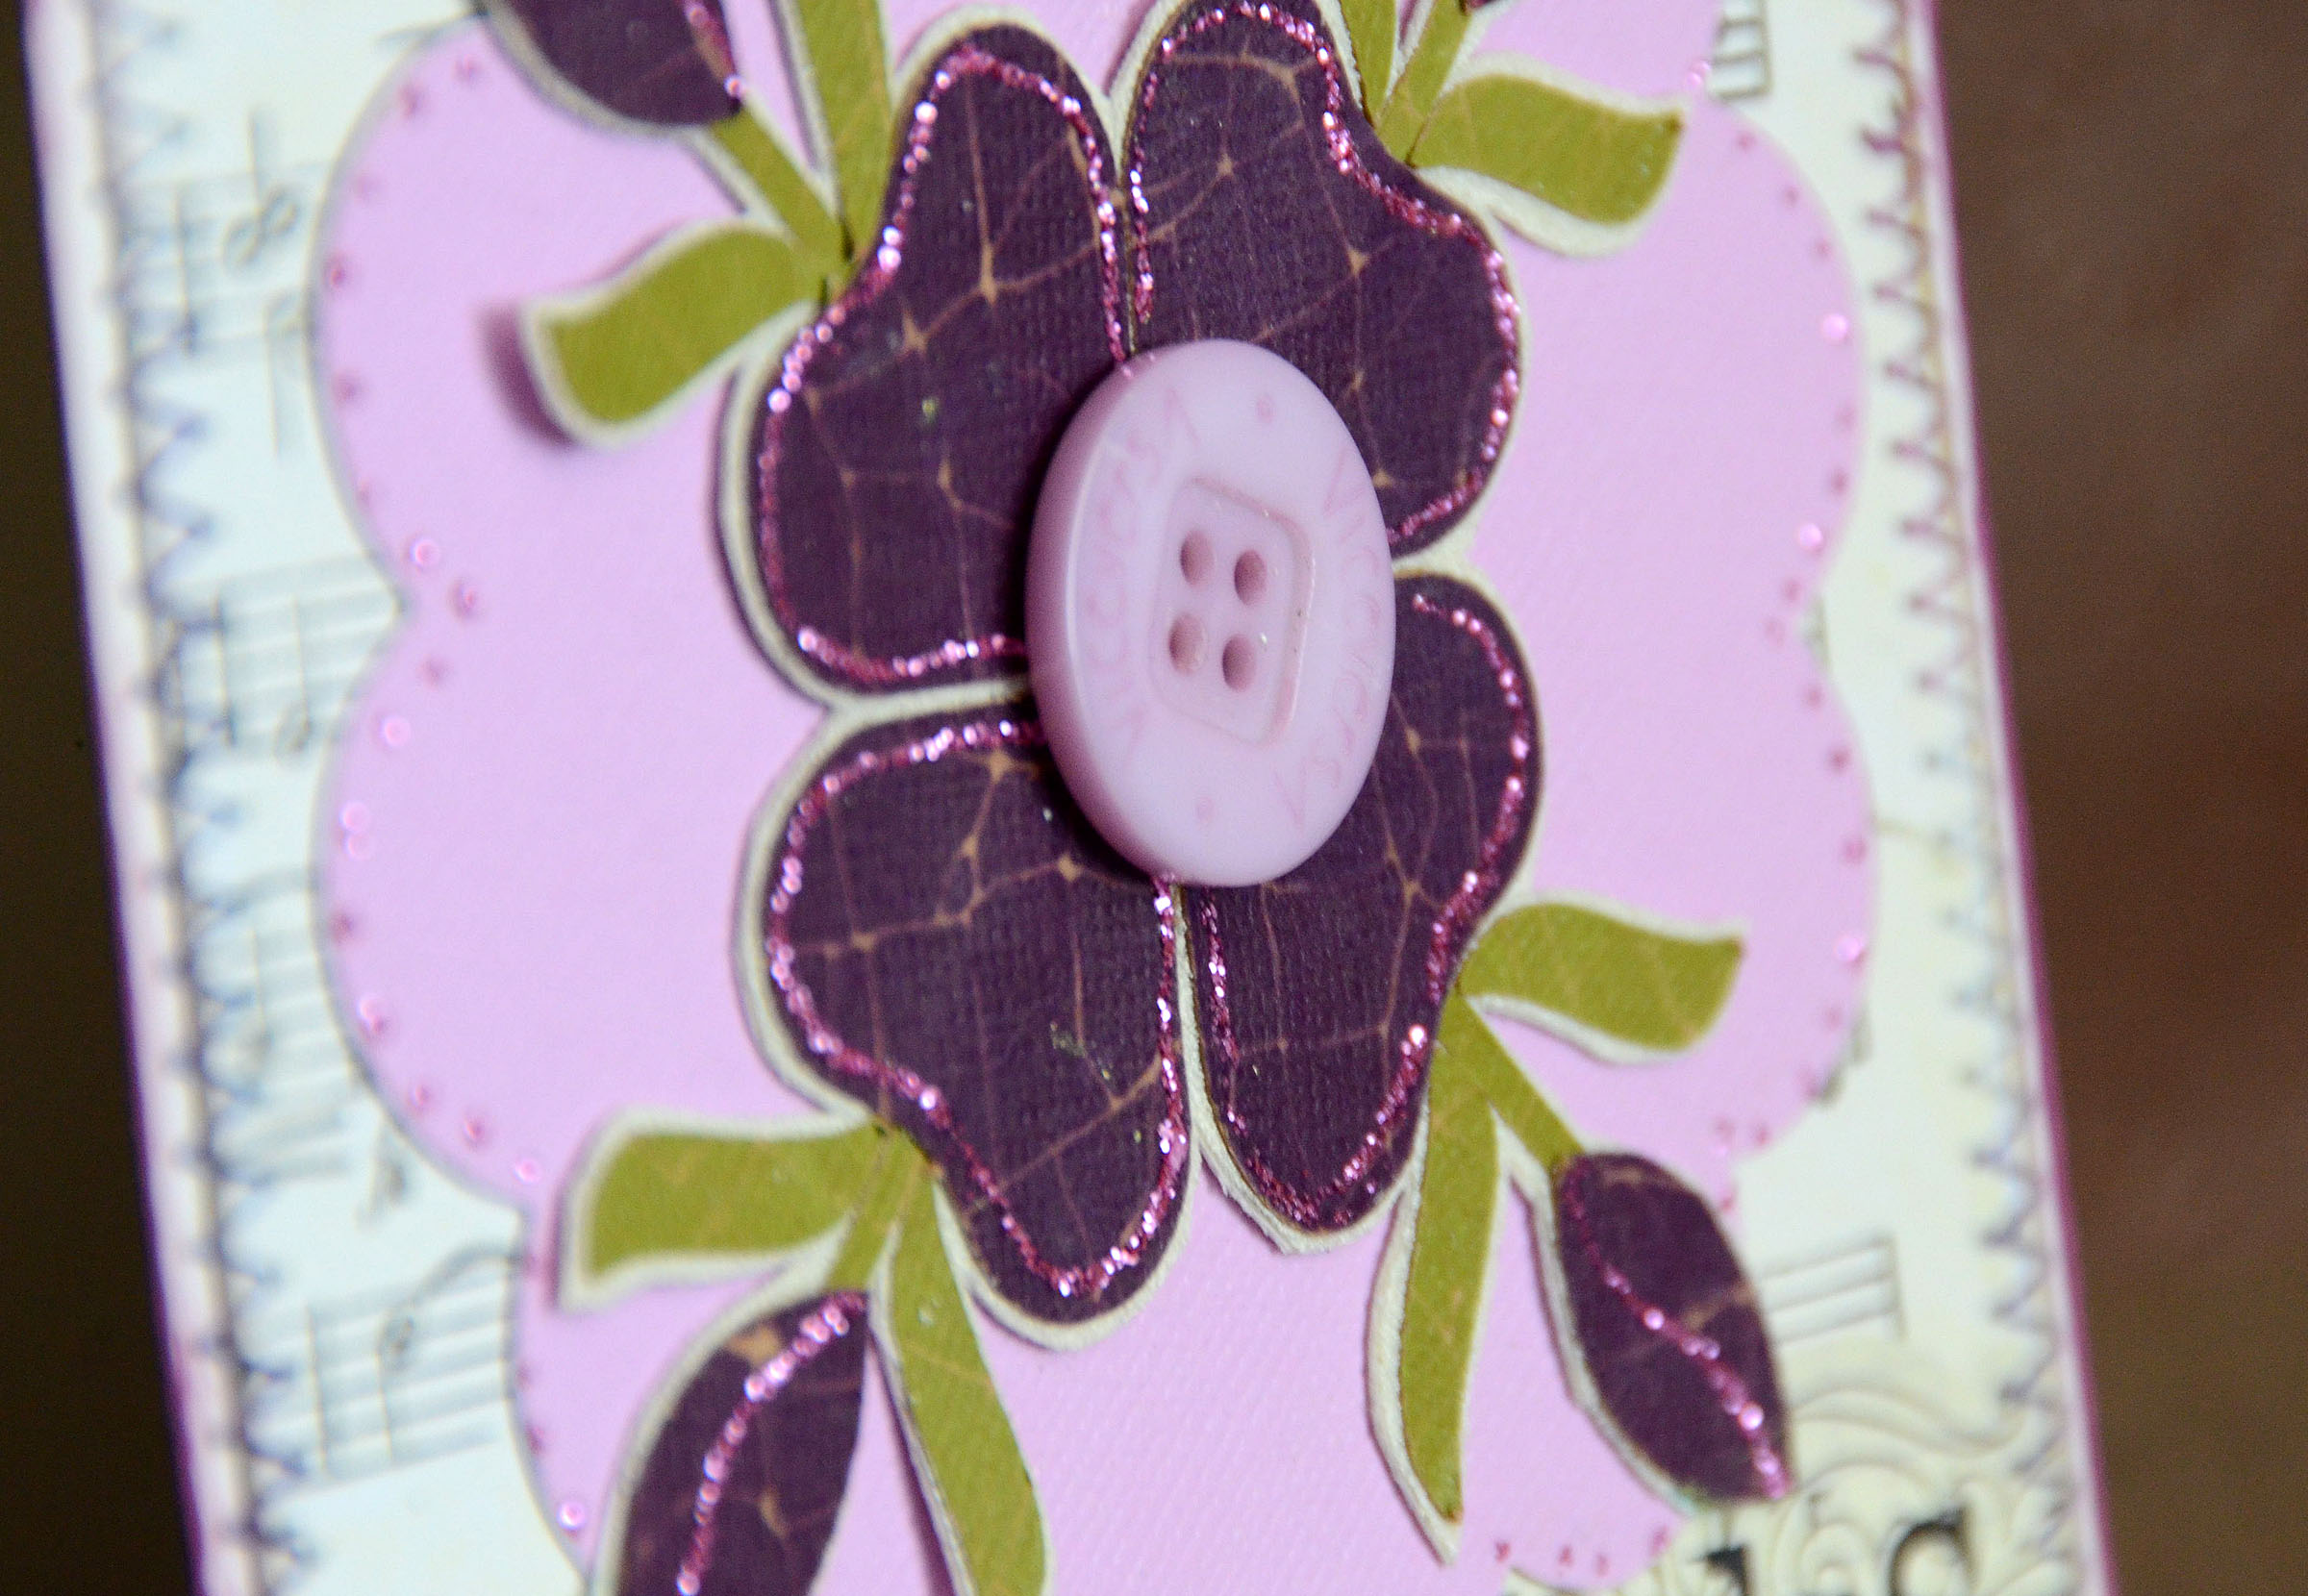
3. Cut out the flower design and add a button center.
4. Using the ScanNCut machine, cut a 4.30” scalloped circle.
5. Gather all of your pieces and prepare to assemble your card. You will need a 5 x 10 piece of cardstock (Folded in ½ to create card base), a 4 ½” square of patterned paper, and the pieces we cut from the ScanNCut machine.
6. Attach the patterned paper to the base of your card by stitching with a zig-zag stitch.
7. Attach the circle and floral elements, and edge the card with purple paint.
8. Stamp “Thanks” using black ink at the bottom of the card.
9. Finish the card by accenting the flower with purple glitter glue.
I hope you’ve enjoyed this fun card. Happy Crafting!

Brother International introduces the first home and hobby cutting machine with a built-in scanner! For more information and inspiration on the ScanNCut machine visit www.scanncut.com. You can also connect with Brother social media on Facebook, Twitter, YouTube, and Pinterest.
I am a paid consultant for Brother International Corporation and have received a ScanNCut from Brother to evaluate. However, the opinions expressed are entirely my own and based on my use of the product.
I am definitely interested in learning more about this machine. On this project, what was the advantage of using Scan n Cut rather than a regular die-cutting machine? Before I bring another die-cutting machine into my craft room, I need to know how it’s different from the ones I already own. Thanks so much for your candor in answering my question.
My biggest suggestion is to visit http://www.scanncut.com and watch the awesome videos that were made specifically to show all of the features and give an overview of the machine. Since it sounds like you are experienced with die cut machines, I think that you will be able to see if this machine is one you need to add – or not – based on the in-depth info available at the site. I really appreciate that this machine is not connected in any way with my computer, and that I can scan anything I want into it in order to create my own files to cut. I also really appreciated that from the time I had it out of the box I was cutting paper in less than 5 minutes.
Great card May. And that machine looks so great!