Monday Challenge – and a hop!

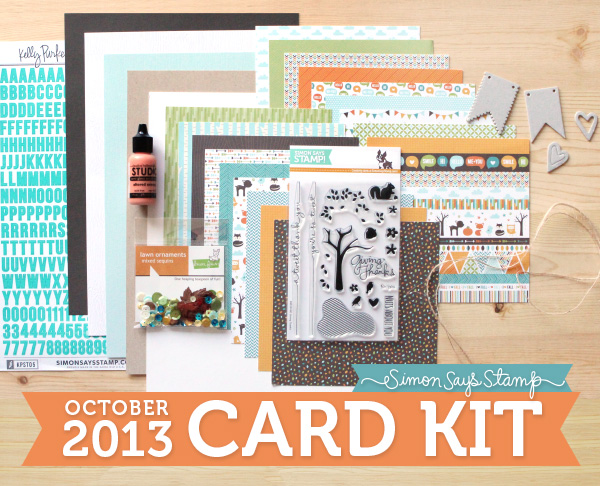
This week the challenge at the Monday Challenge blog is to use a Simon Says Stamp exclusive product (it could be a stamp, sticker – whatever!) and share. Simon is, as always, offering a generous $50 voucher that will be randomly drawn from the eligible entries each week. For your chance to win a $50 voucher you should hop on over and join in the challenge here.

50dollar_voucher_600pxOf course this week we’re mixing things up – and to see all the projects that we’ve created you’ll have to hop around to the design team’s blogs. We’re all using the new Shari Carroll Art Journaling kit (you can get yours here in the shop) and you’ll want to see all of the creative things the team has come up with this week. First though, I’ll share my entry and to kick off my post here is a video made by Shari, so you can see what she has to say about the kit and see all of the contents:


.

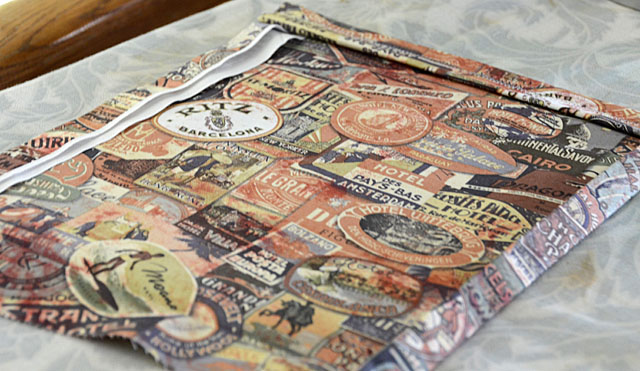
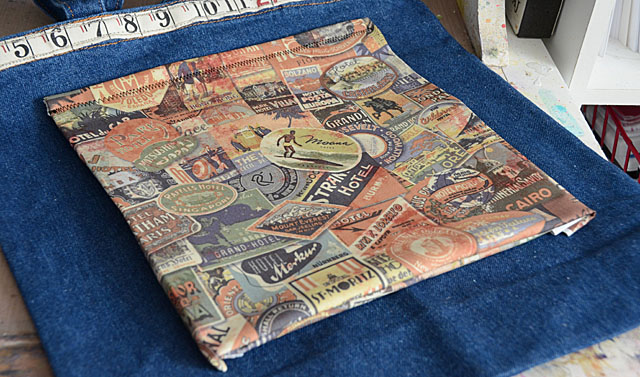
What I’m going to do here today is show you how I took a beautiful, pristine, just out of the package art journal and got it all junked up and ready to party!

004

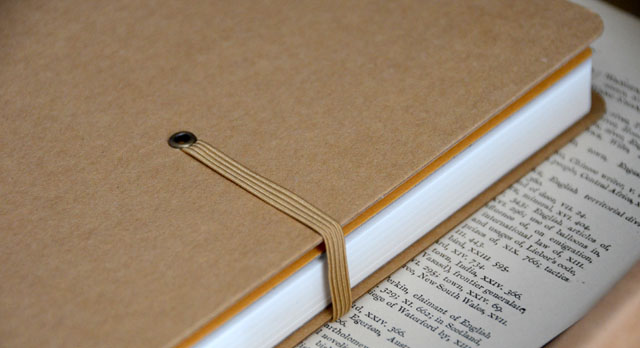
First thing… I decided to cut off the elastic band that would hold this closed. It was in the way of my master plan. Off it goes!

007

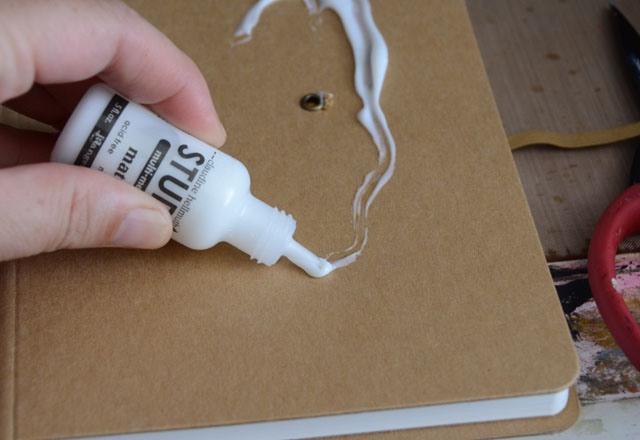
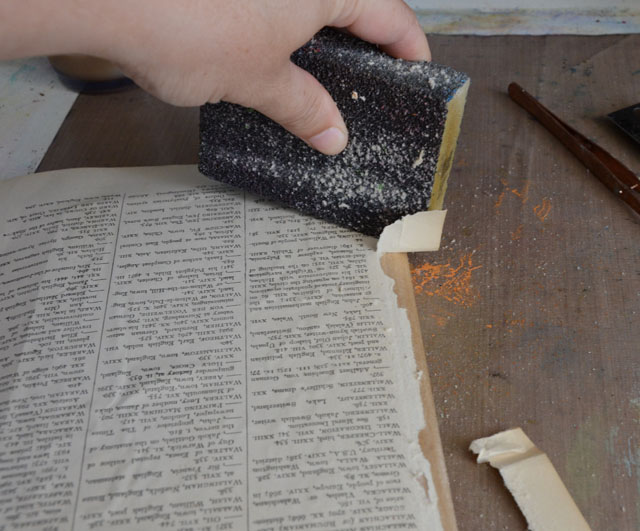
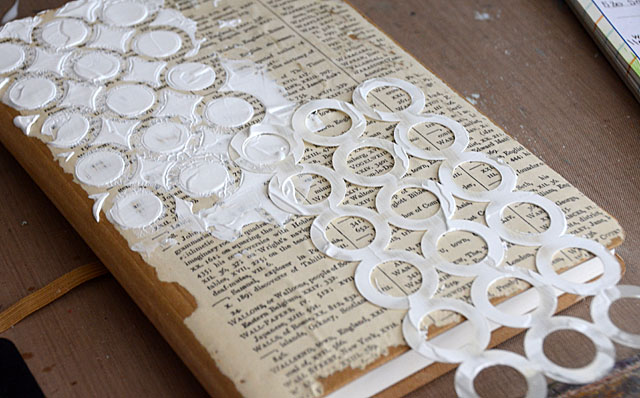
Next up: matte medium from the kit applied liberally under AND over the dictionary paper (also from kit). Let it dry, then sand those edges!

010

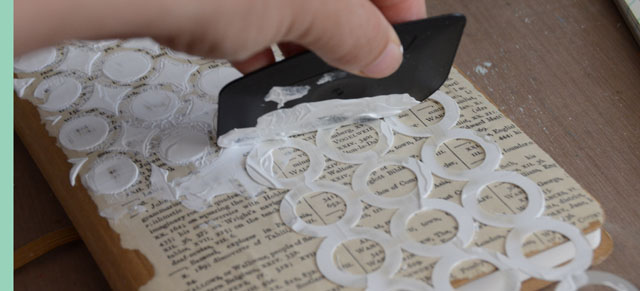
Now that we have a base, it’s time for gesso + stencil.

016

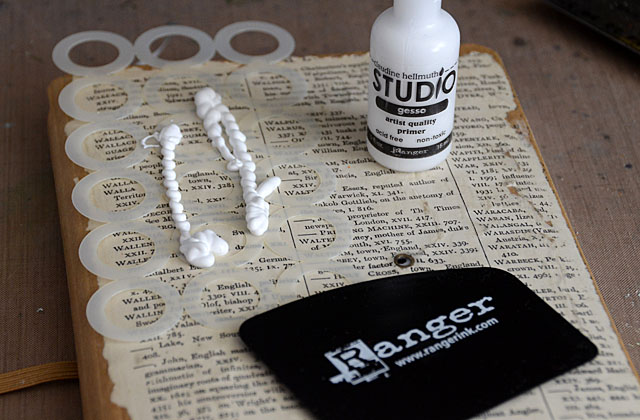
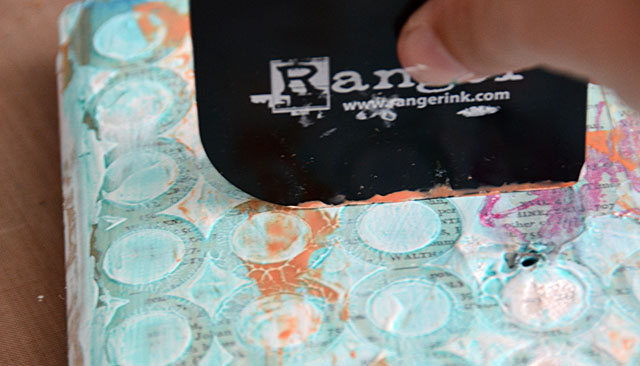
I liked using the scraper tool – and again to this point EVERYTHING I’ve used is from the kit – to apply the gesso. This will add a nice texture and I like this pattern as a base design.

018


020

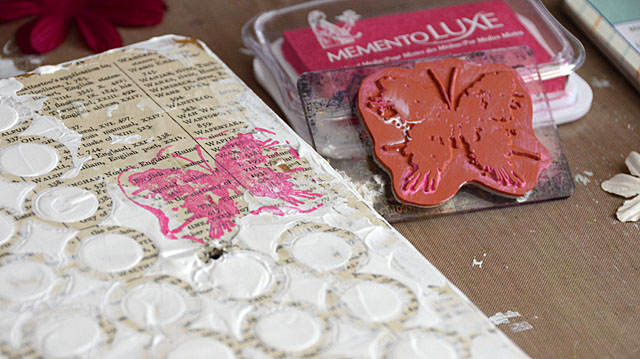
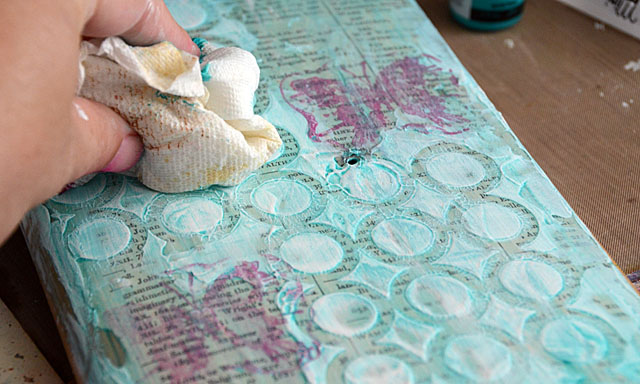
Once that dries, it’s decorating time! I am pulling out the stamps from the kit (I had a pattern and a butterfly), and I’m using some Memento Luxe ink (not in kit) to stamp.

026

I think I’ll also get out some of that blue paint from the kit, apply it, and mist it down with water! (Why not?!)

033

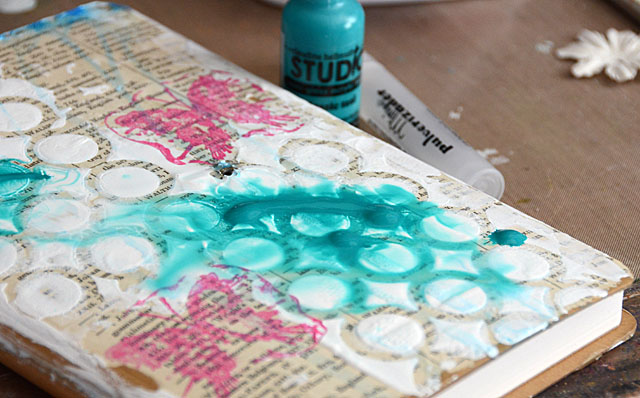
Eh… maybe wipe it around a bit. Can you tell how specific and exact this science is?

035

That was fun, let’s get out the orange paint!

041

Scraped up fun.

048

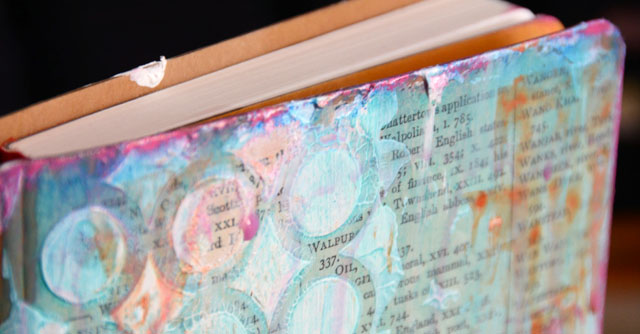
I took that pink ink pad (that I used with the butterflies) and applied a bit at the edge as well as a few mists of water to make it bleed.

053

Then it’s just about finishing time! Adding in a tile, flower and letters from the kit (adhered with multi-medium)

055

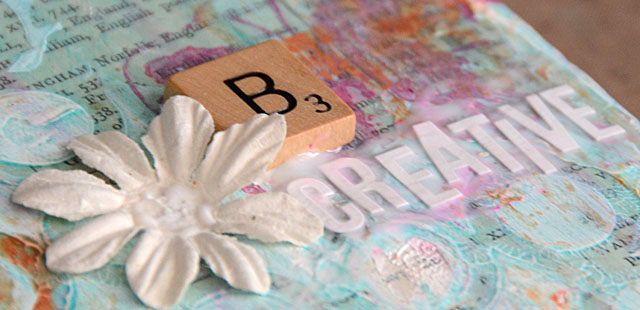
And I think stamping a bit with the other texture stamp I had in the kit – loving the crackle look!

059

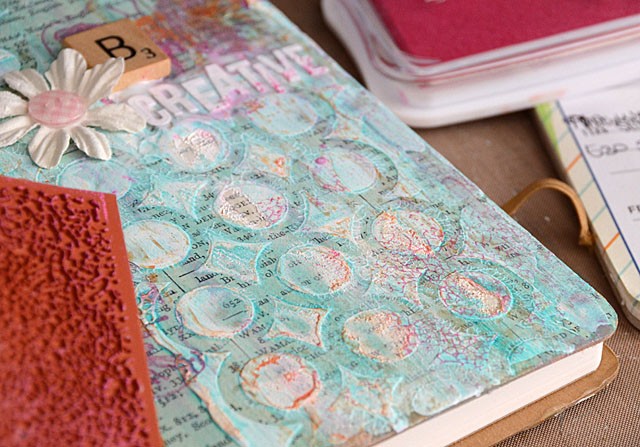
Guess what? The cover is now all funky and ready to hold my random doodles, ideas, and more!

067

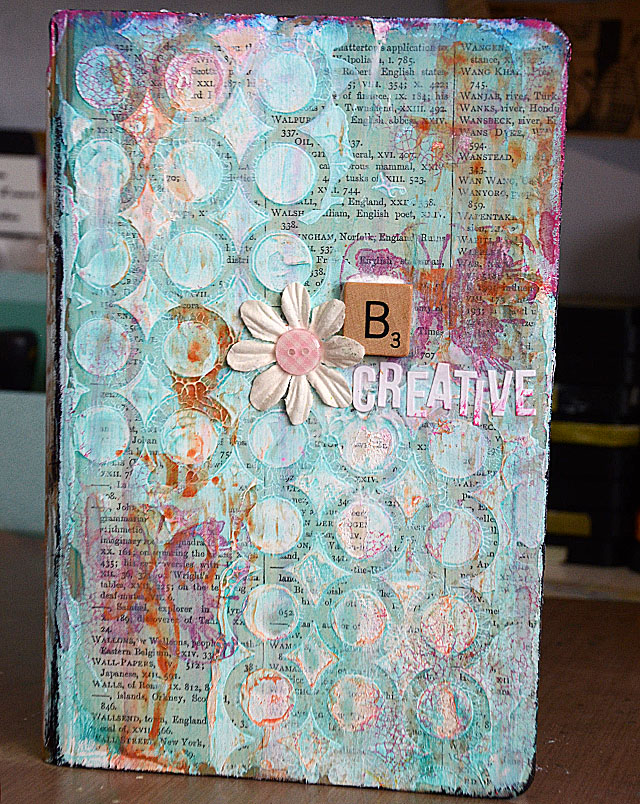
I love how this turned out, and that I really didn’t add much at all to the kit. These little journals are FANTASTIC – I want to get a few more actually! You can find just the small journal here in the Simon shop. And again, here’s a link to the kit if you want to check it out for yourself. I love that they all come with different stamps!

Now that I’ve shared my creation, it’s time to “hop” on over to the next team member if you’re so inclined! The always creative Meihsia is up next, so pop over to her blog and see what she’s dreamed up.

Oh, and of course remember to head back to the Simon Says Stamp Monday Challenge blog to enter in the fun if you’d like to join in this week’s challenge.


stamptemberrblog-banner

Simon Says Stamp was founded in 2002 with an interest in exclusively selling rubber stamps. It didn’t take long until we realized we couldn’t stop there. During the past 11 years we celebrate rubber stamping in its full glory by giving access to people around the world to a one stop shop. Rubber stamps still remain the heart of our business and we are celebrating by hosting a STAMPtember® event intended to inspire, educate, and celebrate the greatness of rubber stamping. Part of the enticement of rubber stamping is that stamps can be used in creating or complementing ANYTHING! From stamping dates on bank documents and postage parcels in the early 18th century, rubber stamping has dramatically expanded to include card making, scrapbooking, mixed media, life documenting, art journaling, and many forms of altering and expressing art.

Fabric Friday: the quickly altered tote

Three things you need to know before I really get this post going:

  1. I got a bit wild at Joann Fabric when the Tim Holtz fabric came out (and was 40% off!!!) and I might have purchased 12 yards total.
  2. Sacramento now has a Hobby Lobby, and I am afraid if I go back in I may never come out.
  3. I really, REALLY mean to use my beautiful Brother(tm) International sewing machine a WHOLE lot more than just as a paper stitcher.

027

These facts laid out, I introduce you to fabric Fridays. For the next few weeks I’ll be sharing fabric projects AND the how-to. They will all be easy, as I am a totally lame sewer and thus things need to be simple. Luckily I have Tex (aka my sewing machine and BFF for the last few years) to help me along. Today I’m kicking things off with how to alter a tote bag. These bags? They’re available for sale at most craft stores in all kinds of canvas/denim/heavy/light fabrics, they’re CHEAP, and let’s be honest. It would take me hours to actually make a tote bag and starting with a ready-made one just makes good sense for someone who is rusty and needing to get back into good habits. Uh, and use the 4478392404085 yards of fabric she has in her office.

ahem.

001

So for this, I started with a $2 denim tote. Right off the bat I decided to stitch a Tim Holtz ruler trim around the top. Nothing fancy- I just stitched it on. 3 minutes tops, and we were on our way to tote bag greatness.

003

Tip: If you don’t want to sew, you don’t have to!! You could use a strong fabric adhesive or iron-on adhesive and skip all stitching for this project. I think stitching takes less time and is easier – but either way!! You could also hand stitch these additions…

Ok, so all stitched up, I decided I wanted a pocket on the front of this bag. Nothing fancy- just a square-ish pocket to hold more stuff and be decorative too.

005

To do this:

  • take two pieces (or a single piece folded-over) of fabric and iron the edges so they are folded under on the top and sides.
  • Stitch along the top since you do NOT want to try and stitch the top once it’s on the bag… otherwise you’ve got a patch but no pocket!
  • Figure out how tall you want it exactly, then fold the bottom edges under.

Here are some photos to help explain – but it really is easy.

007

015

017

Ok so above you can see me folding the bottom of the pocket pieces IN – this is so that there is no raw edges to the fabric on the inside of my pocket. The sides I wasn’t worried about because of where I’d be stitching down. And really – all you HAVE to do here is stitch the sides + bottom onto the front of the tote to complete this. It’s easy!

022

Unless you go wonky and stitch sideways somehow, or stitch through the entire tote. um, not that I did either of these things. BUT! If you know a person who did make such errors, remind them to just rip out the offending stitches, and try again!

031

I stitched a bit extra at the top, because that is where the most stress will be on the pocket. Other than that – what you see is what you get! I love how this one came out, and that even with all my errors I still finished in about 30 minutes.

038

Now that I’ve warmed up by simply adding something to an existing item, I’m feeling like I can happily jump into some from-scratch creating! What will be next? Well I have a Christmas tree skirt, a fabric pumpkin, table runner, decorated shirt, apron, and pillowcase as well as new studio curtains on my wish list – so we’ll see!!

You will be seeing a LOT more of Tim Holtz fabrics from me, as well as other seasonal and other fabric projects as well. Right now it’s time for me to hop into a new project, and hope for the best!

STAMPtember® guest!

blog-banner-mayflaum

Simon Says Stamp was founded in 2002 with an interest in exclusively selling rubber stamps. It didn’t take long until we realized we couldn’t stop there. During the past 11 years we celebrate rubber stamping in its full glory by giving access to people around the world to a one stop shop. Rubber stamps still remain the heart of our business and we are celebrating by hosting a STAMPtember® event intended to inspire, educate, and celebrate the greatness of rubber stamping. Part of the enticement of rubber stamping is that stamps can be used in creating or complementing ANYTHING! From stamping dates on bank documents and postage parcels in the early 18th century, rubber stamping has dramatically expanded to include card making, scrapbooking, mixed media, life documenting, art journaling, and many forms of altering and expressing art.

I am very excited and honored to be  a part of the festivities, and today my projects are up over at Simon’s blog!

stamptember (6)

I had a lot of fun playing with stamps + inky goodness, I hope you enjoy!

October Card Kit: project #1

SSS_cardkit_oct13_final

The new Simon Card kit is out – and I think it is my all time favorite! Over the next two weeks I’ll be sharing several cards, projects, and a video as well featuring the kit. First up – a giving thanks card.

106

I love the colors and details in this kit – the stamp set is a lot of fun and I adore the new Lawn Fawn papers and sequins in the kit as well.

mayf_card1

Fun times! I’ll be back with more inspiration & projects from this kit – I’m just getting started!