ScanNCut project: Home canvas

Of all the projects I made for Brother(tm) International, this is definitely one of my favorites. I LOVE this technique of painting over various shapes and textures, then misting or painting either intentionally or randomly.

mayf_project5 (1)

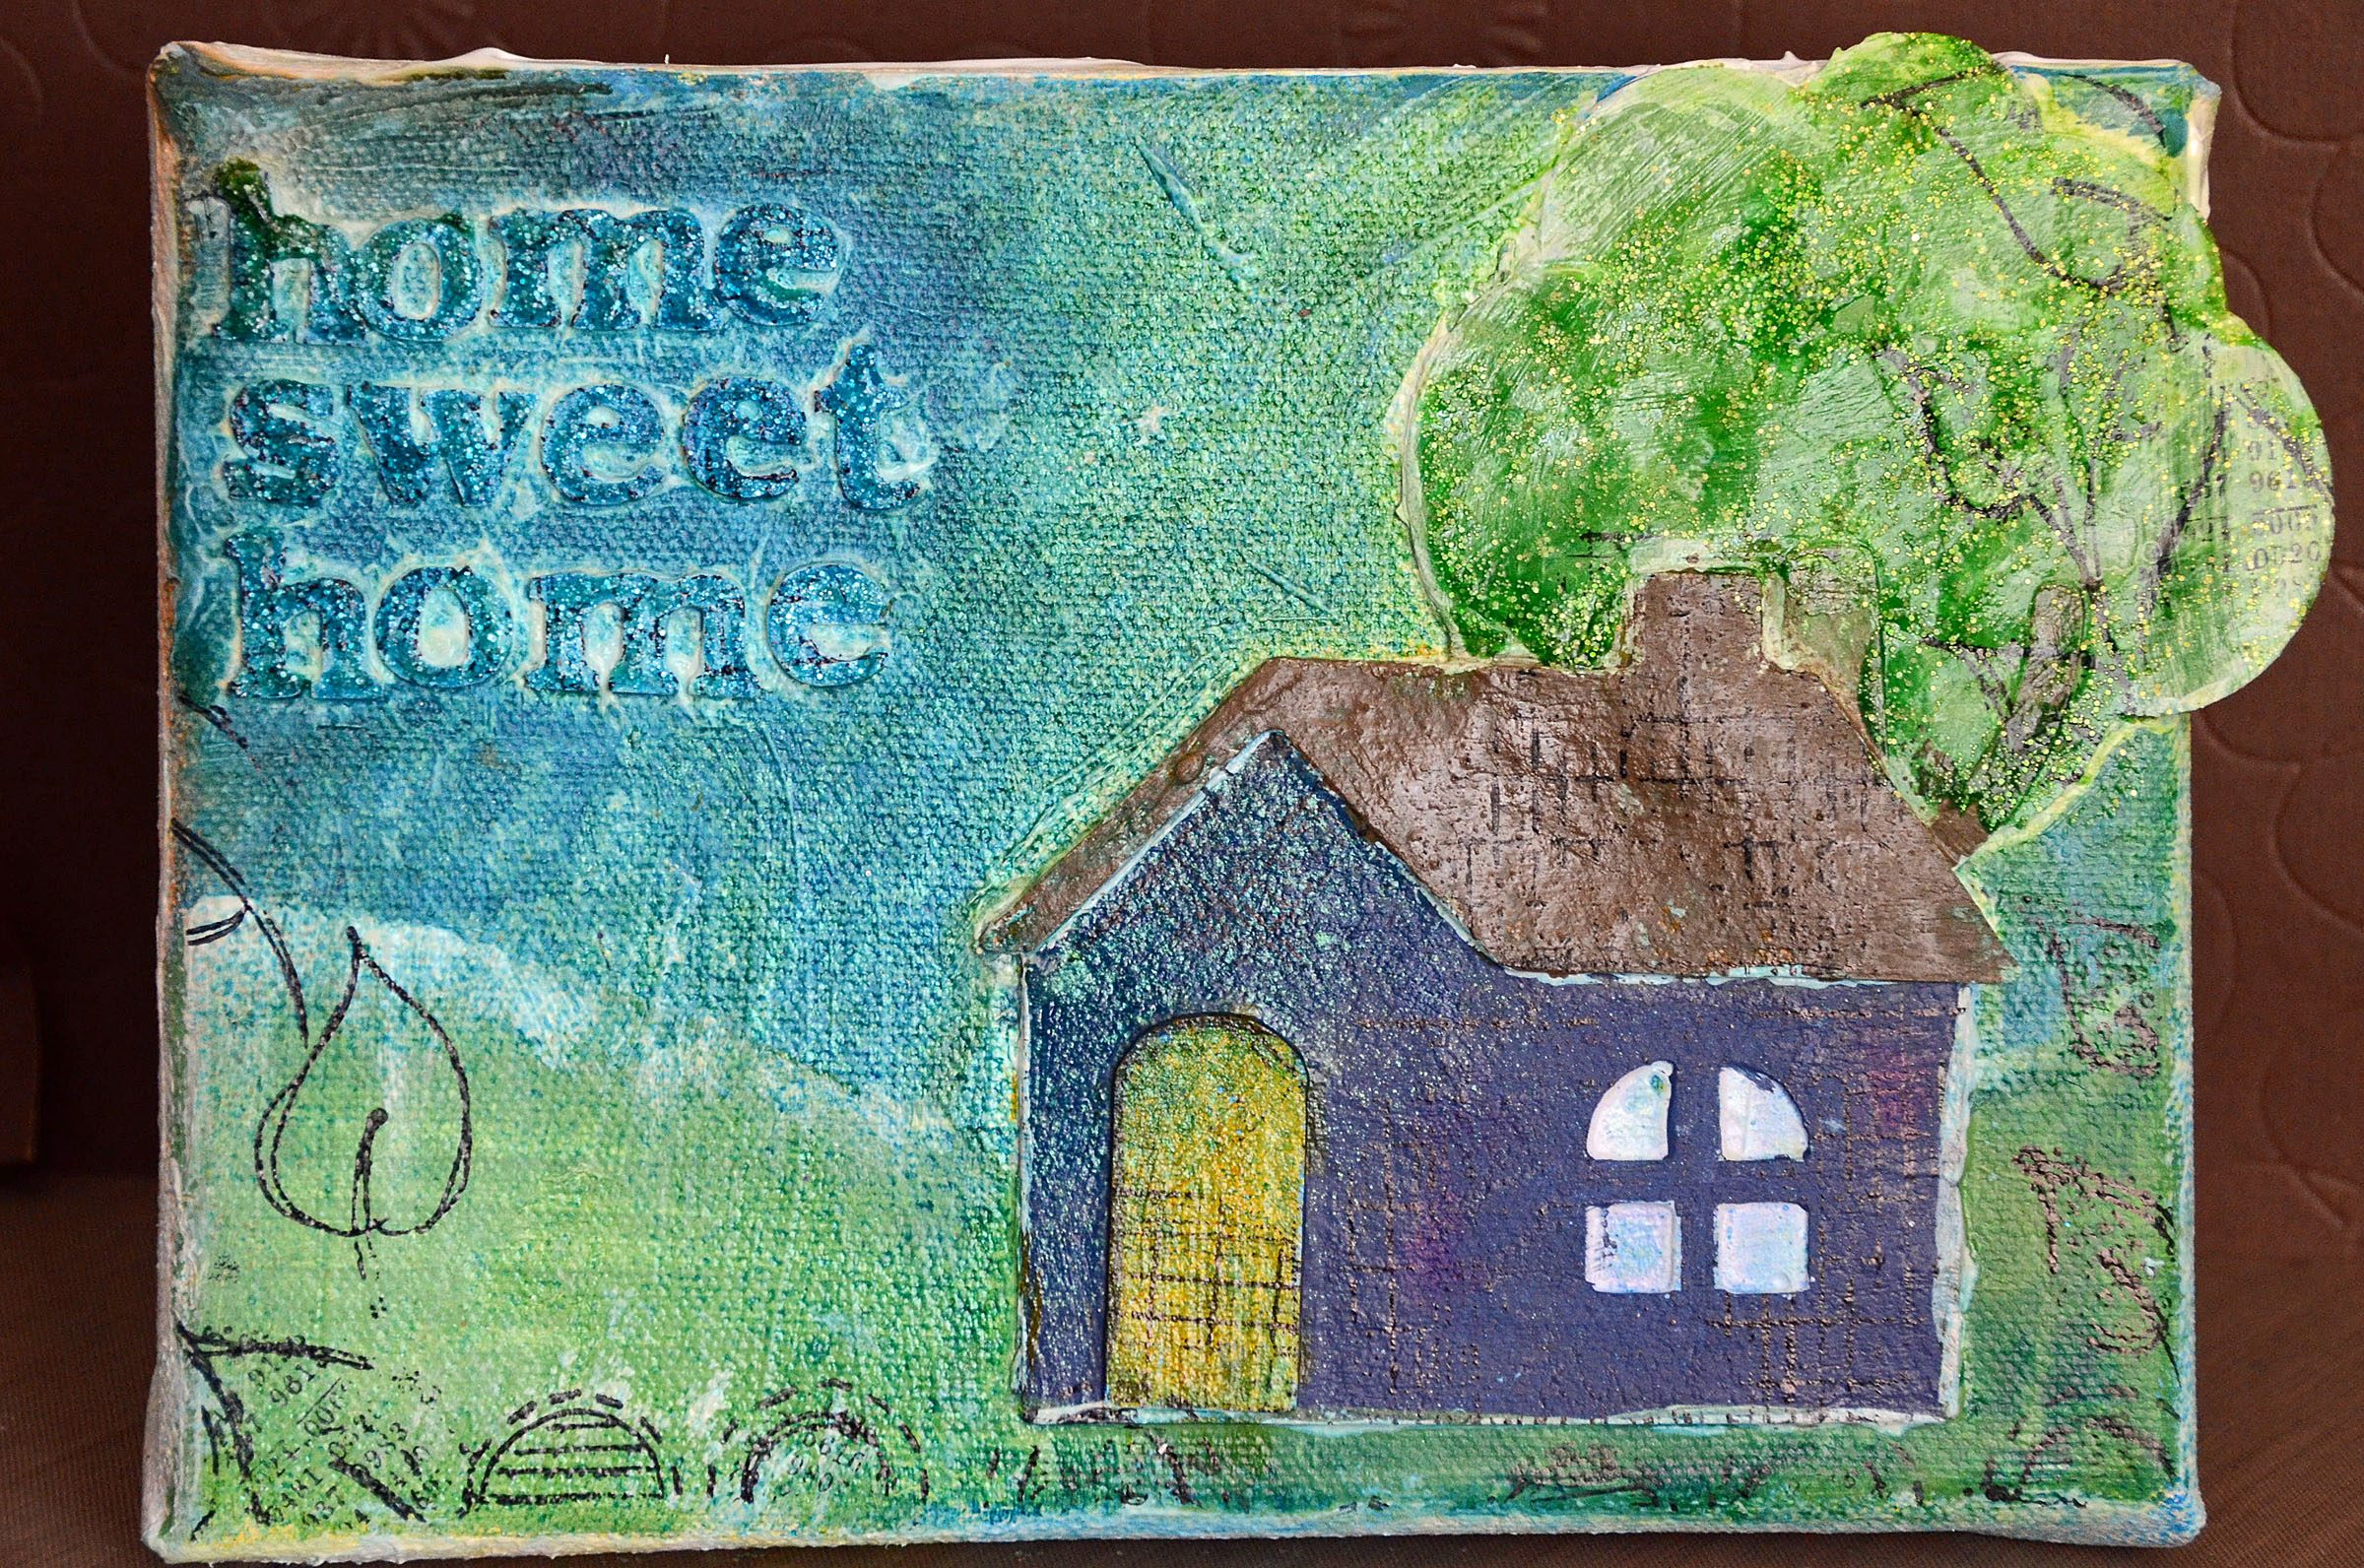
Home Sweet Home Canvas
While I may not be a painter or a great artist with a brush, I have discovered a tremendous love for creating small canvas works of art. The key is to not worry about perfection, and just have fun with the process. The ScanNCut machine is able to cut so many materials thick and thin that it makes it the perfect tool to create a little canvas work of art to hang in your home.

Before I share the how-to, here is a video explaining how the ScanNCut helped make this project possible.

Supplies needed:
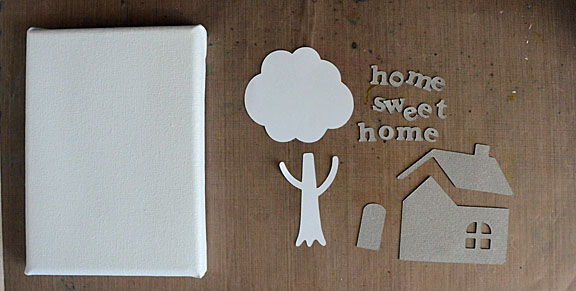
5×7 canvas, cardstock, chipboard or grungepaper, paint, gel medium, acrylic paint, spray ink, stamps, black archival ink, glitter glue white paint

house

How-to:

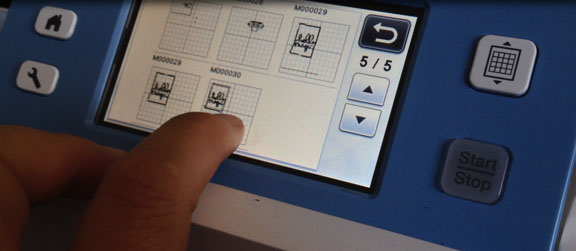
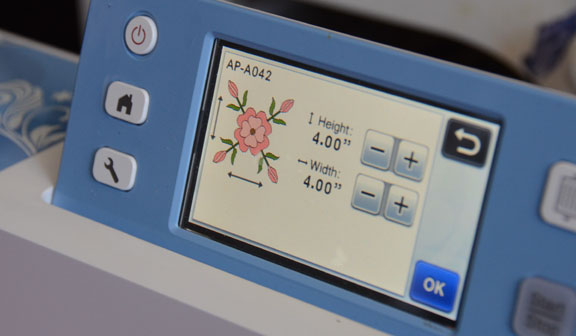
Step 1: Cut a tree (3 ½” high) from cardstock and letters (minimum font size) and a house (3 ½” high) from grungepaper or chipboard using the Scan N cut machine.
Step 2: Coat your with a generous layer of gel medium and white acrylic paint.
Tip: the thickness should be about the same as you would put peanut butter on a sandwich
Step 3: Take all of your pieces cut out from the Scan N Cut machine and set onto the canvas as you would like them. Adjust as needed, then coat and cover fully with the gel medium and paint mixture.

house2

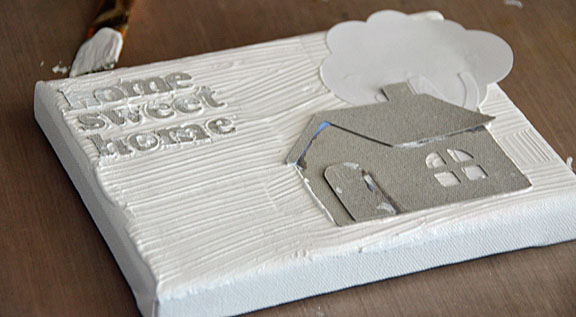
Once covered completely allow the canvas to dry.
Note: At this point you can take a number of directions. Use spray inks to mist assorted colors, do streaks of paint, color in detail, add more texture or embellishments, and more! This simple process of layering shapes to create texture then decorating is a lot of fun – one of my favorite projects!
Step 4: Once dry, the real fun begins! AS mentioned above there are a number of directions you could take this project. To begin, I colored the tree with green paint and spray ink.
Note: I chose to do a mix of coloring specific items and doing some random and more artistic coloring as well. I will be walking you through the how-to of my canvas, but you could substitute in whatever you happen to have on hand to color your own.
Step 5: Color with spray ink (or color wash) the background a soft yellow. Dab away any excess moisture. Also paint the roof of the house brown.
Step 6: Continue painting pieces as you see fit. Add blue and green paint to create sky and grass, paint the house, and add brown to the tree trunk.
Tip: Don’t get hung up on perfect or just right. We are building layers of color and things will keep changing as we go along!
Step 7: Apply white paint to the title area, and to accent and add depth in various spots such as the house and tree edge.
Step 8: Mist with assorted colors of spray ink to add speckles and to mix up the colors a bit.
Tip: Allow each layer of color to fully dry or use a heat tool to dry before adding another layer. Otherwise you’ll end up with muddy colors and a big mess.
Step 9: Once satisfied with the colors of your canvas, add some finishing touches with black archival ink and some stamps.
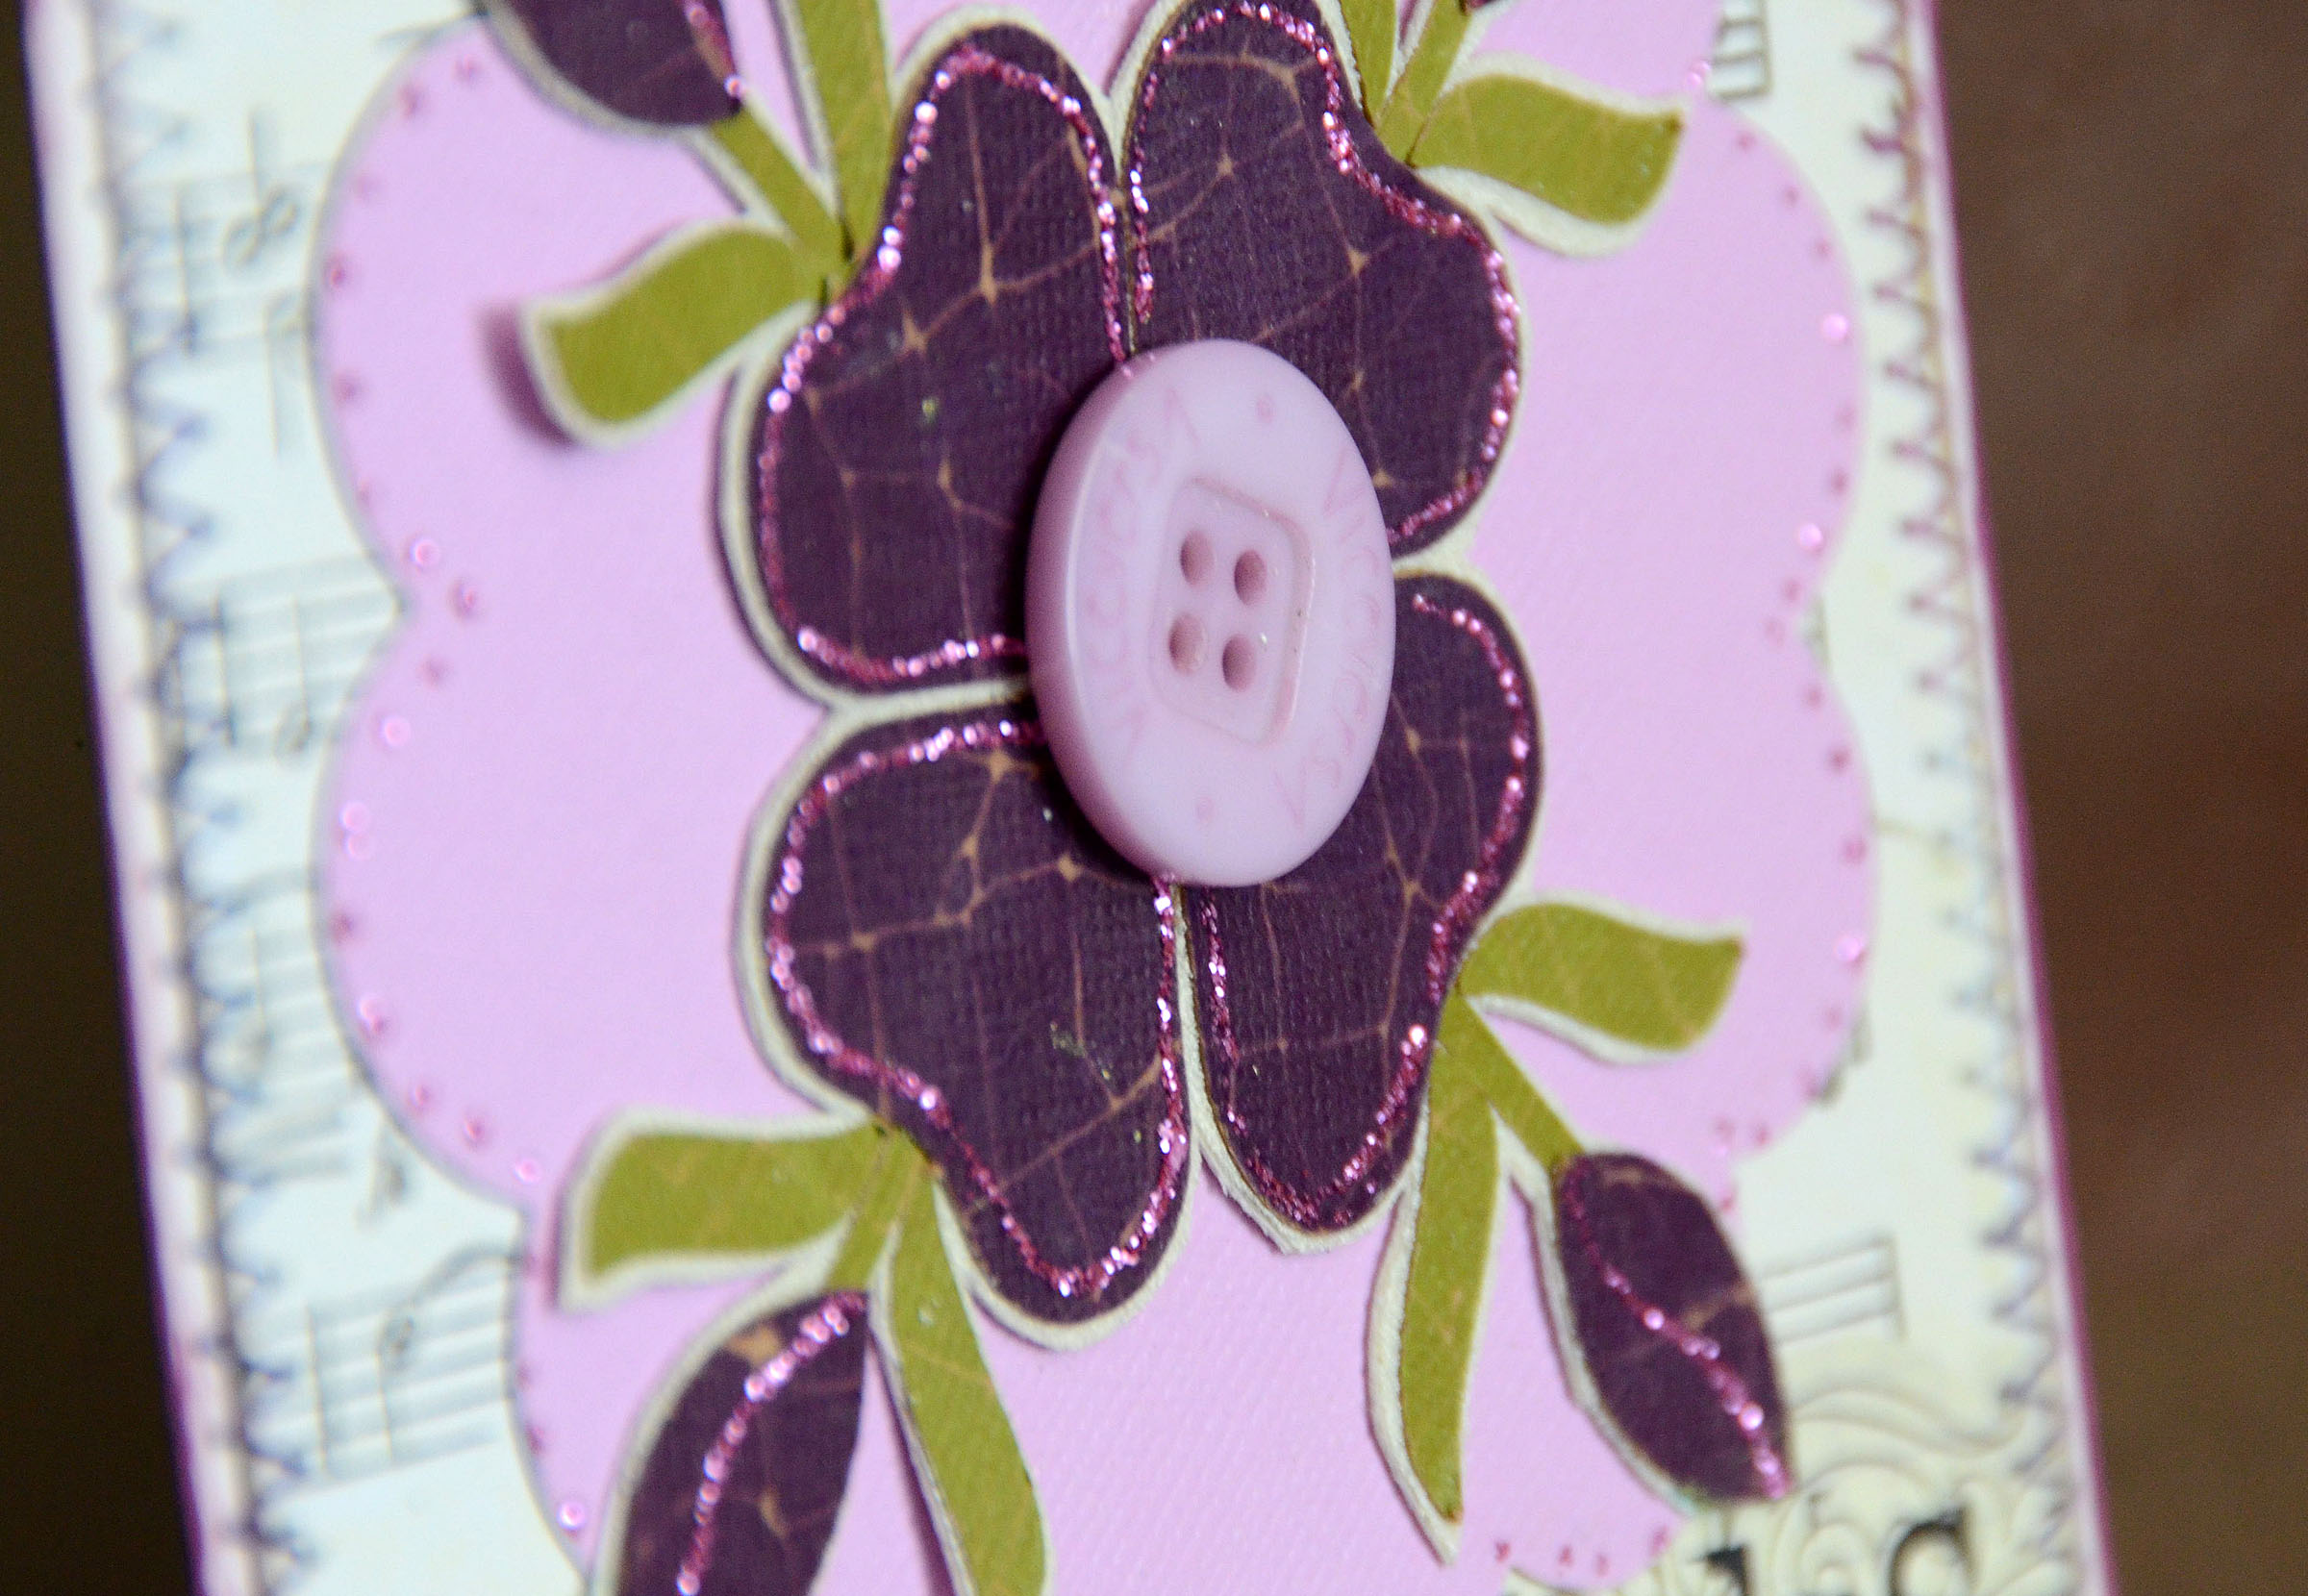
Step 10: Finish things off with glitter glue on the trees and words if desired.

mayf_project5 (2)

This would be great for seasonal décor, and I know I’m only just beginning to discover the possibilities of this kind of canvas project with the Scan ‘N Cut machine to help me. I think just one big word, lots of little shapes, a single letter – the sky is the limit!


Brother_International_Scanncut_Scan_N_Cut

Brother International introduces the first home and hobby cutting machine with a built-in scanner! For more information and inspiration on the ScanNCut machine visit www.scanncut.com. You can connect with Brother’s ScanNCut social media on Facebook, Twitter, YouTube, and Pinterest.

I am a paid consultant for Brother International Corporation and have received a ScanNCut from Brother to evaluate. However, the opinions expressed are entirely my own and based on my use of the product.

ScanNCut project: Hello Magic Layout

It is my pleasure to show you another project that I created for the launch of the ScanNCut machine by Brother ™ International. This time, I’ve got a layout to share. This page utilizes a really cool feature of the machine – that you can scan in your digital cut files and print them. No file conversions necessary – just scan, cut, and play!

There is just something magical about a vacation to Disneyland, and even better is when a fantastic tool like the ScanNCut is able to do a bit of magic as well to bring dimension and detail to my page.
mayf_project1 (1)
Hello Magic Layout

Supplies needed:
12×12 patterned paper, a 4×6 photo, 10×10 cardstock, cardstock for die cutting shapes, pen, sequins, glitter glue

mayf_project1 (2)
How-to:
1: Print out the digital file that you want to cut for your title at the size you would like and scan into the ScanNCut machine. Save to the machine or USB.
Tip: if you’d like to make any changes to the file, you can do so with black pen before scanning.
2: Cut the file out onto cardstock.

p1

3: Look at that magic! I love that I can cut words out like this, and even better is that I can further customize once cut. For this step, add liquid adhesive and glitter to the words, and cut them out from the frame.
Note: I decided once printed to separate the words from the frame. This was done by simply snipping it apart.
4: Time to get the Scan N Cut out to cut some papers! Cut two (4”) white and two (4 ½”) blue banners and layer. Where the banners meet, you will cover with a white oval (5”) and a pink scalloped oval (4 ½”) as well as the title words you already have.
5: Time to assemble this simple title page! Attach the photo and layered title to a 10×10 square of cardstock and attach that to a background paper. Then add glitter glue accents, sequins, and add the date and place at the bottom in black pen.

I hope you’ve enjoyed my project! If you have any questions about the project or machine, feel free to leave a comment!


Brother_International_Scanncut_Scan_N_Cut

Brother(tm) International introduces the first home and hobby cutting machine with a built-in scanner! For more information and inspiration on the ScanNCut machine visit  www.scanncut.com. To connect with Brother social media on Facebook, Twitter, YouTube, and Pinterest.

It’s been really exciting to be working with Brother International on this launch, creating projects and videos to share. Stay tuned for more posts from me coming over the next few weeks.

I am a paid consultant for Brother International Corporation and have received a ScanNCut from Brother to evaluate. However, the opinions expressed are entirely my own and based on my use of the product.

ScanNCut project: thanks card

I’m so excited to kick off my project + tutorial sharing featuring the ScanNCut machine from Brother(tm) International! I’ve had such fun working with this exciting new machine. There are a lot of patterns on the machine made for quilting and such – and I love seeing how they translate to my paper crafts! First – here’s a quick video I made showing and explaining with the ScanNCut machine and how I’m using it for this project:

Creating a square card is the perfect way to highlight one of those designs and create a special card to let a special person really know how much they mean to me.

mayf_project3

Supplies:
Cardstock, patterned paper, stamps, black ink, glitter glue, paint, adhesive sheet

1. Print the pieces of the flower design (except the tiny center, smaller inner leaves, and light strip on the buds) using the ScanNCut machine.

2. Once these pieces are cut, assemble onto a sheet of cardstock.

Tip: It can be easier to use an adhesive sheet on cardstock instead of trying to individually add adhesive to each piece, but either way works.

22

3. Cut out the flower design and add a button center.

4. Using the ScanNCut machine, cut a 4.30” scalloped circle.

5. Gather all of your pieces and prepare to assemble your card. You will need a 5 x 10 piece of cardstock (Folded in ½ to create card base), a 4 ½” square of patterned paper, and the pieces we cut from the ScanNCut machine.

6. Attach the patterned paper to the base of your card by stitching with a zig-zag stitch.

7. Attach the circle and floral elements, and edge the card with purple paint.

8. Stamp “Thanks” using black ink at the bottom of the card.

9. Finish the card by accenting the flower with purple glitter glue.
mayf_project3_detail
I hope you’ve enjoyed this fun card. Happy Crafting!


Brother_International_Scanncut_Scan_N_Cut

Brother International introduces the first home and hobby cutting machine with a built-in scanner! For more information and inspiration on the ScanNCut machine visit www.scanncut.com. You can also connect with Brother social media on Facebook, Twitter, YouTube, and Pinterest.

I am a paid consultant for Brother International Corporation and have received a ScanNCut from Brother to evaluate. However, the opinions expressed are entirely my own and based on my use of the product.

LaLaLoopsy party: crafty fun & details

So a few weeks back I showed a peek at Rebecca’s party – now I’m back with all the photos!

party

Rebecca and I talked colors, ideas (stitching, buttons, etc) and we looked for solutions to our party needs. Colored paper plates, cardstock cut out in cloud-like shapes, curling ribbon – we went wild making stuff ourselves and customizing her party space.

a

My ScanNCut machine helped me TREMENDOUSLY as I was very short on time and had big plans. I cut all of the flowers and the letters for her banner, as well as the circles for the goodie bags out using that machine in just a few minutes.

Even better?  I was able to create all this on my dining room floor and cut + stick onto the wall as I went so I could really see how much I needed, how big, and how much more. LOVED using the “secret machine” (as the girls were calling it at that time) for this.

b

Other details to note…

I grabbed a few of these and a handful of those as far as desert went – and it worked out great! The girls each picked a treat or two and the variety made it seem like there were tons more goodies than there actually was.

c

Activities… we planned this whole party around the la la loopsy girls and their button eyes. So basically… I dumped a ton of buttons + sequins + fun stuff on the table and let the girls craft the day away!

d

The response? VERY positive! I had cheap wood frames for them to decorate (I coated in liquid adhesive then they applied stuff), coloring pages, chipboard shapes to decorate – loads of options.

e

Bonus? the table looked fun!

f

We also had a photo booth and a play area set up with the girls toys. There were some themed/purchased decorations but mostly just me + cardstock + crepe paper. I LOVE crepe paper. Just a few bucks and you can transform a room!

g

The photo booth area was a HUGE hit. I used a white sheet over our ottomans for the seat and the girls loved posing + smiling for the camera.

h

This party was fast, way less expensive than a bounce house/gymnastics/not in my home party, and the girls all had a BLAST. Overall it was an amazing first “School friends” party for Miss Rebecca – one that won’t soon be forgotten.


Brother_International_Scanncut_Scan_N_Cut

I’m so glad to be able to finally share more photos of this party that features the ScanNCut machine!

Brother International introduces the first home and hobby cutting machine with a built-in scanner! For more information and inspiration on the ScanNCut machine visit www.scanncut.com. You can also connect with Brother social media on Facebook, Twitter, YouTube, and Pinterest.


I am a paid consultant for Brother International Corporation and have received a ScanNCut from Brother to evaluate. However, the opinions expressed are entirely my own and based on my use of the product.

ScanNCut countdown!

Brother_International_Scanncut_Scan_N_Cut

Brother(tm) International is introducing the first home and hobby cutting machine with a built-in scanner, and it is going to be revealed in just a few short weeks. Want to be the first to know more? You can sign up for info at www.scanncut.com. It’s been really exciting to be working with Brother International on this launch, creating projects to share with you and even making some videos that will be on their website in the future. The secret trip to Colorado in June? Yup, it was to work on videos for this new machine!

tea

The picture above? That’d be Miss Rebecca’s birthday party and I used “the secret machine” (as she’s been calling it!) to add a lot of detail and fun to the party in a very short amount of time. I’ll be sharing more about this party (and how the ScanNCut helped me in a time crunch!) soon.

I am a paid consultant for Brother International Corporation and have received a ScanNCut from Brother to evaluate. However, the opinions expressed are entirely my own and based on my use of the product.