It’s early November, and to some well organized crafters and those who participate in craft fairs – well they’ve been ready for weeks if not months for the holiday season. But how about the rest of us who just starting to think about holiday crafting?
Today I’ve got some tips to share and my own plans for this holiday season!
There’s no such thing as too early, first of all. Every major project and every deadline I am up against other things try to get in the way, someone gets sick, or I get busy and then blink – the holiday is here and I’m either done weeks ago and thrilled, or scrambling and stressed. Which would I rather be? Prepared, of course!
So as soon as you are thinking about what you might like to do, or what craft projects you might like to take on go ahead and get started!
Don’t over-buy. This one is key and I’ve gotten better about it over the years but the thing is, you don’t want to have 30 extra ornaments or 5 extra rolls of kraft paper hanging out cluttering up your place because you either wildly overestimated your crafting time or thought you needed WAY more than what you do. How to best avoid this problem?
Make a plan and keep a list or three. Having both a clear craft plan and lists (who you need to make for, what things are done, how many cards you’re making, etc) will not only help keep you on track and answer that question “what do I craft now?” but it will also help you avoid over shopping, buying too much (if you’re making 20 cards, you don’t need supplies for 100!), and help keep order to what can be a chaotic season.
Keep goals and expectations real. The facts are that I will make handcrafted fun (in-depth projects) up until about the 5th of December, and then starting back up again on Christmas Eve. There are a few exceptions, but overall if I want to hand craft gift card holders, customize gifts, or make things for people it happens primarily in November. So in making my plans and goals for the season I know that other than some light wrapping or a tag or two – early is the way it happens in this house.
Along these lines, I also encourage you to craft what makes YOU happy. Utilizing very simple wrapping, skipping cards, purchasing pre-made things – there is no shame in any of this! In fact some years, I skip mailing gifts or cards or scale WAY back and other years I go wild. It all depends on how my life is looking, and what works for me. I think it is important especially at a time when it is easy to get wrapped up in what you think you “should” do that you can just keep things very simple!
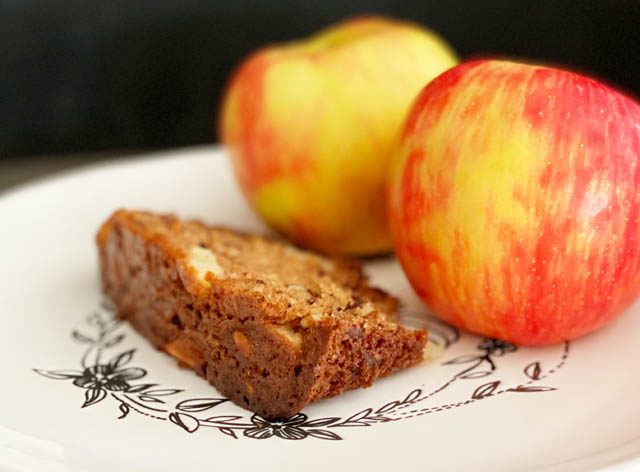
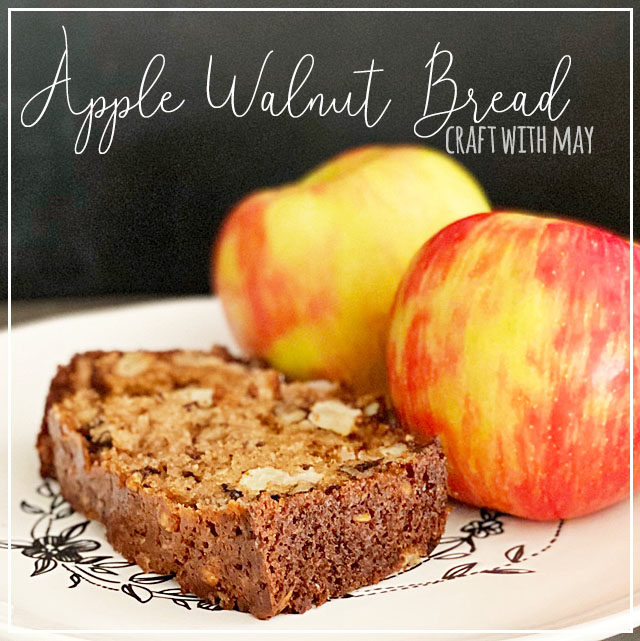
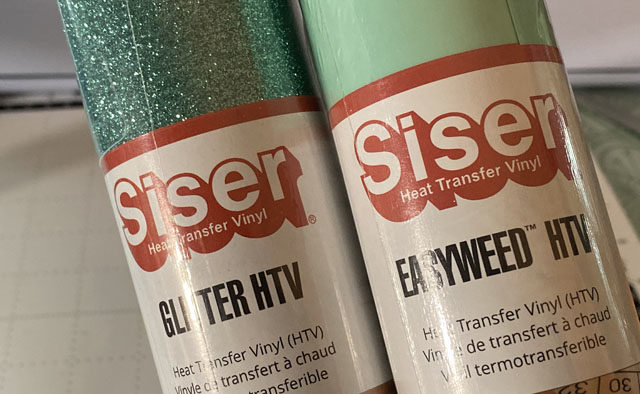
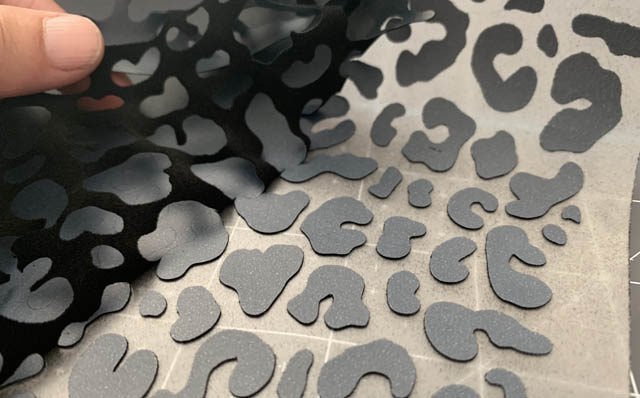
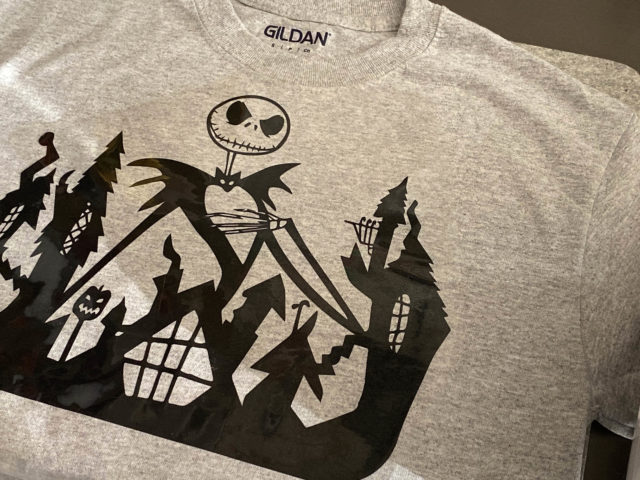
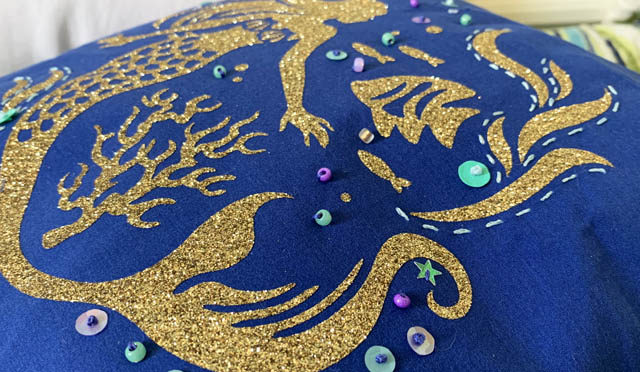
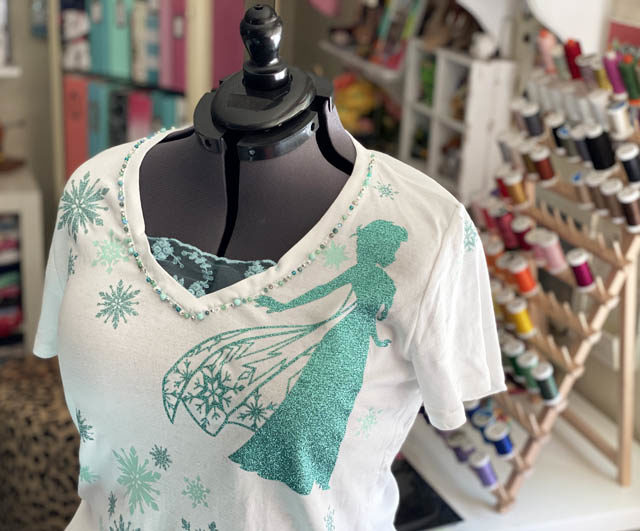
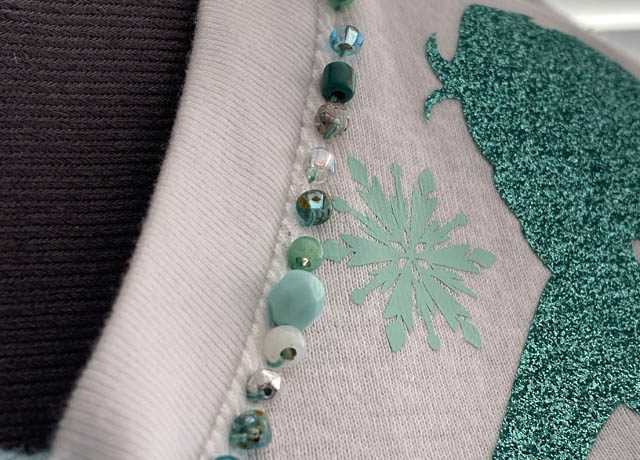
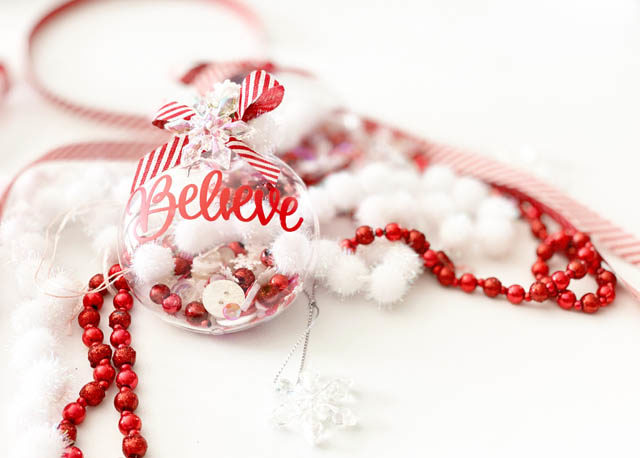
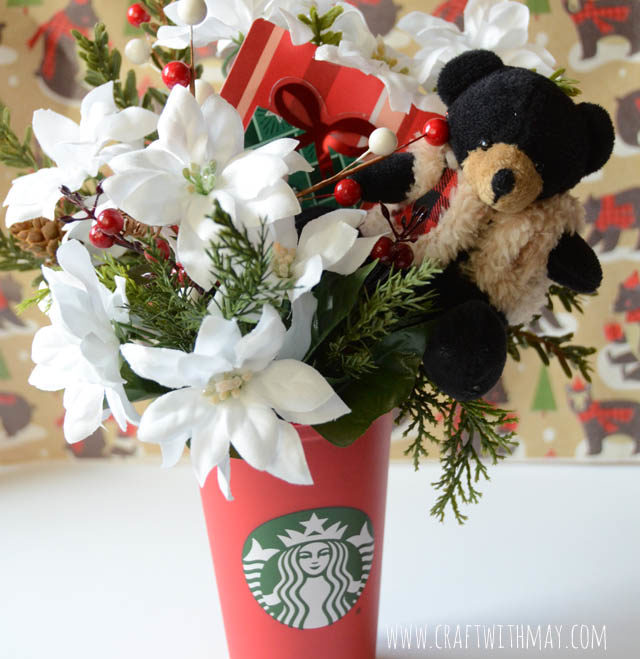
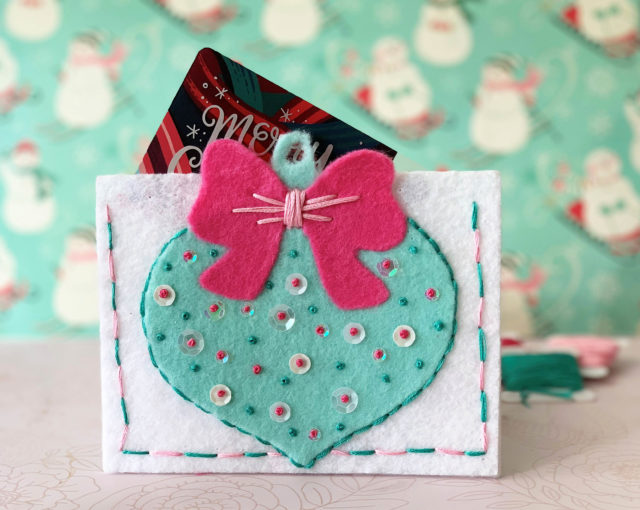
This year I will be making a few (maybe 6) cards, doing as always a few fancy packages (but not all!), and crafting some ornaments and small easy DIY gifts. I will be sharing tutorials with you this month (so you’ve got time to craft as well!) as well as doing a few round-up posts. What specifically do I have planned? Felt will play a big part – I’m making some ornaments, coffee cup holders (already did one – love it!) and I will also be doing some gift card holders for teens, decorating a few boxes, and really just leaning into the LOVE I have of craft.
Some of the years that things have been simple and small are the most satisfying craft wise, so I intend to just play, enjoy, and see where the season takes me. A wild idea (like the 150 or so hour bigger than life scrappy pillow gift…) could take hold. You never know!

That was a LOT of fun to make and actually ended up being a rare December holiday crafted item. I think because I was able to do it in the car waiting for kids, appointments, etc. and it was so portable. I will tell you I notoriously write my Christmas cards that way – so that I them using the time I have wisely.
Stay tuned – the video tutorials start up Nov 4 on YouTube (link at top of blog), and I will be back to post here on my blog round-up of favorite tutorials, shopping ideas, and much more! But first: time for me to go make my holiday lists!