looking back: cars layout

I’m back to digging in some of my old Disney vacation albums and sharing pages. Today, I’ve got a page that features a lot of Jenni Bowlin products…

I still love this page. I love the papers, and how they really worked with rusty old Mater and the old Route 66 feel of the meet & greet area. I love that I got the exact date on there. And I love that I got three different photos of the girls as they say hi to their favorite cars. To say that I love taking pics of the girls with favorite characters would be a massive understatement. For me, it’s good on every level. I get a unique photo opportunity, the girls love looking at them and remembering the time they met that famous so-and-so, and they’re massively fun to scrapbook too. True story? I have 5 characters left from our Disney World trip 2 years ago to scrapbook because I am hoarding and savoring and didn’t want to run out. Yeah, I love it.

On this page, I really am glad I didn’t try to get too funky. I think I’d have left off those three extra stars that I used as decoration. I think I’d have added in some metal and maybe some distress ink and such… but that’s ok. I think I was insane to cut out then stitch that title – but back in the day I did that kind of title stunt often. I should get back into more hand crafted titles – they’re time consuming and a pain in my behind… but I always ALWAYS love them when I revisit scrapbooks.

 If you want to see my very early work, and read about my creative journey start with the last post on this page, and work your way up!

Heidi Swapp: new layout

I hope you’ve enjoyed my look at the new Heidi Swapp products this week! I’ll be doing a couple more projects with these folders, minis, and more in a few weeks – so don’t think you’ve seen the last of me + Heidi’s scraptastic stuff!

Today I want to share a layout where I used a memory file as a paper on my page. Between the die cut edges and overall look – I LOVE using these on layouts and have ever since they came out!

supplies used:

I have found that this new line Vintage Chic is just so soft and perfect for dang near any photos – but I had to use some travel ones for this globe folder – and I thought it would be the perfect time to do a Central Park layout!

Because honestly, there are few things better than a Levain bakery roll (with Valrhona chocolate) on a cool morning in that amazingly beautiful park in spring. *sigh* As I almost never partake in bread or chocolate these days – it was fun to remember that morning and scrapbook it as well. Oh sweet bread and chocolate, how I love you…

I hope you have a fantastic weekend of crafting, exploring, and fun in general!

Heidi Swapp mini memory file book

Today I want to share a surprisingly quick & easy mini book combining Heidi Swapp mini file folders and part of a fotostack album as well.

Supplies used:

To start, I figured out which three folders I wanted to use, and which one I wanted to have as the cover. Then I stitched two pages from a ‘fotostack’ mini album (that happened to be the two pages I had left after using the rest of it on other projects!) across the cover of my cover folder.

The two folders I wanted inside my book, I stitched into the folder next. My sewing machine had no problem with this, and then to really make sure this would be solid I ran a line of glue down the center and let it dry to really seal those stitches.

With the album in place – now all I have to do is decorate the cover and fill it with photos!

Yes, the goal with this particular book is to keep it SIMPLE.  This will become a gift, and one I wanted to get created in a single craft session. I absolutely love these mini folders (about 8 1/2 x 7) – they’re such a great size and I’m going to have to get MORE for my crafting definitely. One pack won’t be enough to satisfy all the ideas I’ve got!

I especially love, as a 4×6 printed photo girl, that this makes the perfect size book for my photos without trimming them – as well as great for multiple tiny photos as well.

One tip: a big thing with me and mini books is that photos and elements sometimes want to stick to each other. Not a problem here! I just used some double sided tape and some sheets of vellum (5.5 x 8.5″) between my pages. Problem solved!

To adhere I just folded (about 1/2″) the vellum and ran double sided tape down that little folded bit and tucked it into my book as needed. Such an easy solution!

I just used photos + instaframes (LOVE THOSE!) + bits of paper and set my photos up so quickly and easily!

I really love that I was able to get this put together in a single crafting session, and I didn’t worry about getting fancy inside the book either. This project is more ‘photo album’ style – and I’m having a lot of fun making this kind of thing lately to give away or share with others.

I did play a bit more with my cover though – some ink + some accents…

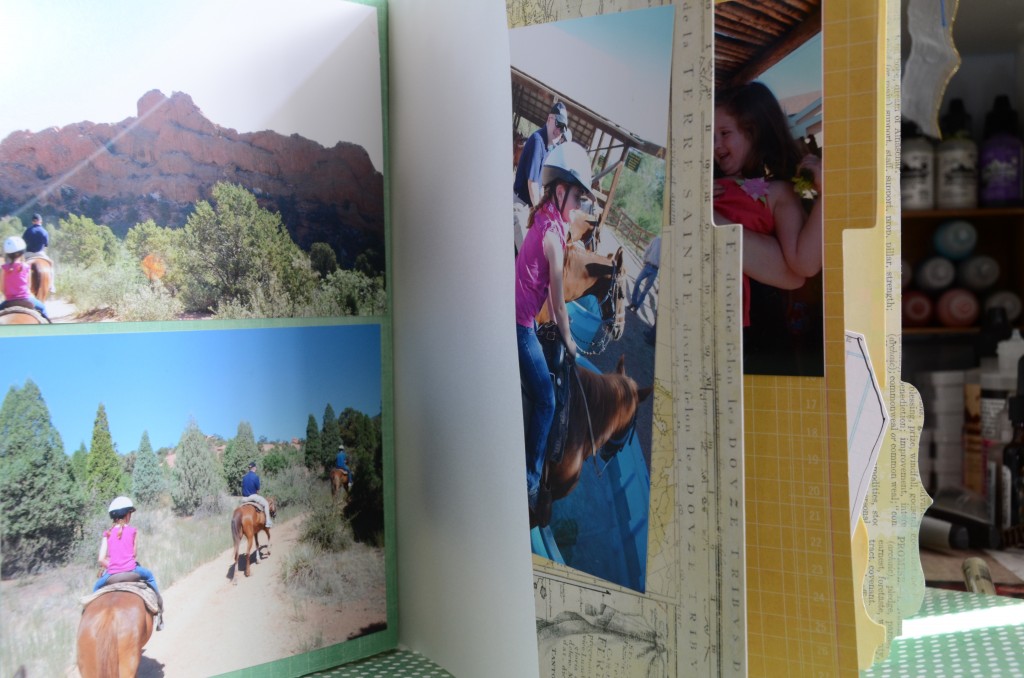
and a peek inside that front flap…

I love that this album has pages on the front +  full pages inside…

I do love those rub-ons that come with the instaframes. They’re such fun.

I can’t tell you how much I *LOVE* that Heidi Swapp product from the last release goes perfectly with the new stuff! I’ve had fun using up my stash while playing with the new goodies too.

I hope you’ve enjoyed this simple book – I’ve still got more to come tomorrow with one last post in this series!

note: I’ll have more ideas coming with these folders for sure! If you’d like more inspiration right away, be sure to visit Heidi’s blog where she shares all kinds of ideas!

Happy Scrapbook Day | layout featuring Tim Holtz

What better way to celebrate International Scrapbook day, than with Tim Holtz and the whole Ranger Ink crew?! I can’t think of anything that would be a bigger dream for most crafters – so I’m excited to be in New Jersey and at Ranger HQ learning all kinds of fabulous ideas right now!

In my absense, I’m leaving you with a special layout – one that I created for Tim Holtz featuring his new products (as seen at CHA). Enjoy!

This page is actually a pretty simple one. Lot of gold dabber paint (love the stuff!) some layered stickers, and some staples and of course I put to good use that paper for my journaling (it is all a part of the background paper)

I hope you have some crafty play time today – and whether you’re off at a family function, having a good time doing something crafty, or just playing along from home that you enjoy this Scrapbook holiday!!


image links to supplies used:

layout | Hawaii beach time featuring Tim Holtz product

I really loved each and every project that I created for Tim Holtz (CHA) – but this might be my most favorite of all.

There was a lot of play. coloring. mixing metals with die cuts. Utilizing the Hawaii specific bits from Tim’s new line. Good creative times.

I’m really looking forward to using more of his travel products as I go on trips this summer too. I love the retro greetings and how great the stickers are for layering with other things too.

Is it too soon to head back to Hawaii?!?! I miss it so much. What a great relaxing trip that was.

List of supplies used [images link to Simon Says Stamp – a great shopping spot for all things Tim!]: