As you know, I am a paid consultant for Brother but all ideas and opinions are my own. I always share that as I believe 100% in total transparency and just in case this is the first post of mine you’ve seen. ANYHOW! I have a super fun mega exciting project today that I’m thrilled with!
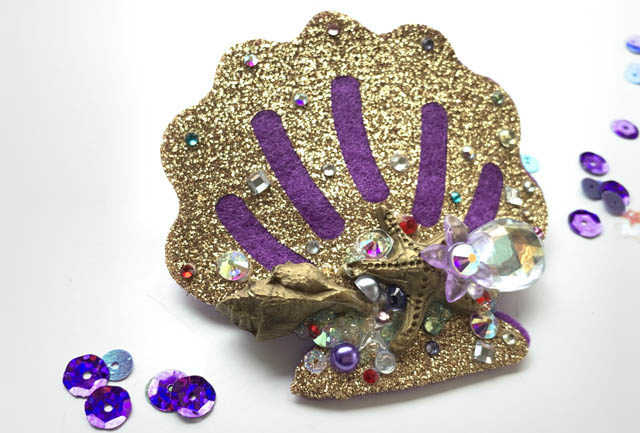
My goal: Create a shiny seashell hair clip full of treasure and fun with supplies I’ve got on hand. To do this I started with extra thick (3mm) firm craft felt, my ScanNCutDX and its built in designs, and some sparkly vinyl that is iron-on.
Select pattern, cut out desired size from felt. Then turn on “half cut” and cut vinyl, weed vinyl, and of course iron it onto your felt base.
Hot glue to barrette
Add sparkle
The ScanNCutDX is fabulous for this because it will totally auto-cut and cut the correct thicknesses – no testing needed!
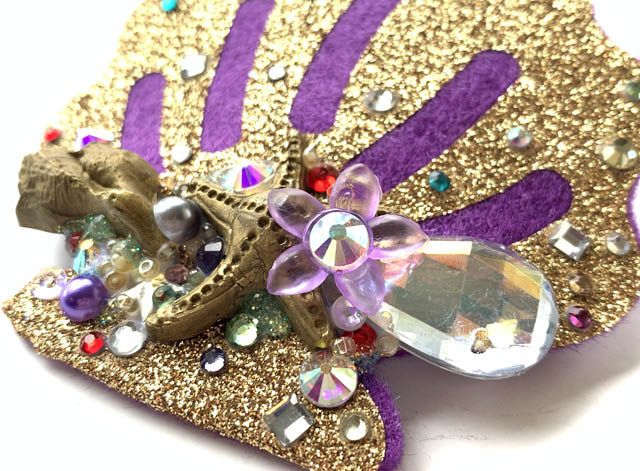
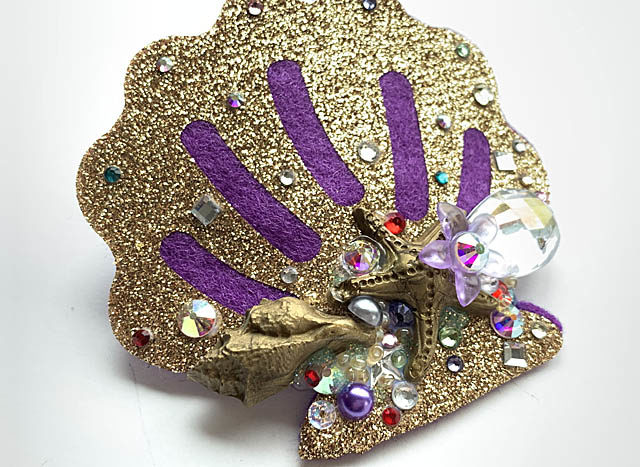
For my seashell I used a mix of rhinestones, pearls, embellishments and beads. I LOVE the results and know this will make an awesome accessory for a themed outfit! A project like this is so simple and fun to do, and can add a lot to a costume or just to everyday wear.
So here’s the story: I was going to be running a princess themed 5k race and I wanted a crown to wear for fun/photos. But I needed it to be light, not require me to buy anything new, and I wanted it to be disposable IF it was really irritating me during the race. Where to begin? Well I knew my ScanNCutDX would be a key factor, and so that is where we begin.
The usual disclaimer here – I am a paid consultant for Brother, and all ideas and opinions are my own. I come up with my own creative content and wacky ideas and I share all that I enjoy and do with my machine with you happily!
me after the race at the hotel – I did it!
One not new – yet new to me in this capacity material is craft foam. Only recently as I dive into cosplay have my eyes been opened to the truly incredible uses you can put this simple material to work on! I decided to pull out the 3mm random sheets of foam I had and try to turn a headband (free- party favor) into a crown!
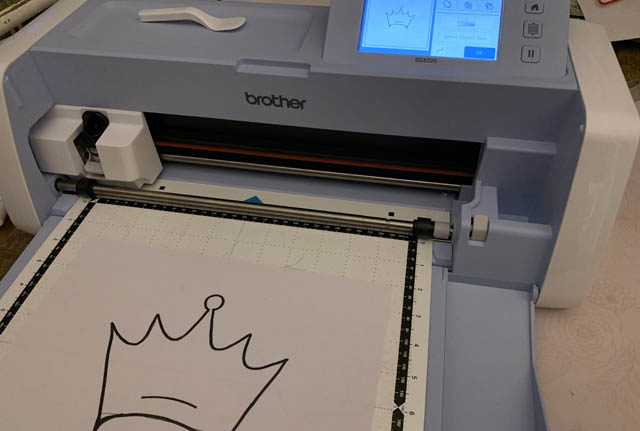
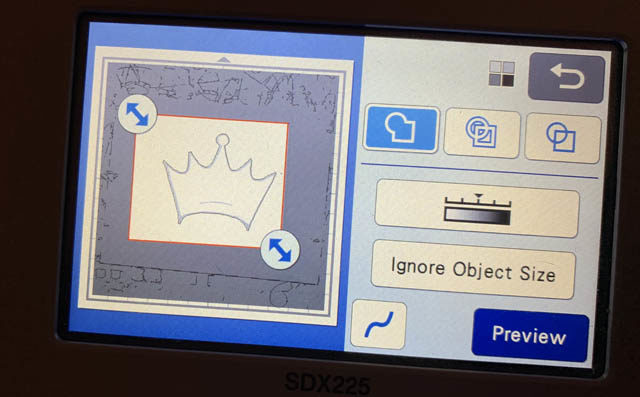
Step 1: I drew a crown and then traced over with thicker black pen. I wanted strong lines for my ScanNCutDX to read. Then I scanned it in. Note the size does NOT need to be exact you can resize and edit!
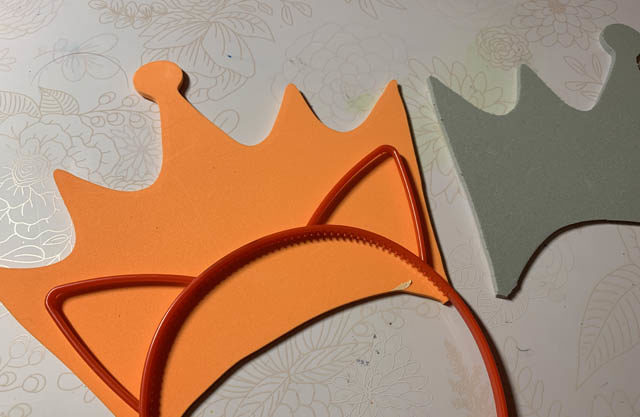
Step 2: I brought the area (arrows) in to just around my crown, and made sure I liked how everything looked. Once this is done, save the file to your machine (or a USB drive) and get ready to cut! I loaded a piece of 3mm foam onto a regular mat, opened my file, resized to be just wider than the ears on my headband (see below) and cut from orange foam. Then I cut a second time (same file/size) from grey foam as these were the colors I had left.
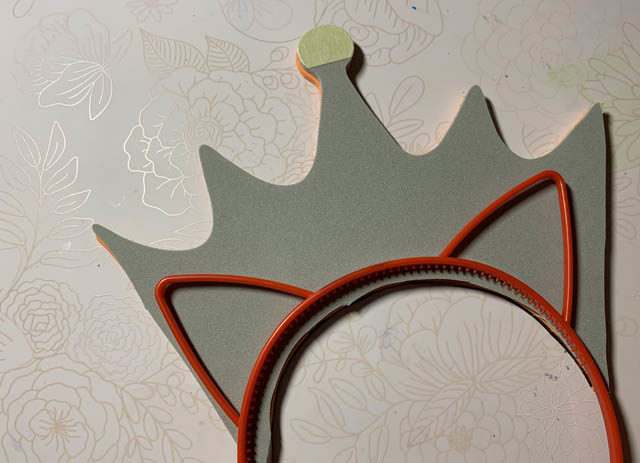
Once I had both cut out I drew a line and cut the foam that would be sticking below my headband. I realized I could and should have taken the headband angle into consideration before drawing my crown – lesson learned! But this works too!
For the attaching I used a lot of hot glue, gluing one side to the “ears/headband” and then sandwiching the other side with more hot glue. I also used a heat gun to both close the foam cells (more on this in another post – basically heat setting/sealing it) and to warm up hot glue and smooth it out as needed.
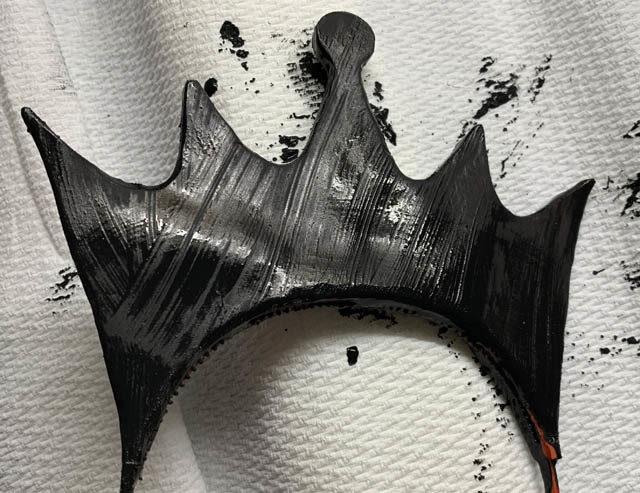
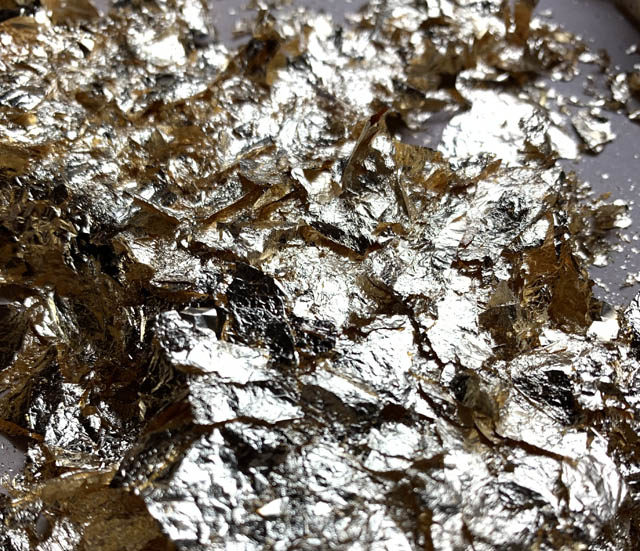
Next up, I used a small tool (the one I use to trim dog toe nails – ha!) and smoothed out some rough spots and as you can see the teeth of the headband now show through. Then I painted it black as a base, added a bit of glue and covered in gold leafing.
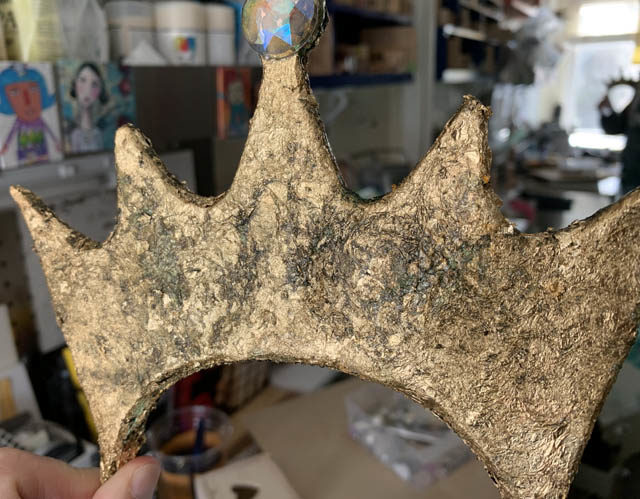
The next day as I wiped away excess gold leaf, I realized some of the black paint showed through and that I wanted it to have a bit different look. So I added some glossy sealant and gold paint
I also added a jewel to the top before finishing this off – and I have to tell you guys I got a lot of compliments on my flexible, light, and surprisingly comfortable homemade crown!
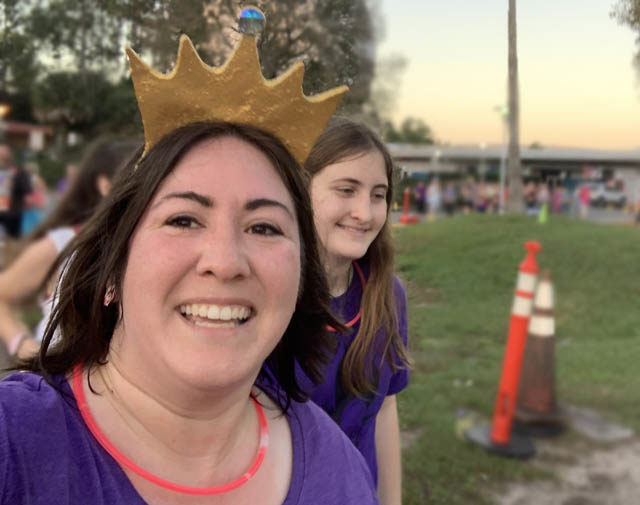
While I still don’t classify running as fun (ha!) – this was a really fun event and I am so glad we did it AND that I had a custom crafted “free with stuff from my house” crown to help top off my outfit!
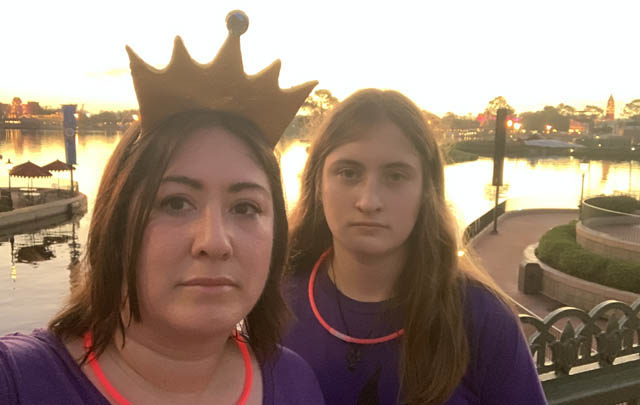
7am mood when you’d left hotel at 3am for the race…
I am really excited to continue working with foam (so budget friendly!), my ScanNCutDX which auto-cuts said foam, and all my creative and crazy ideas! Stay tuned!
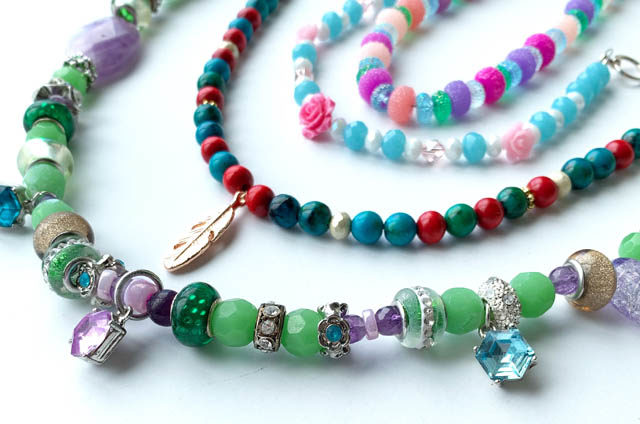
Rebecca is super into jewelry and accessories – so this week I took my scrapbooking time and made her some jewelry instead!
These pieces are all inspired by Disney characters and all are just simple single strand beading. I love crafting things the girls can use or wear – super fun! They’ve been on break all week and I’ve been soaking up quality time with them. Hope you have a lovely weekend!
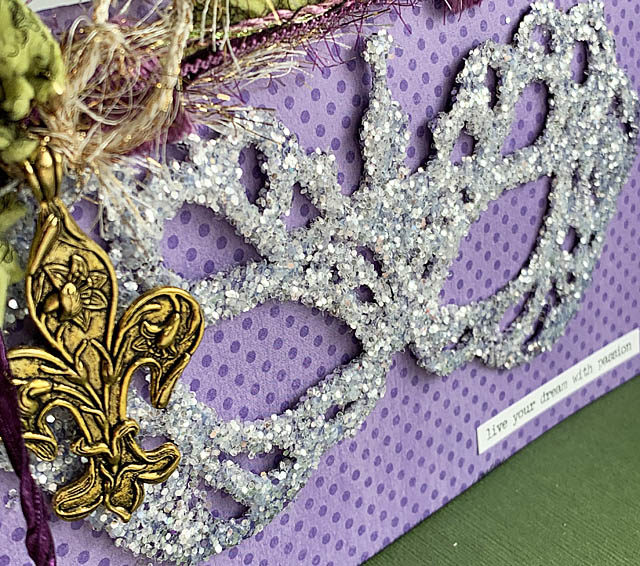
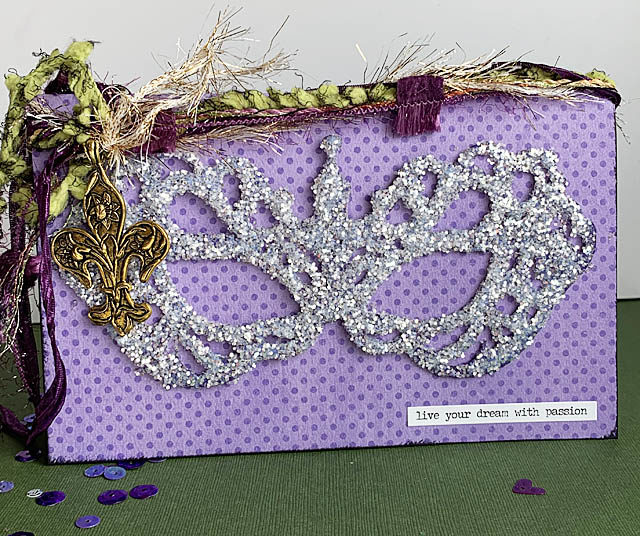
Inspired by Mardi Gras colors and by the mask design I found built in my ScanNCutDX I created a very glittery card and I love how it turned out!
Disclaimer as always – I am a paid consultant for Brother, but all ideas and opinions are my own. The ScanNCut is a machine I use and love, and enjoy tremendously!
For a card like mine you’ll need cardstock, art fibers, glitter, glue, foam adhesive, and of a charm or other embellishment if you like. I did a double glitter on this – meaning I glittered it, then sealed with glossy adhesive and added a bit more glitter to really make it shine, but also make extra sure the glitter sticks!
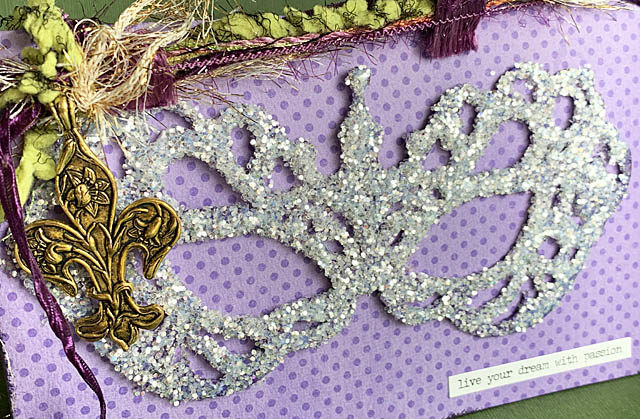
My favorite part of this is how that glitter pops and shines! I just love this mask design too – what else could I make with it? I’m not sure, but I’d love to try something else with it!
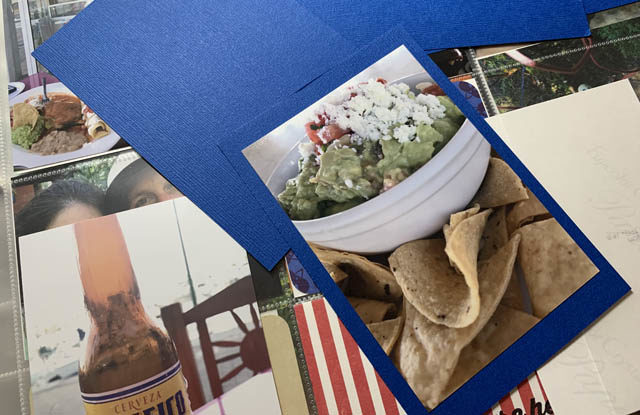
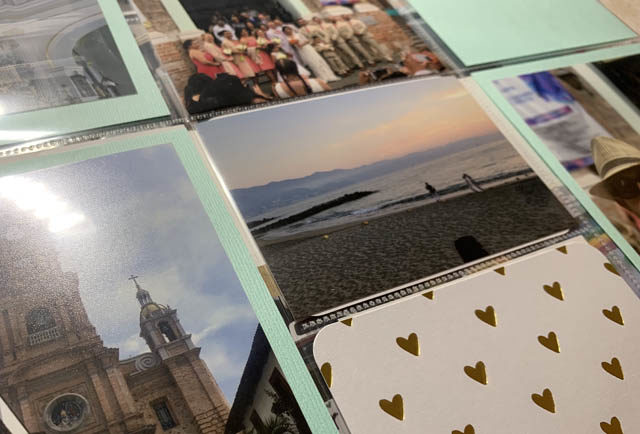
This week, it’s a peek at the everyday pocket page style VERY simple pages I’m working on, since I’m about 2 years behind!
I do not worry about fancy or anything – photo + word + fill the space and go. Now I don’t always do this with my older pages nor do I skip traditional pages. But this is one way I process a LOT of photos and get those stories told quickly and between other projects.
I don’t ever expect to think of myself “caught up” on scrapbooking, but I would like 10-12 stories a year told in a timely fashion at minimum, and I’ve been playing catch up on that. No the most exciting update – but it’s keeping things real and I’m all about that!