What could be more fun than galloping off on vacation? Having a new custom shirt, of course! Finding themed shirts for the girls isn’t always easy now that they’re older and so tall – so I enlisted my ScanNCut to give my cowgirl Elizabeth a new look!

Disclaimer: I am a paid consultant for Brother, but all ideas and opinions are my own. The ScanNCut is a machine I use and enjoy, and I love coming up and sharing ideas with you!
For this project you’ll need a white Tshirt, red thread, brown glitter vinyl (iron-on), yellow binding tape or folded fabric, and an iron in addition to a sewing machine and ScanNCut. You could skip the stitching or do it by hand – it just adds a lot of fun detail that I enjoy.
The process for my project can be found on YouTube for the ScanNCutDX exact instructions. To make a project like this:
- Purchase the Toy Story designs (available through Brother Dealers) and activate in Canvas Workspace. Then ‘grab’ the design you want there and transfer to your machine.
- Place your vinyl material (transfer sheet side down!) on your mat, and fire up that ScanNCut! I am working with a DX, but any model can cut vinyl!
- Select your pattern, follow prompts to cut – and if using a DX make sure to take advantage of “1/2 cut” so that just the vinyl cuts. This feature is so fun!!
- Weed your design and iron it on.
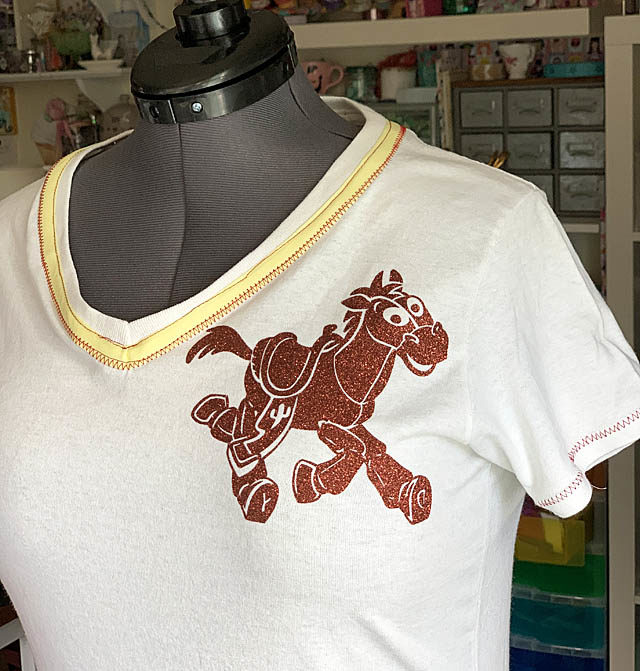
Now is where you get into the sewing if you would like. I put red thread in my Brother SE1900 machine (here’s an amazon affiliate link to that machine) I set a zig-zag stitch and added a decorative stitch around the sleeves. Then I put down some yellow double folded bias tape along the neck and stitched that as well. These are optional steps of course, but I like what it added to my shirt.
The best part? My daughter LOVES the shirt and can’t wait to head out on vacation wearing it!