Check in from HQ…

Hey everyone, I’m working on SO MUCH over here and wanted to do a short check in from HQ. As for my wrist… “Quick recovery” makes me laugh at this point. Guys we are on month 9, and I still have restrictions (no bike riding, no weigh lifting, etc) and the coloring you see above is the best/most I’ve got right now. My arm strength is zero and my ability to hold a pen or otherwise do fine detail anything with my right hand sucks. But I am working on it. 3-5 minutes at a time. 2-3x a day.

blog_mayflaum (18)

Speaking of many times a day – the Flaum canine squad is doing great! I wasn’t so sure it was going to work that first week, but things have really smoothed out! THANK YOU to SCDR for all the work they do helping Dachshunds find forever homes getting them medical care and for matching us up with Bandit. After a big application (I put it in general, wasn’t sure if/when they’d match us up!) and a phone interview they decided he was just the guy for us. LOVE when dog rescue groups go the extra mile to try and ensure that the dog will fit well with the family vs just having you say “oh that one looks cute!”

blog_mayflaum (16)

When the dogs began sharing the office bed and like to walk bunched together I knew we were on the road to something good. Note – the kids only hold all three when we are posing for photos… not for regular walking. Only I am the master of walking the herd. ha!

IMG_9124 copy

There have been challenges of course – a new dog is a lot like a new baby. Figuring out their needs, getting them on a schedule, etc. Mr. Bandit is too skinny and wasn’t eating very well – we got his kibble changed (and switched him to MANY tiny meals a day for now) and that’s working. A new dog especially a rescue with a past you don’t know and triggers you can’t understand is a challenge. But it’s oh so worth it, and I’m so very glad we could give this little dude a home.

blog_mayflaum (14)

Oh yes, I’d say they’re one happy doggie family of pound puppies now… but I’m sure things will get crazy once again and soon. After all, school starts next week and we enter Miss E’s final year of elementary school!
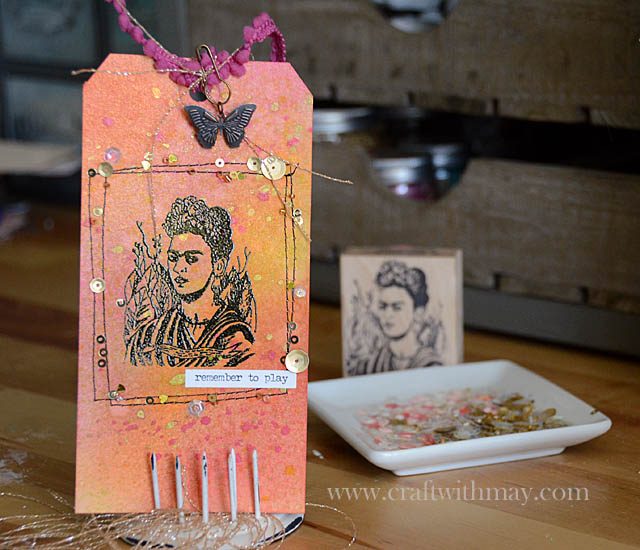
Remember to play.

DSC_6269

No recording the process no reason. Just playing today. Sometimes when you have a few minutes to create it is a good idea to just follow a random thought, idea, or otherwise just play. No goal in mind. No reason for it. Just PLAY! Some of my favorite projects and best techniques have been found this way- always good to be open to new things!

DSC_6268 copy

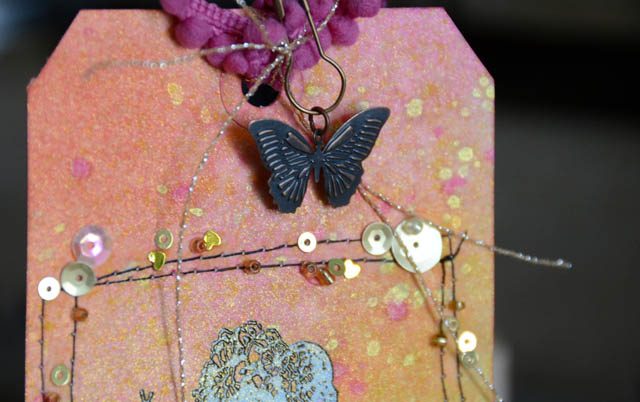
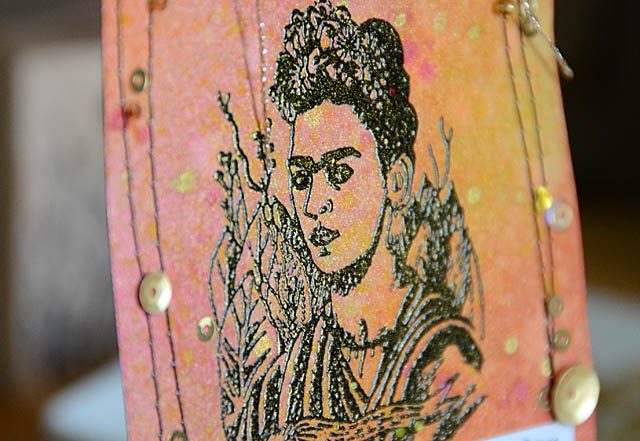
I made this tag with Distress Ink then Heidi Swapp mists then some stitching and finishing touches. The original stamp (source unknown) is done with black embossing powder. Simple stuff really, but for me a good exercise and bit of just because fun.

DSC_6272

I hope you enjoyed this project and that you have a wonderful weekend.

cut leftovers for an easy photo display

DSC_6221

Hey guys- here with a quick and super fun idea. As you guys know I’m always telling you go ahead and make extras with your ScanNCut, go ahead and punch and cut extras to use up the scraps you can use them later.

DSC_6239

Well today I did just that!

Untitled-1

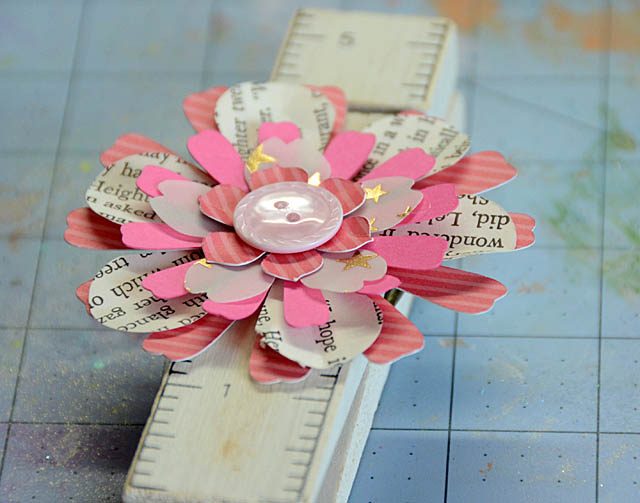
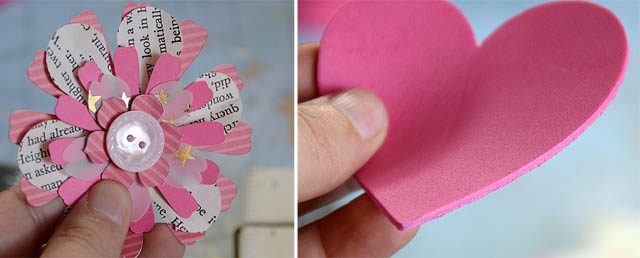
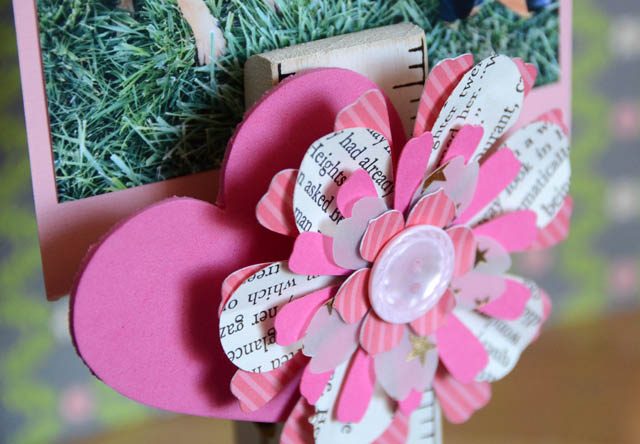
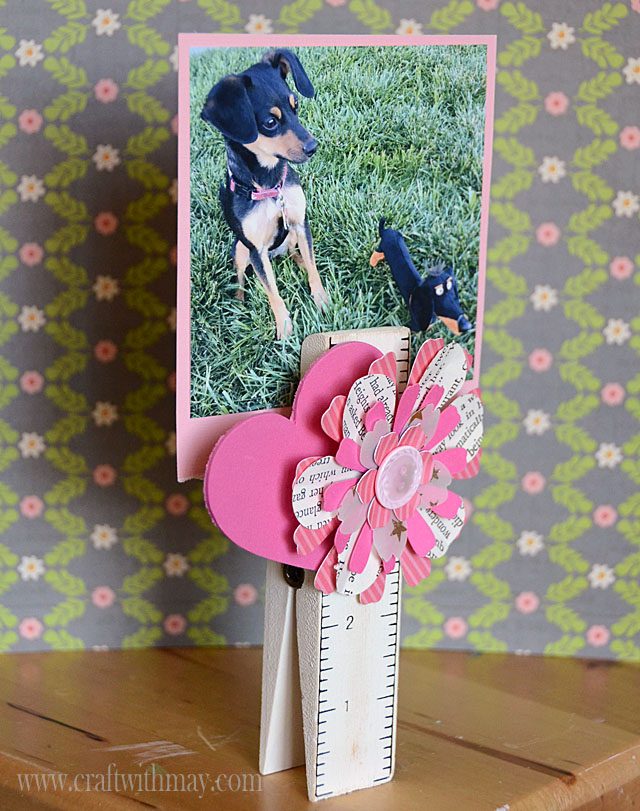
I took a foam heart – yes the ScanNCut will cut foam and other thick materials with the deep cut blade- and a number of flower pieces. Put them together on a little ruler clip that I found at the craft store last week. Simple, easy, great use of leftovers!

DSC_6241

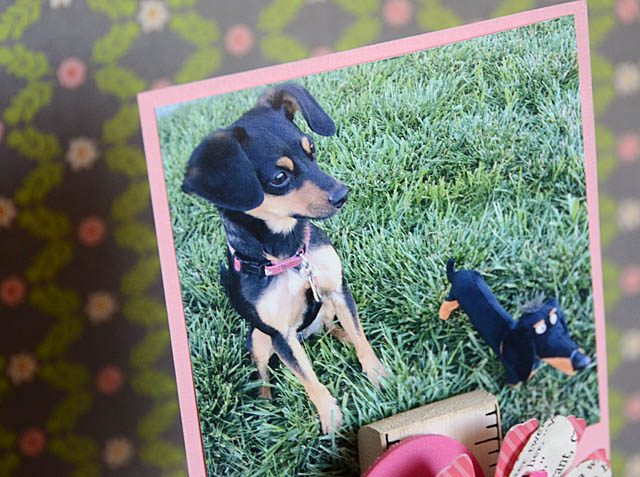
I used gummy dots of adhesive so that when I’m done I can peel it off and change it up! For now though, loving scrappy + her much shorter doppelgänger toy! The top part clips closed, bottom wide/open to stand up. So fun!

DSC_6247 copy

Having pre-cut basics is one thing I’m a huge fan of because you never know when you’ll want to whip up a super quick project, photo display, or other décor project. Thanks for checking out this quick idea, and I hope you’ve been inspired!

Disclaimer that I am a paid consultant for Brother, but all ideas and opinions are my own including how much I love the ScanNCut and how crafty it helps me be!

alter it with alcohol ink!

Hey there, I’ve been quiet! No special reason just slow moving as ever these days, and didn’t realize how many days had passed since I blogged. I’ve got a great project and video for you today – and it only takes 3-5minutes at the very most!DSC_6034

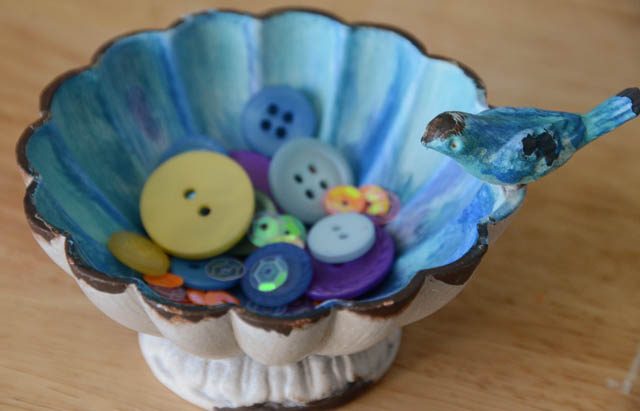
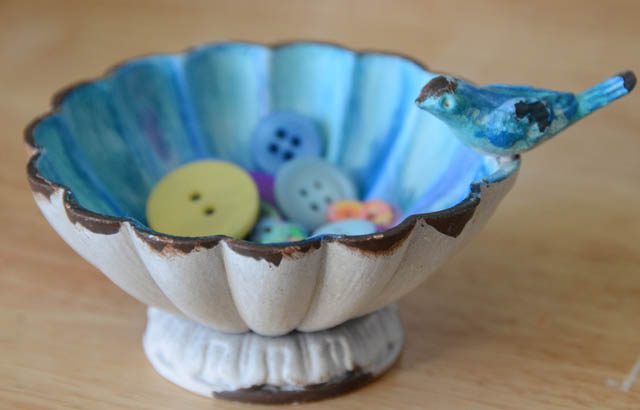
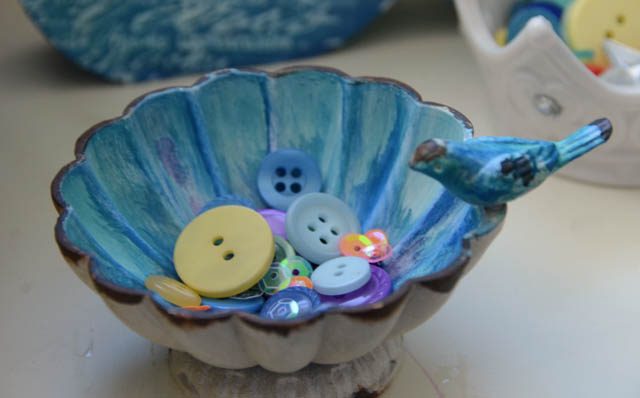
This project was so quick and so easy! Basically I took this little metal distressed cup (perfect for buttons!), added a few swipes of alcohol ink, and now it’s colored and lovely.

DSC_6041

If you’d like to watch the transformation/how-to check out my YouTube video here. The process was so easy – and would work on a number of surfaces. Lately I’ve been painting a ton, so I love that with this project, there was no waiting for anything to dry.DSC_6045

One final cool thing about this? If I decide I am tired of it I can wipe it down with blender solution and it’ll all (or at least most) come off and I can begin again! I’ve long been a fan of Ranger’s alcohol inks (available most places Ranger is sold – including many large craft store chains) and what it can do. I hope I’ve inspired you to redecorate a little something in your home. I definitely didn’t need another holder for stray buttons – but I do so love looking at it!