stamping on photos: tips, tricks, and ideas

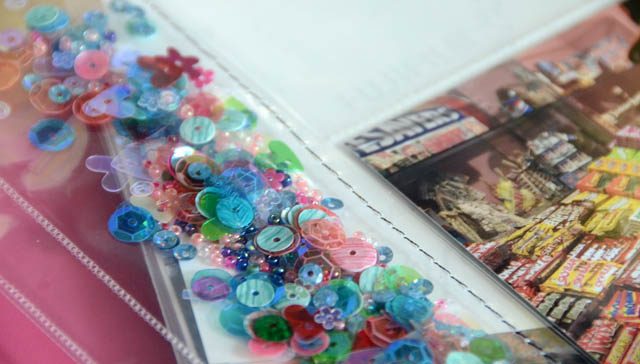
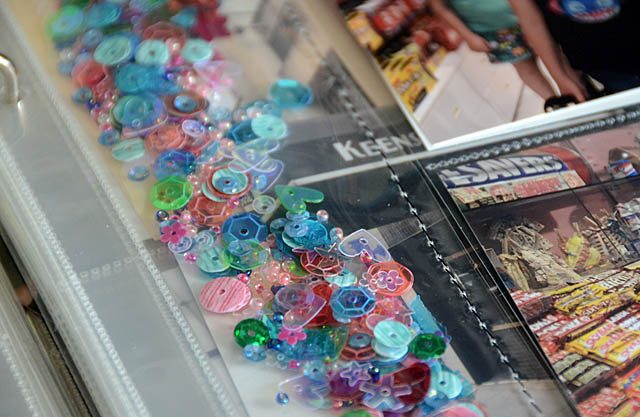
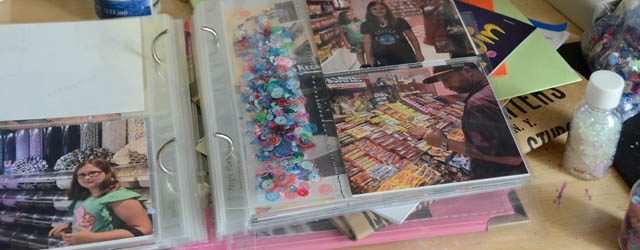
Today I want to share a kind of stamping I don’t do nearly enough: on photos and in my scrapbooks. For 2016 my scrapbooking basically didn’t happen. In order to get some stories told while I remember them and have an album made I’ve decided on simple. Pocket pages that I filled (over the course of two evenings as I sat in bed enjoying TV shows) and now just need to add embellishments + stories as I have time.

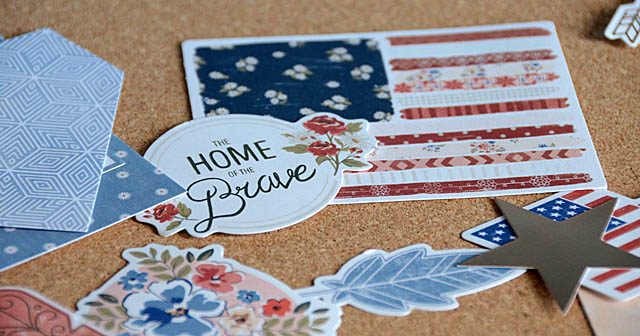
I’m featuring a few sets from Sweet Stamp Shop – a California based stamp company that is new to me and so fabulous. You can win some of their great products – stay tuned for that opportunity later in this post.  There are many ways you can stamp onto photos (and scrapbook pages) including:

  • stamp onto cardstock or sticker, then add to page
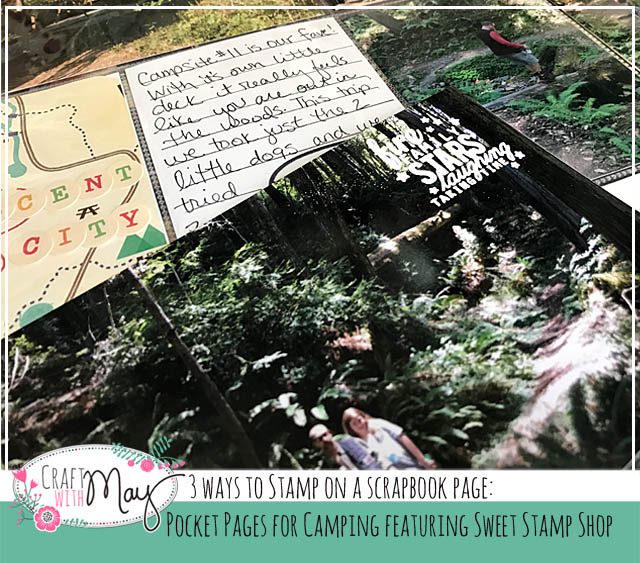
  • stamp directly onto photo
  • stamp and heat emboss directly on photo
  • stamp at the corner or edge of a journaling card
  • on top of letter stickers (for title)
  • as background/subtle accents

In short, there are MANY ways! Continue reading “stamping on photos: tips, tricks, and ideas”

Mixed Media: In the details

I’m a details girl. I teach classes about it, and my style as a crafter is entirely built around details. So today, I want to feature a whole bunch of detail assisting goodies from Tonic. I have known them forever as makers of great tools – but their Nuvo line digs deep into my beloved mixed media world and I was thrilled when they asked if they could send some goodies for me to play with (and some for you to win!!)

For me, details go into two areas on the bulk of my projects: the backgrounds and the finishing touches. Before I even began creating the focal point for this tag I had used 7 different things to make the background itself detailed and rich. Then once I was done I added all kinds of detail from glitter to clear glaze to fibers to add oomph to the project. Here is my YouTube video tutorial. 

Oh how I love this tag! It is so much wild fun and I think my favorite detail is the glitter filled heart at the top. Fabulous! Browns + aqua colors have always been a favorite of mine and I love how this version turned out. Why make a tag? You know when I filmed at scrapbook.com I was asked this and I have many reasons! First and foremost it’s just paper. It’s another place to test ideas. But it can become a tag for a gift, be put on a card, hung on a wall, or incorporated into a scrapbook as well as many other things. It’s just a fun no pressure place for me to play.

Challenge: Dig into some ‘details’ yourself today! 

Links to Scrapbook.com and supplies used: 
Tonic bronze mousse
Tonic Hexagon stencil
Tim Holtz crazy dog stamp
Tonic blender brush
Tonic Nuvo drops “Aquatic Mist” 
Tonic clear crystal glaze
Tonic adhesive
Art fibers
Assorted “bits and pieces”
Assorted distress ink colors
Black Archival ink
Distress Oxide ink in pistachio 

as I always disclose – affiliate links are used in this post. They cost you nothing extra, just help support this blog should you make a purchase using them. So thank you!

Yes I do so love a good detail – and this tag! Thank you to Tonic Studios for donating a selection of goodies (seen below) that one of you can win!

For your chance to win, leave a comment on this post sharing your favorite color. I will draw at random a winner and announce it on the end of Camp Scrap round-up post (around July 21st). Good luck! And happy crafting!

Scrapbook: add a bit of shake to your page

My new online class (picture this) is now live! It’s a longer class, with content coming about once a week, over several months. This way you can really enjoy and savor each lesson, but also you can have more time to enjoy new content coming your way. Win – win! You can get more information and register here. 

Today’s challenge: add a bit of sparkle to your project!

One of the projects I talk about in my new class is scrapbooking a trip in a single album. Now this isn’t my ultimate vacation guide (that’s a whole separate class!) But we talk about this 6×8 album and ways that I’m making it come together quickly. Of course quick doesn’t have to = not fun!

I made a quick YouTube video to show how I put my sequins in and pulled this page together.

When it comes to scrapbooking I’m all about HAVE FUN! Some days that means stickers, some days it takes hours… and some days it’s a few minutes and some sequins. I’ve really become a fan of simple pocket pages mixed in with regular pages as well as on their own. It allows me to work in even smaller chunks of time, one photo or one pocket at a time.

The thing I’ve found with a big project is breaking it way down into small “I can work on this any day” pieces where even 5 minutes gets something done is key for me to actually DO and see through projects. As I want to tackle more things and get more from each day I find that having quick things I can do makes it more likely I will actually do them. It’s all about stories + enjoying the process for me that’s for sure.

The 6×8 Snap album I used can be found at scrapbook.com (affiliate link used) – as well as many other colors and styles. I have used and loved these sturdy albums for a few years – I definitely recommend them!

Want some 28 Lilac Lane goodies so new they’re not even in stores to come your way? Leave a comment here for your chance to win – a winner will be drawn randomly and announced on the 16th in the roundup post. Good luck!

Inspired by… YOU!

Who to feature today? YOU. I can’t tell you how much you inspire me. Yes, YOU! A few ways I am inspired include:

  • tips you share via comments
  • your own stories of success (or failures!) in crafting
  • your questions or things you’d like to see more of often inspire me to create

Heck, in the last two weeks what I’ve become really clear on is you’d love to see more scrapbooking – which delights me since for quite a while it was “less scrapbooking”!

Continue reading “Inspired by… YOU!”