Product review: Spellbinder Platinum 6

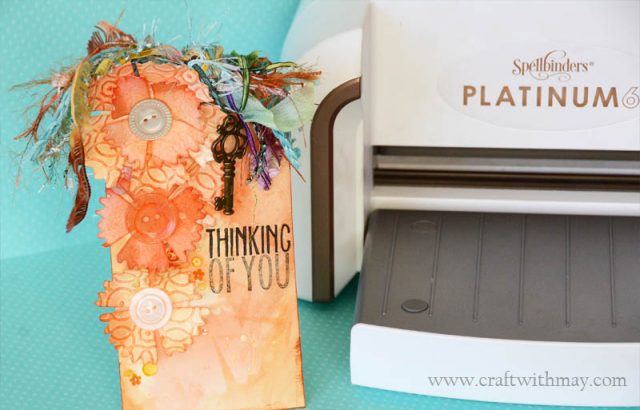
My friends at Scrapbook.com contacted me and asked if I would check out the Spellbinders Platinum 6 machine and some dies. Always looking for a good new tool – I thought of course! I am delighted to tell you that this surpassed my expectations and definitely has my recommendation.

note – affiliate links are used in this post

What I really liked about the Spellbinders Platinum 6 machine:

  • sides fold up for easier storage and transportation
  • all the plates I could possibly want or need were included
  • great cut on thick paper with one run through
  • will work on all the embossing folders and dies that I have already

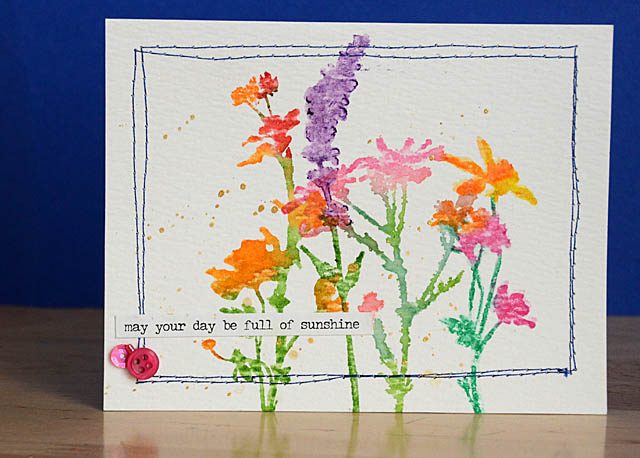
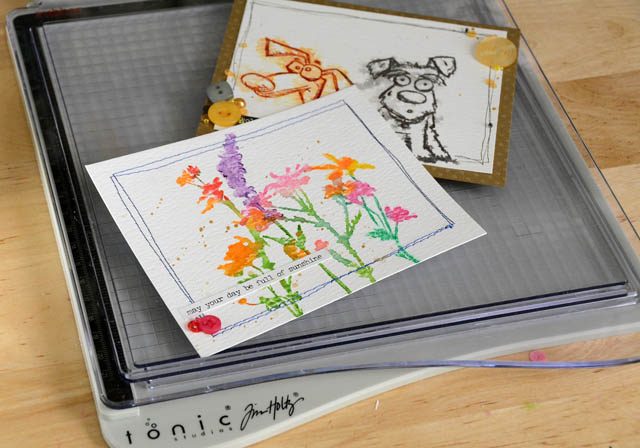
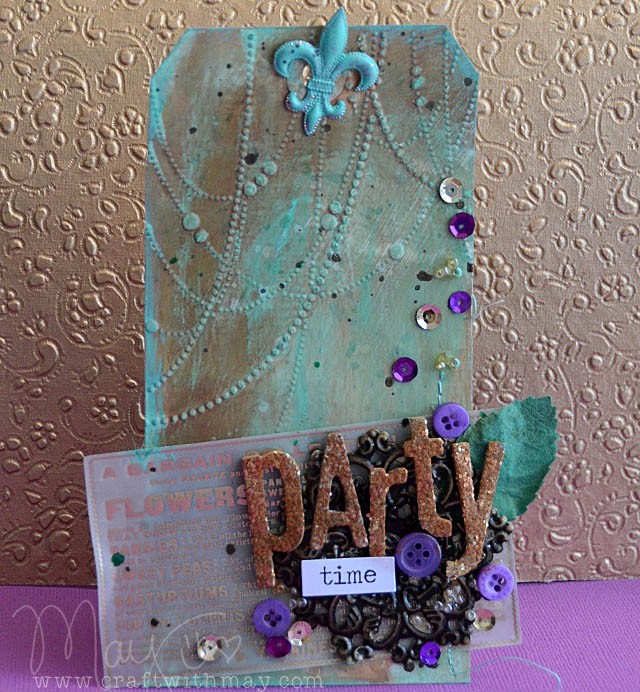
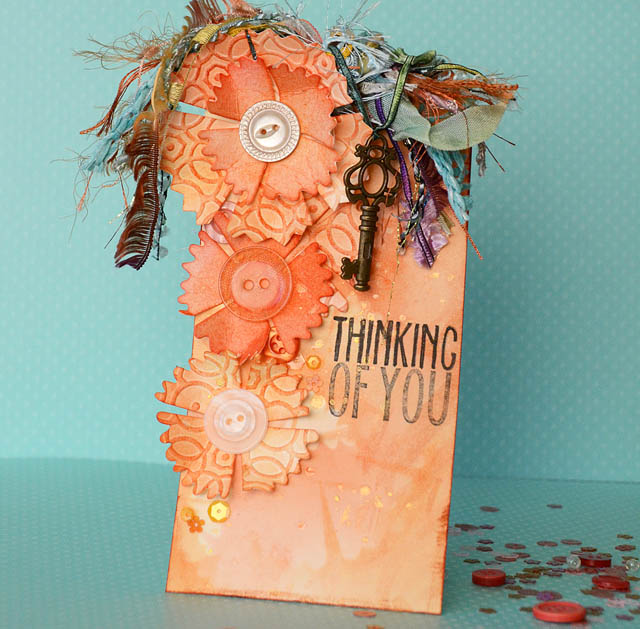
In short – it did exactly what I’d want from a die cutting machine! I created a video showing it in action (in my new studio setup!) as well as a project idea with the Tammy Tutterow flowers.

I prefer to die cut first, then emboss. You can do it either way but I find it can “smoosh” or otherwise damage the quality of your embossing to die cut after embossing.

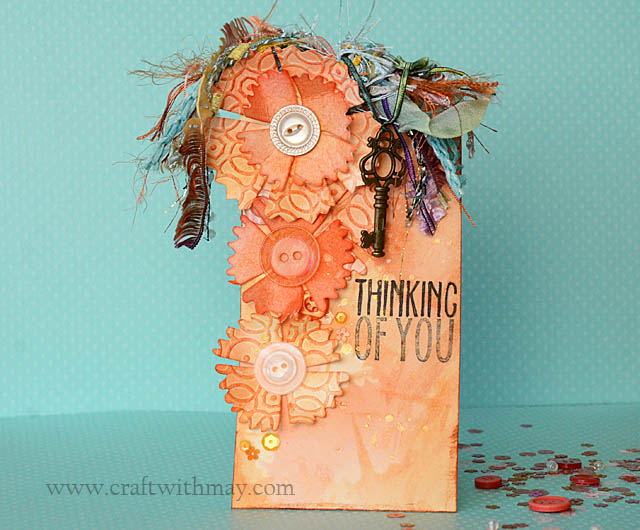
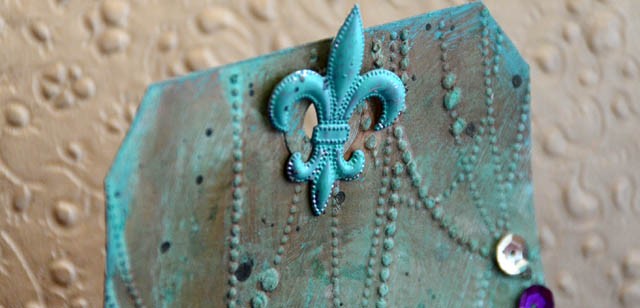
One of my favorite (but rarely used) techniques is to ink die cut shapes over paper (vs a craft mat) so that I can get depth of color and build layers on my background. I just love how subtle this is! I also love that by embossing a shape you get different color when applying ink to the raised areas.

I have several more ideas for this die cut set and embossing folder – and I’ll be sharing projects with them as I love to show you more than one idea for any given product – so do stay tuned! If you’re looking for the Spellbinders things that I used I worked with the Platinum 6 machine (on SALE at time of this post!), Posies dies, and overlapping circles embossing folder.

Thank you to scrapbook.com and spellbinders for inviting me to check this out – I always love a good craft tool!

Mini icons by doodlebug: the perfect stickers

It isn’t often I walk into my local scrapbook shop and find something I have no idea exists – and it delights me when it happens! On this particular day, I became totally smitten with Doodlebug “mini icon” stickers. Basically, you get two (identical) sheets of adorable stickers that match their lines, and are sized much smaller to better fit projects of mine. Color me excited!

Note: affiliate links are used below. Should you choose to use them, they help support this site so thank you in advance!

There are a few key differences namely that the stickers are on a much thinner paper (vs heavy cardstock), and of course the size. The decorative strip down the side isn’t “cut out”- but you can easily cut it yourself into a sticker which I think is a lot of fun. You could punch shapes into it, use a die cut machine to cut it, or just use scissors and cut a strip!

I really like them for journaling cards, and I think they’ll be great on greeting cards as well. I’m always looking for little decorations for my scrapbook journaling cards and this is much faster (and let’s be honest  – better done) than me stamping, coloring, and cutting out all these images. Lovely!

I also know these will be great in my planner! I like that I can mix & match some to fit any design or spread. Immediately I claimed the really cute cherry on top cake for my own birthday.

Simon Says Stamp (link) has a great assortment of the mini icon stickers- including the dragon ones my daughters just can’t get enough of.

Scrapbook.com just got the new Yankee Doodle ones that have the cutest little camper and fun fireworks too.

Both girls have taken sheets (lucky that there are 2 sheets of each design!) to begin adorning their school year planners for next year. It’s June after all – and that means the new planners are out (terrifying! time flies!) and they’re having a blast decorating special dates and just the corners of things where it would otherwise be plain.

I really hope we continue to see these from Doodlebug because this size (along with the absolutely adorable designs) works so well for gift wrap, tags, cards, journaling cards, planners – and more! I love seeing long time favorite companies continue to update and adjust products to work for even more kinds of paper crafting.

Tim Holtz for Tonic New Stamp Platform Tool

note: Affiliate links are used in this post, and this tool was sent to me by Tonic & Scrapbook.com to review. All ideas, opinions, and thoughts are totally my own!

When I was contacted asking me if I’d like to test out the new Tim Holtz Stamp Platform (link), I immediately accepted for a few reasons. First of all, Tim’s scissors with Tonic are by far and away my favorite ever since he convinced me to give them a try years ago. Secondly, Tonic is a very high quality tool manufacturer and I anticipated they would get the job done right. Third, as I have yet to be convinced of the “must have” nature of any stamping platform (and I’ve seen and owned a number of them over the last 10+ years!) I wanted to really test this with a critical eye.

The great:

  • The platform comes apart to allow for 2 different thicknesses of stamp (clear and rubber unmounted), also for easier cleaning
  • The platform grid is textured/part of the plastic which means no amount of heavy scrubbing will change that. Important for us messy folk!
  • The base is designed beautifully including two open sides (so any size paper can be used) as well as having a rubber-ish base that prevents it from moving even on slick surfaces

The overall design means that when I’m doing heavy water stamping, I can stamp upside down. Or at least set it up that way at first so easily. A HUGE plus. If I found any fault with it I wish the magnets were rectangular and about 3x larger (or at least that one of them was!) for better holding down of paper while I get crazy.

Here is my video review and a look at one type of stamping (link to YouTube).

Overall, I’m just incredibly impressed with this tool.

This tool is not needed if you like to take one stamp, stamp with a single color ink, and move on. For that type of stamping a stamp block makes far more sense, and I will still use my various stamp blocks for sure. This tool becomes an awesome tool for those who want to:

  • Color parts of a stamp separately
  • Repeat stamp (as shown in video) same image
  • Work with multiple mediums on same project with precision
  • Want a more controlled way of getting wild and messy with stamping

With all the experiments over 3 days that I did, not one drop of water or liquid medium hit my desk surface. Not only that, but this tool was so easy to clean off! I am sure there are even more uses for this stamp platform, and as I work with it more and discover good uses I will be sure to share those with you here.

Scrapbook.com has this tool in stock now- here’s a link. Other links you may want – here is a link to the dog stamps I used, as well as some similar to the wildflower stamps used.

I am delighted to find this a “must” tool for me – and that I was so very impressed with its construction. What is your favorite tool these days, and what are you crafting? I’d love to hear from you!

May’s fall 2015 crafty picks

I get overwhelmed with all the AMAZING products that seem to come out constantly! This being my favorite season, it’s even more intense! As all things pumpkin take over I’m getting cozy here in the studio and getting crafty! Here’s the goodies that have me most excited right now – aka my fall crafty picks! Of seemingly 100s of new options it is never easy to narrow it down – but these are all things I’ve purchased recently.

fallpicks

From the pumpkin everything stamp (clearly made for me!) to the awesome stitched leaves you’ve seen me use to the wonderful buttons – Loving all this stuff and what it adds to my collection. I really try to limit actual “themed” items that I bring in because I find I can mix with color mediums and general products like the sequins and buttons above. My top recommendations to you when considering new (seasonal or themed) products:

  • Three projects you envision using it on right away
  • If you have anything already that is similar
  • If it has life outside the season/theme

For example, the new Lawn Fawn stitched leaves can be for any season. Adding in metallic, orange, or rusty type colors are the same! Even the Pebbles round stamps will work for food projects year-round! Some of these products have already shown up here, with more to come!

In case you’re drawn to any of these things as I was here’s the list of links. Note that when available I use affiliate links – no cost to you it just helps me keep things running around here!

Neat & Tangled “pumpkin everything” stamp

Crate Paper After Dark paper (bluemoon scrapbooking)

Pebbles Harvest Stamps (Blue Moon, Scrapbook.com)

Lawn Fawn Stitched Leaves (Ellen Hutson, Simon)

Lawn Fawn Happy Harvest (Ellen Hutson, Simon)

Lucy’s Cards sequin mix

Crate Paper “house” (Scrapbook.com)

Buttons Galore & More Orange Haberdashery (Scrapbook.com) or another good option is tangerine (Amazon)

H is for Holtz (as in amazing Cracked Pistachio Distress by Tim)

031c

It is February. HOW did this happen? Well to celebrate I pulled out my cracked pistachio distress (yeah, all the forms) and played.

042 copy

I’ve been watching Princess & The Frog (one of the BEST of Disney movies… which is saying something!) and this color got me thinking… Mardi Gras! So lots of distress on the background then also cracked pistachio paint on the metal accent up top and a few playful do-dads here and there. It’s party time alright!

046c

Cracked Pistachio = so awesome. Here’s a short video I made with a look at the forms and why I love it so…