Elle’s Studio September kit: Ah-mazing layered page

This month I’m featuring the September 2015 Elle’s Studio kit. Here’s a link to my first post. Today I’m back with a short video and layout.

DSC_6472

My approach this time was to layer a lot of elements. I think it’s really important when I get a kit that has a bunch of small paper elements to get them used up! So some pieces here I’ve tucked in here and there. I love the results! Also used here is the Thankful paper line (by Elle’s Studio). Here is my YouTube video (link).


DSC_6477

Another fun project using the new products, and more still to come! Next week I will check in with another project, and this time focusing on finding stash items that will work well with a partially used kit like this.

I hope you have a lovely crafty weekend.

Elle’s Studio: September Kit feature

DSC_6256

It’s September… and it’s time for a new kit feature! Today the Elle’s Studio September 2015 releases – and it’s a great one! Elle was kind enough to send me the kit + stamps + new stars so that I could work up some ideas to share with you here. Thanks, Elle!

I picked this kit for several reasons for this month’s feature:

  • I love that it’s a kit of fun shapes, journaling cards, and inspiring bits at a great low price
  • There are coordinating stamps available
  • The colors are always coordinated, but also coordinate with other products and lines easily

I had no idea what would be coming or what this kit would look like – and let me tell you. I am delighted!

DSC_6249

Those blue hearts are just the best! I love them! For this first project my idea was to create a layout with most of the dog stuff (there is a little dog, and a little cat within the monthly kit) and really try to use the kit first and foremost.

DSC_6253

I focused in on my doggies and walking the girls to school since that will only be our routine for a few short years! All of the paper bits, including the hearts are from the kit. All I added in were buttons, washi, the background cardstock, and white ink for stamping.

DSC_6259

I really love how this page turned out and I am thrilled to have a teeny tiny paw print stamp now! Be sure to stay tuned – I’ll be doing some video tutorials and more projects with this kit, as well as tips & tricks too! Want more info on this kit? Visit Elle’s Studio for the full kit details and reveal.

Guest post at Shimelle’s Blog

mayf_1

Hello there! I’m the guest today over at Shimelle’s blog (direct link) and I’m sharing a brand new layout featuring her True Stories line and a full video tutorial. I was inspired by one of her past layouts and I had  lot of fun translating it into something that works for me and my style. I hope you check out my post and enjoy! The timing of this is fantastic as I’m currently at work on a design/sketch scrapbook course now…

stay tuned!

ScanNCut: Page template

Disclosure: I am a paid consultant for Brother International Corporation and have received a ScanNCut from Brother to evaluate. However, the opinions expressed are entirely my own and based on my use of the product.

DSC_3046

I was asked by my youngest if she could help make a scrapbook layout. This prompted me to think about my process, and how I could make a space for her to organize and set up photos, as well as place the embellishments as she wished while still making a page that was mine.

Tricky stuff!

Ultimately what I decided for a collaboration was that I would want to create a page template, then it was a matter of fill in the holes and decorate around the edge. Something simple does not mean something easy, sadly! Luckily my Brother ScanNCut was up to the task.

3

There were MANY trials. What did NOT work was drawing out all of the lines because obviously (to me, after having spent so much time working on it!) it would want to cut every single line! It *is* absolutely possible to do this using the wonderful Canvas program software (from Brother) – but for me to have pieces of paper I can move around and visualize was really a great way to approach this for the first time. For my brain and process- having something physical to work with really helped me work out the kinks! I will be trying this with the program as well and will report back.

I found that I didn’t like a thin border. I really wanted a thicker border around my photos for stability, and a good 2″ at least around the outside.

2

The best method I found to create my template was to lay pieces of black or very dark cardstock down onto a piece of white paper in the exact positions I wanted. I then scanned in the paper (see  below on right) and saved the design. I envision making a few designs like these! I made my photo holes 3 1/2 x 5 1/2″ at the maximum so that the photos could fit nicely.

Untitled-1

Once my design was scanned and saved? Well now I can cut it out as many times as I like!

DSC_3018 copy

Here you can see the photos behind my new page template. I love it! But I think a bit of stitching would be good…

DSC_3021 copy

With stitching and photos done, and journaling added it was once again time for kiddie fun! Miss Rebecca grabbed the glue and sequins and some epoxy accents and went to town.

DSC_3048

The finished result? A blend of her ideas and mine, and a layout we’ll treasure about the time we met our new dog!

DSC_3044

I am really excited by the idea that I can use my ScanNCut to crank out page templates for my kids so they can pick photos, place, and have an easy time figuring out where to put things. Some of these blocks could have been used for journaling as well. The only thing I will change for next time is I would have liked a thinner edge in the center between the photo columns. I didn’t need that to be quite so wide.

Overall though I’m really excited with how I can use paper scraps and do this. My final tip is to use a (unlikely to be used/wild color or pattern) piece of paper to mount your photos on for added stability for this kind of a page. In my case it was lime green 8 1/2 x 11″ cardstock and the difference was a lot of added strength for adhering things.

Camping Scrapbook Layout featuring the ScanNCut


412

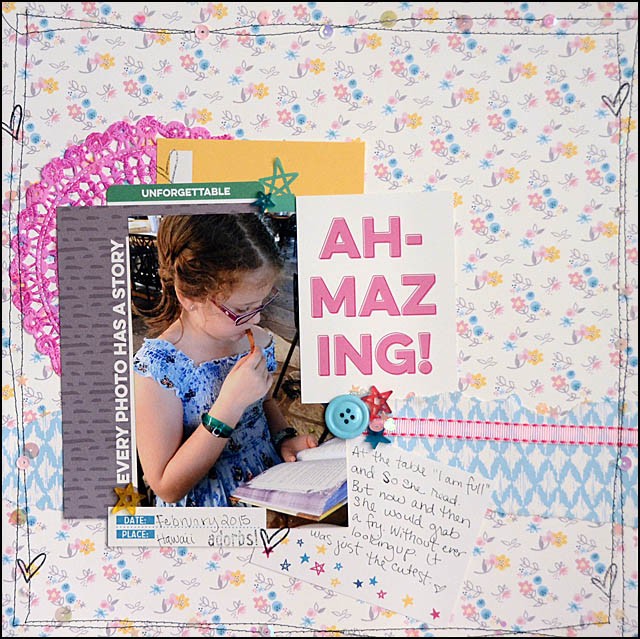
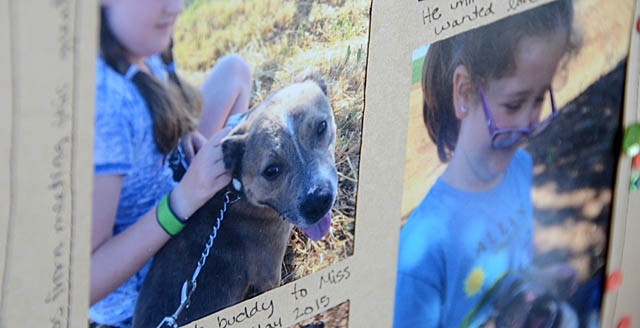
Camping adventures: Scrapbook Layout

I’ve been doing a lot of testing with my own handwriting + the ScanNCut and I’ve got to tell you – it’s good stuff. In fact the less I try to get it just right, the better it is turning out! I decided to turn my attention to a scrapbook page I’ve been meaning to make for quite a while that needs a giant of a title.

422

To create a layout like mine you’ll need:

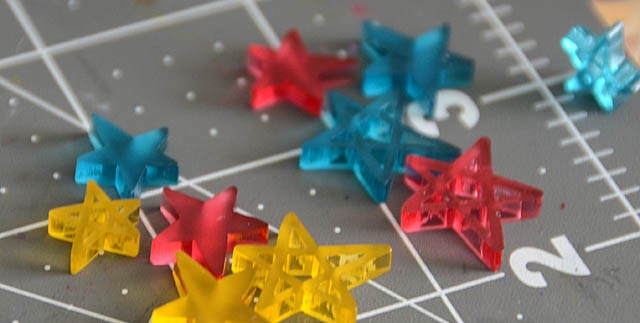
cardstock and patterned paper, buttons and do-dads, washi tape, gold and black pens, journaling tag, and of course a Brother ScanNCut machine.

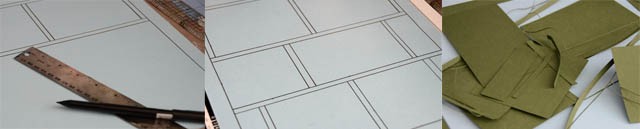
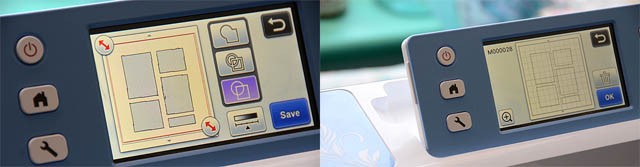
To begin with, you need to write a word (any word!) then scan in, re-size, and cut!

Untitled-1

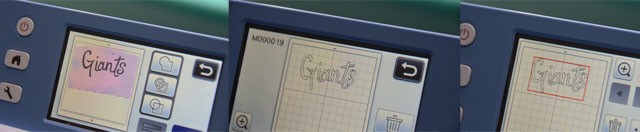
For the full video tutorial on doing this, please see my last ScanNCut post here.

359

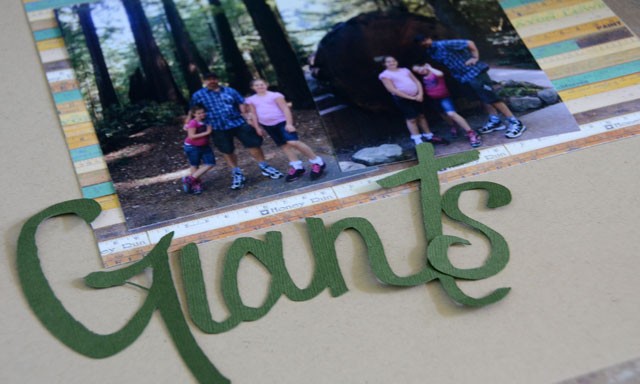
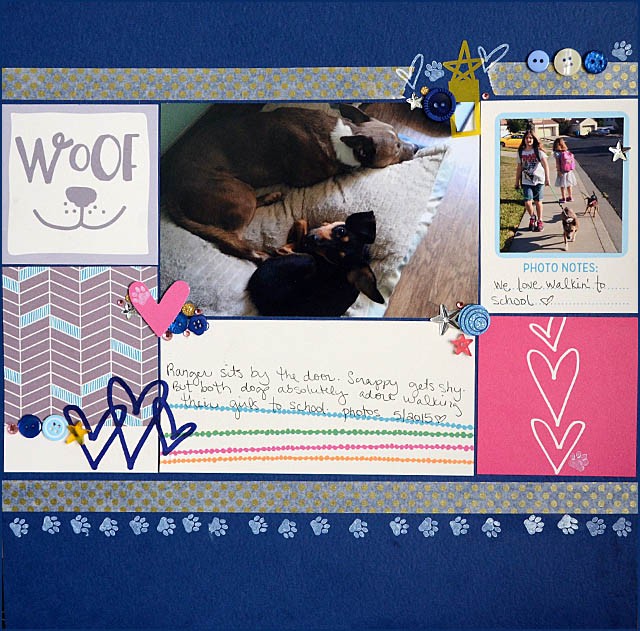
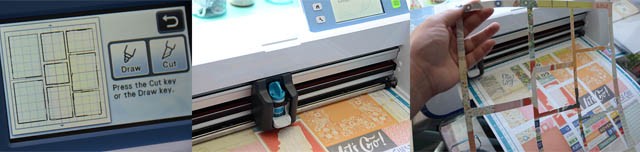
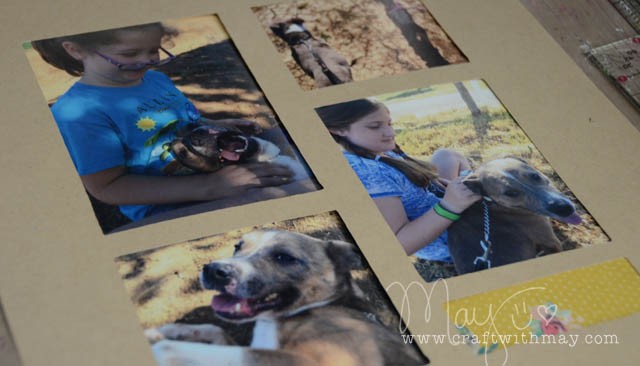
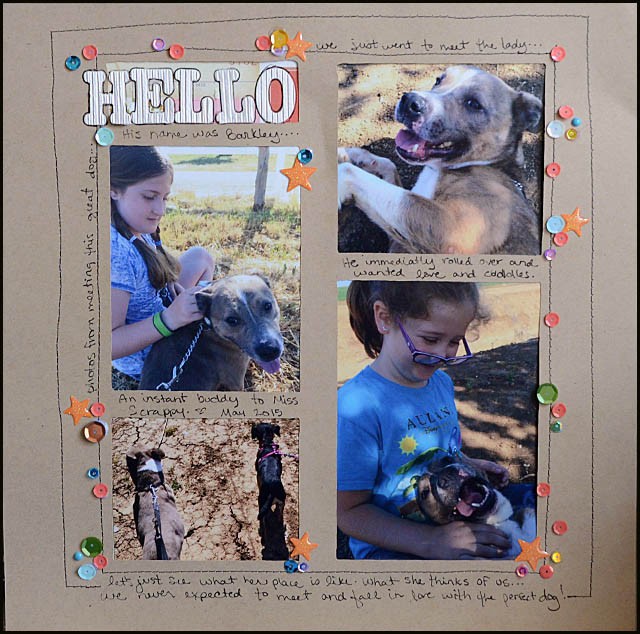
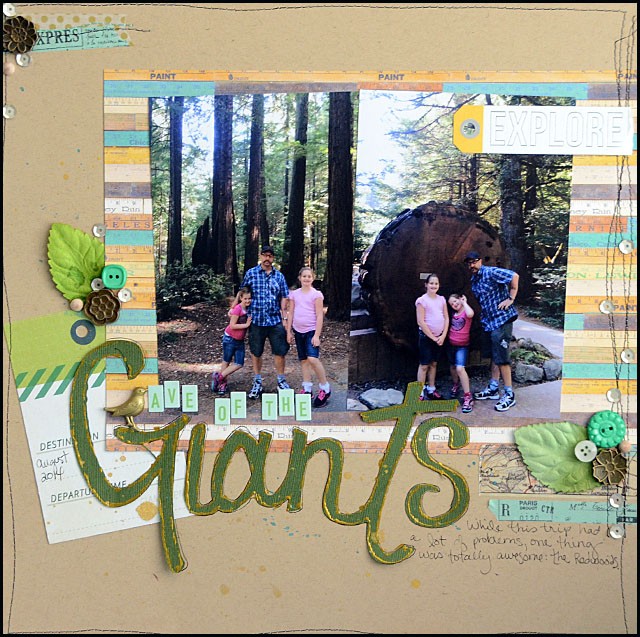
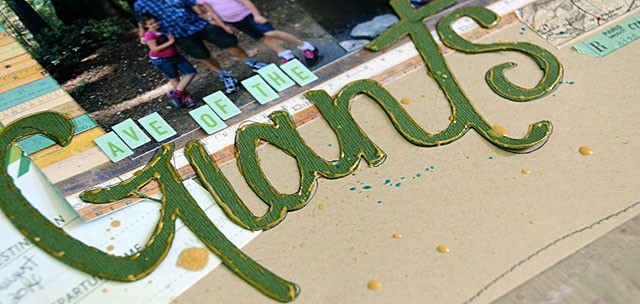
Then cut out of the material of your choice! I thought about cork paper or woodgrain… but I decided classic green cardstock was the way to go. I adhered the cardstock title, photos (4×6), and patterned paper (7×9) to get things started.

363

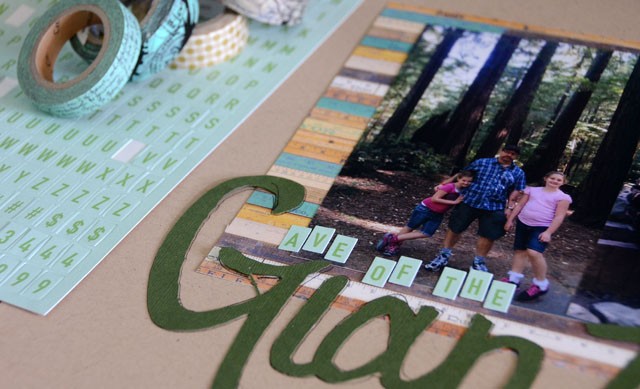
Next add some small letter stickers (or stamps would work, or cut tiny letters) to complete the title, and add some washi tape to accent.

What comes next?

368

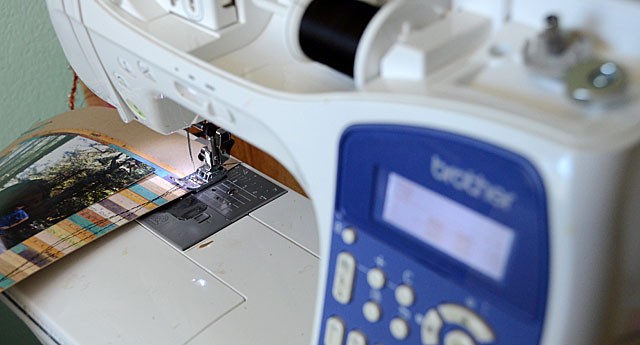
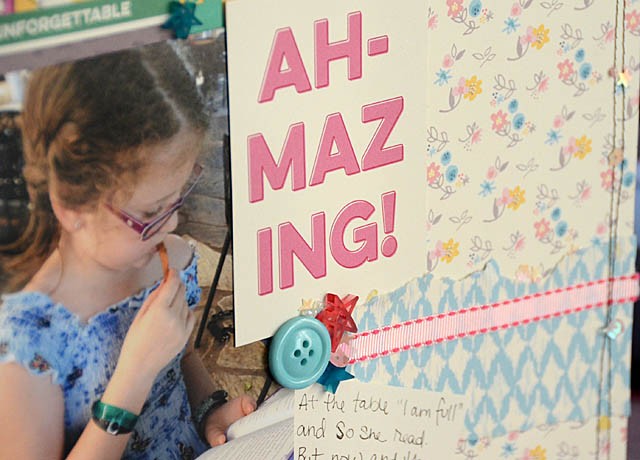
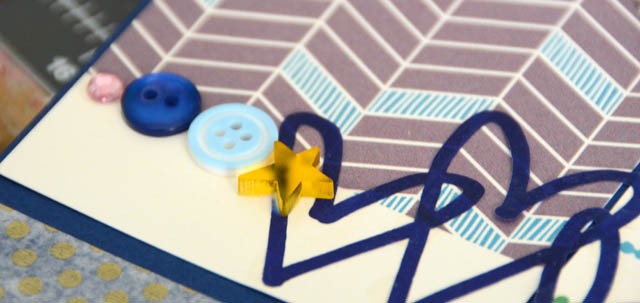
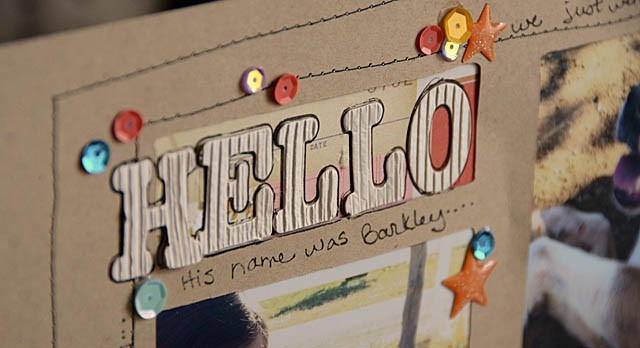
We stitch with Tex my beloved Brother sewing machine, of course! This black stitching is going to add the pop and contrast I need.

377

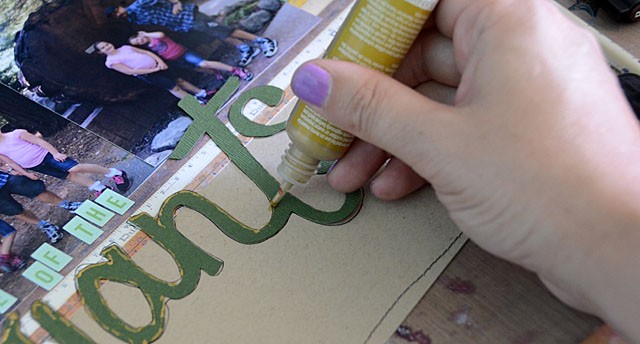
Speaking of pop and contrast – I am edging my letters with black pen (around outside) and gold puffy pen (on actual letter) and I love the results! For a little more “mess” an optional step here is to splatter with mist.

380

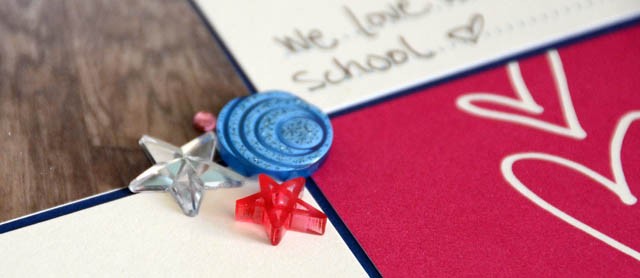
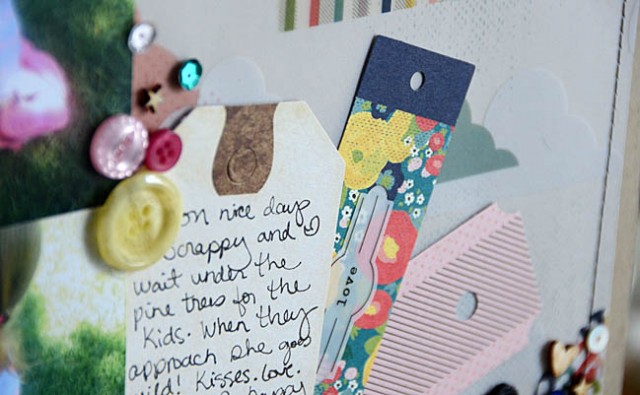
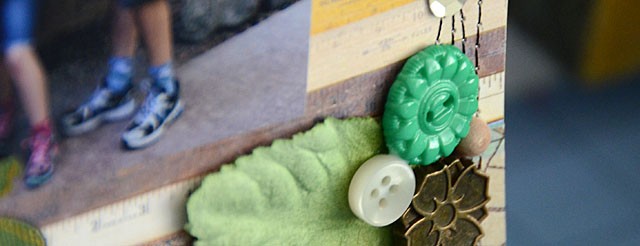
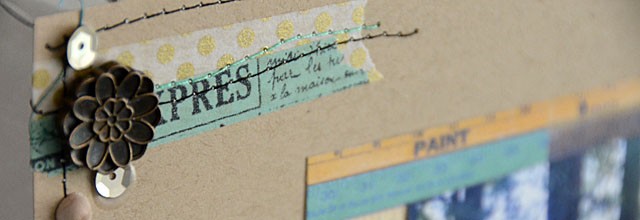
Finally, it’s button, leaf, sequin, and do-dad time! Finishing this off was a breeze – and I love the finished results.

403

What I am really loving about making my own words/titles with my ScanNCut is:

  • Any word, any size, any font, any material!
  • Use my stash of paper when my big alphas are running low
  • Perfectly size my title to my page/project needs
  • No more craft knife cutting in front of the TV – the machine handles it all in minutes while I keep on crafting!

In other words, there’s a lot to love and I’m sure you’ll see more projects featuring my words and doodles in the future.

416


Disclosure: I am a paid consultant for Brother International Corporation and have received a ScanNCut from Brother to evaluate. However, the opinions expressed are entirely my own and based on my use of the product.