Quick & Easy décor: Holiday Banners

may_banner4

It’s that time: holidays aren’t coming… they’re here! Ack! So how can you as a crafter create super quick banners or décor from what you already have on hand? Well if you’ve got some cardstock and/or patterned paper and some twine or ribbon you’re set! You’ve got three super quick options:

  • Cut out shape/size of banners from paper
  • Layer if needed/desired
  • Attach with staples, brads, stitching, eyelets, or possibly double sided tape
may_banner1

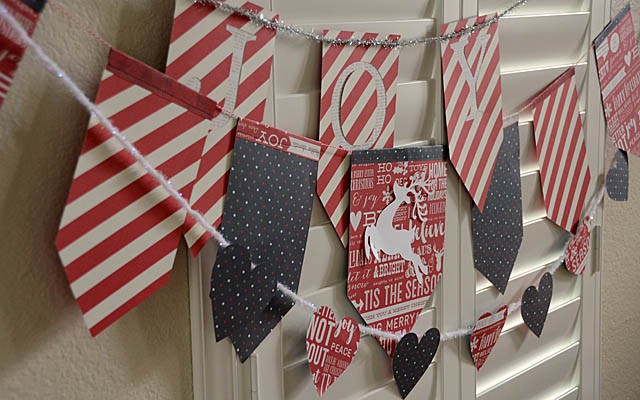
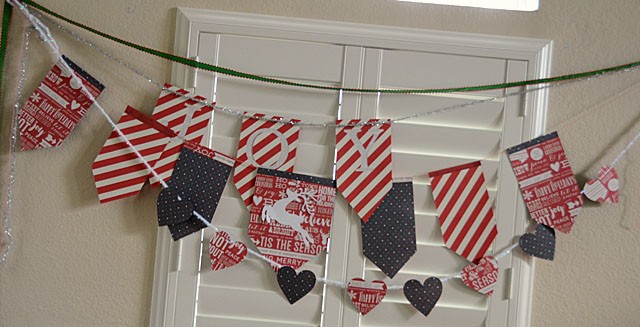
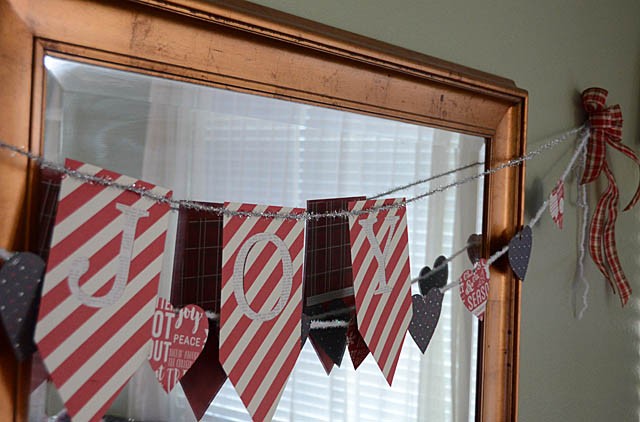
Brother provided me with my ScanNCut2, but as always the ideas and content is my own. I always just disclaim that in my posts. My ScanNCut helped me make these three banners in no time at all, and as you can see I took three different approaches:

  1. “Joy” layered on letters and backed with contrasting paper. Stapled to tinsel
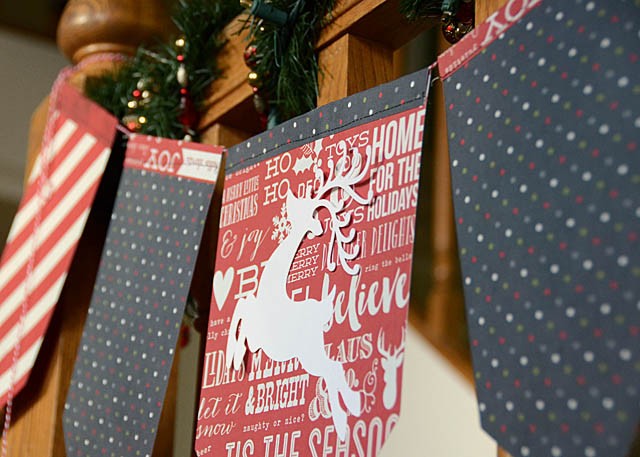
  2. Big Banner I folded over (and stitched) the tops around the twine. Note center banner piece is larger and has a deer (cardstock) adhered to it.

Hearts cut out (again, ScanNCut) from scraps and then attached with staples to white tinsel type twine.
may_banner2

Here’s a video (link to YouTube) to some how-to and tips with my ScanNCut2.
may_banner3

Looking to get a ScanNCut2 of your own? Contact a Brother dealer for the 650W model, or you can find the 350 model (affiliate link) at Amazon and other big retailers.
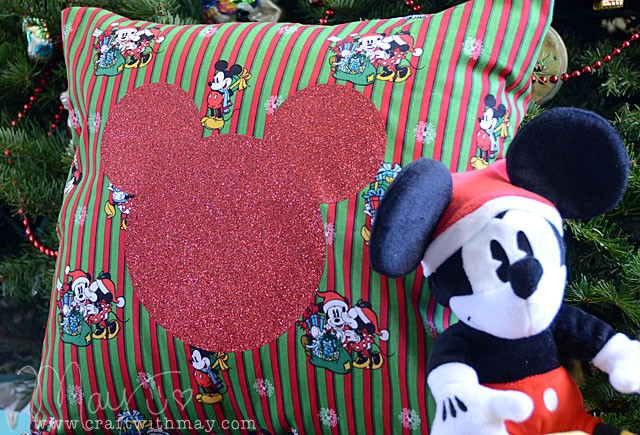
Custom iron-on transfer pillowcase featuring ScanNCut

DSC_9898 copy
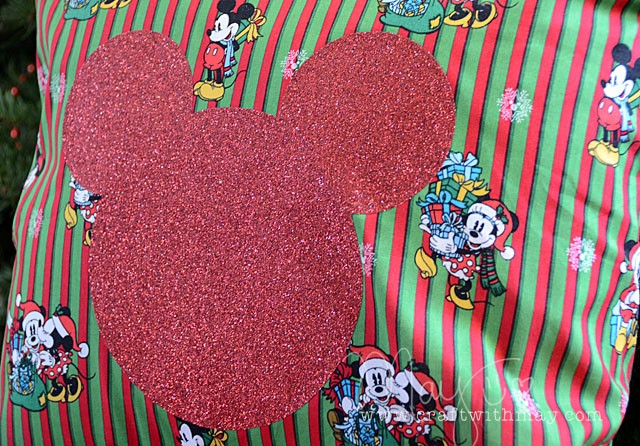
Do you want to customize a pillowcase you already have, or perhaps want an easy idea for (affiliate link) iron-on transfer sheets like the ones I use? Today I’ll be creating a custom shape using three circles – and yes this entire project and tutorial works for ANY ScanNCut model!

Before I share my video tutorial how-to for the glitter iron-on, let me explain the quick & easy steps to sewing a pillowcase. A sewing machine will make this faster – but you could do it with hand stitching too! You’re just going to straight stitch in 4 spots. First though, get a piece of fabric the right size.
pillow
You’ll want to stitch the two far ends (aka the far left and right shown above) after folding over so you have a nice edge and not a raw end. Then you’ll want to fold this fabric inside out to create the pillowcase. Overlap it so that the width is the same as the front of your pillow. Then stitch the top and bottom (using photo above as reference) and you’re done!! Flip it right side out and you’ll have a pillowcase with a flap to get your pillow into.

Such an easy project – and a long time favorite! Now let’s talk glittery iron-on goodness, and Mickey Mouse!
Link to YouTube video

Disclosure, as always that Brother provided me my ScanNCut machine to use and review, but that all ideas and opinions here on my blog are my own.
DSC_9893 copy
Looking for a ScanNCut of your own? Independent retailers that carry Brother products will have the model I use (650), otherwise online shops (affiliate links) such as Amazon or Scrapbook.com have the more familiar aka “seen on HSN” 350 model.

Winter Watercolor Card with ScanNCut2

DSC_9833
This time of year? CRAZY busy. But don’t fear! I myself am weeks behind schedule *and* full of quick creative ideas to share. So it benefits you because I will be sharing each and every one of these ideas right here with you! From homemade holiday cards to gifts to a memory keeping project – I’ve got you covered. So sit back, and stay tuned! Today I’ve got a video for you featuring my ScanNCut 2 and some watercolor fun.

Disclosure, as always that Brother provided me my ScanNCut machine to use and review, but that all ideas and opinions here on my blog are my own. Ready to see this card come to life? Here’s my  link to YouTube video.

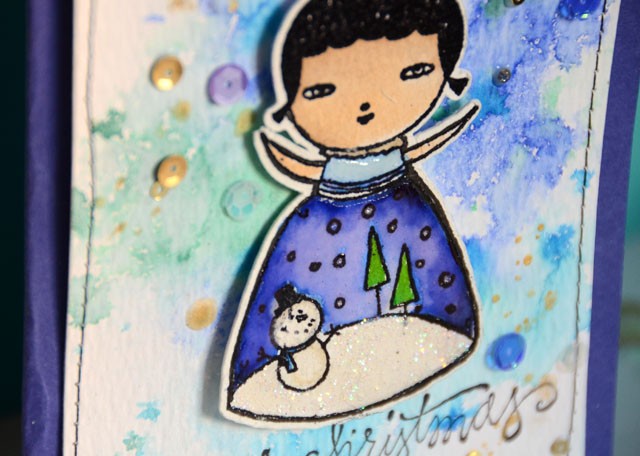
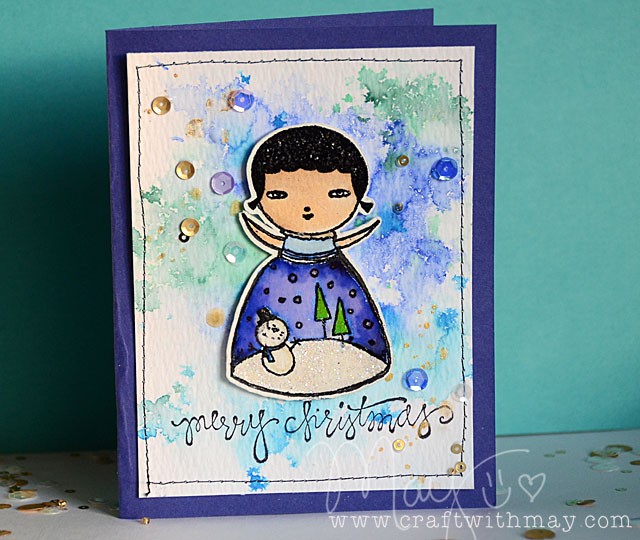
I adore how this one turned out! From the splattery background to the ease of having the ScanNCut do the cutting for me – love this card. Looking for a ScanNCut of your own? Independent retailers that carry Brother products will have the model I use (650), otherwise online shops (affiliate links) such as Amazon or Scrapbook.com have the more familiar aka “seen on HSN” 350 model.
DSC_9826 copy

With this simple but beautiful card design done, and several created to send I’m a few more projects closer to Christmas preparedness. My ScanNCut is sure to help me along the way – and I’ll be back to show you some home decorating going on, as well as gift wrap and much more!

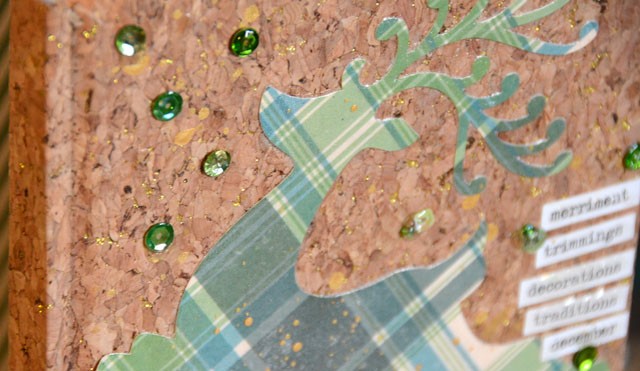
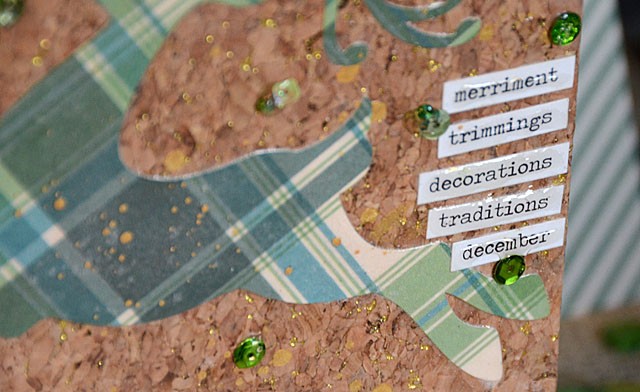
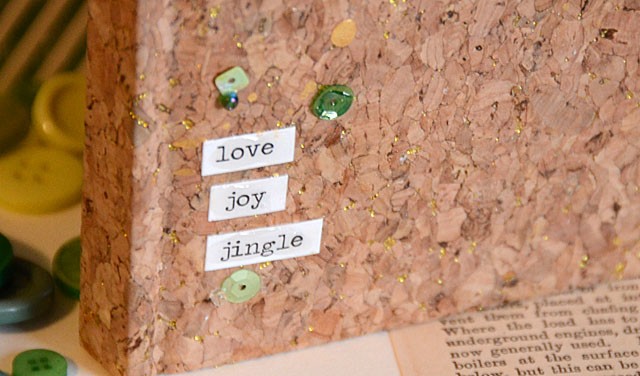
Making Holiday 2015 plans (notebook)

Disclaimer: I do work with Brother and they provided my ScanNCut2 machine featured in my video, however all opinions and ideas are my own.
DSC_9647 copy
When it comes to the holidays, making a plan and thinking ahead is key! I always have a notebook that holds absolutely everything from shopping lists to to-do lists to notes for things to mark in my scrapbook.
DSC_9649
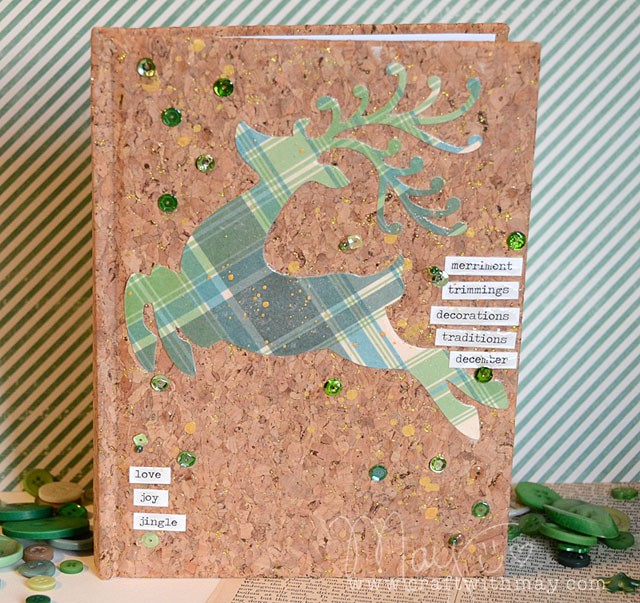
This year, I’ve combined a few things and am cutting a number of images out with my ScanNCut2 as well as Here’s my YouTube video (link)

DSC_9651
I really love how this turned out! I’m ready to fill this up and get prepared… to get prepared. I’m a long way off but by cutting out a bunch of great shapes on my ScanNCut and decorating this cover so cute (and quick!) I’m feeling a bit more ready to face the season.
DSC_9654

Looking for a ScanNCut2 for yourself? The model I use can be found at local Brother retailers, or you can get the other new model (lot less expensive, a few less bells and whistles) from retailers like Amazon (affiliate link) – right now Amazon is offering it with the rhinestone starter kit – super cool.

Quick & Easy wrap featuring ScanNCut

I’ve been quieter than usual I know – super rough few weeks here with health stuff and yuck. One thing after another! But looking ahead, I’m quite excited for the holidays! Today despite a major injury (I won’t be crafting for at least a week!) I did manage to wrap up a quick and festive gift! DSC_9597

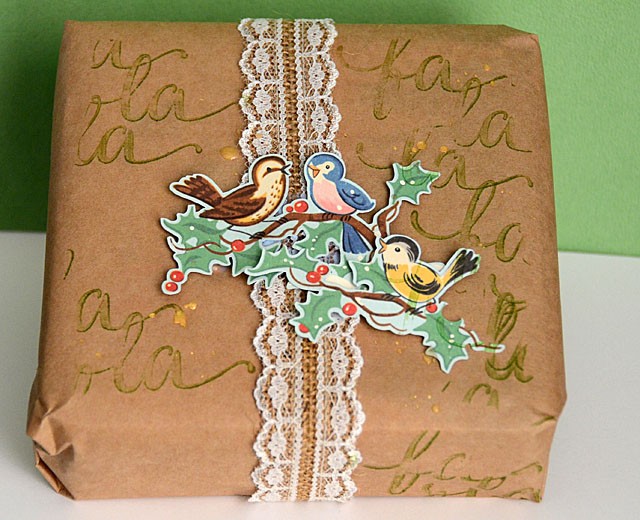
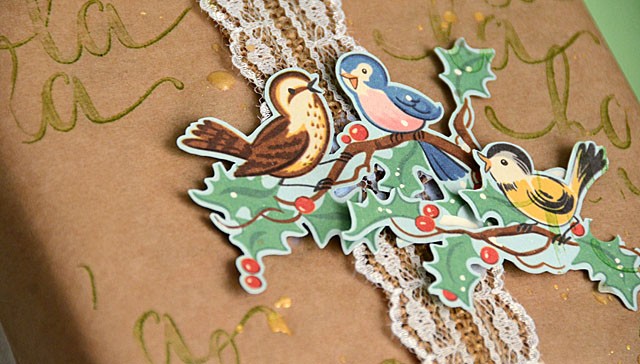
This is a long time favorite: Take a gift wrap it in kraft paper. Then add a swatch of ribbon and stamp or mist a bit. Finish with some pretty embellishment of some kind. In my case? I used my ScanNCut to cut out these birds! I love working in batches this time of year and I had a whole sheet of birdies cut out and ready to rock.

Here’s my video on how-to:


link to YouTube

The ScanNCut2 does such an amazing job of recognizing designs and cutting them out – just look at these birdies! Love how cheery they are, and how perfectly they top off this gift of mine.
DSC_9600

I will be doing a holiday crafting series starting Monday November 30th – so stay tuned! The ideas will all be simple to recreate – and time friendly. I know how crazy the holidays can get, but I love putting homemade touches on things.

disclosure: I do work with Brother and my ScanNCut machine was provided to me for use, however all ideas and opinions on my blog are my own.


banner