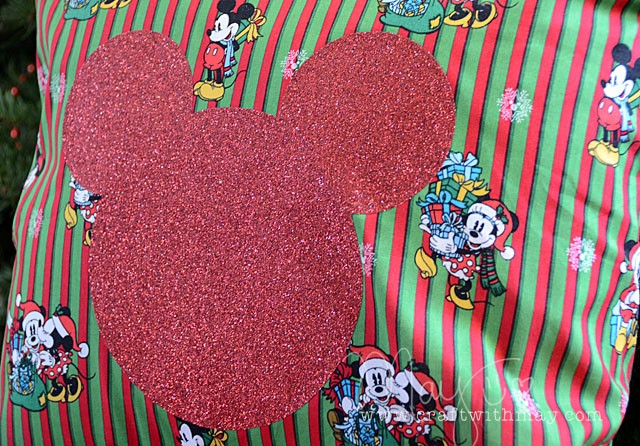
Do you want to customize a pillowcase you already have, or perhaps want an easy idea for (affiliate link) iron-on transfer sheets like the ones I use? Today I’ll be creating a custom shape using three circles – and yes this entire project and tutorial works for ANY ScanNCut model!
Before I share my video tutorial how-to for the glitter iron-on, let me explain the quick & easy steps to sewing a pillowcase. A sewing machine will make this faster – but you could do it with hand stitching too! You’re just going to straight stitch in 4 spots. First though, get a piece of fabric the right size.
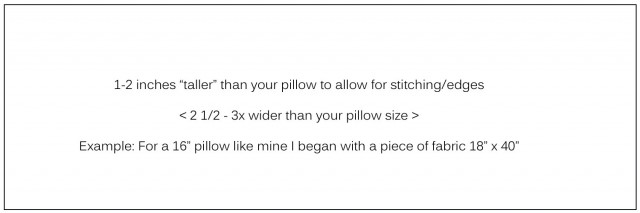
You’ll want to stitch the two far ends (aka the far left and right shown above) after folding over so you have a nice edge and not a raw end. Then you’ll want to fold this fabric inside out to create the pillowcase. Overlap it so that the width is the same as the front of your pillow. Then stitch the top and bottom (using photo above as reference) and you’re done!! Flip it right side out and you’ll have a pillowcase with a flap to get your pillow into.
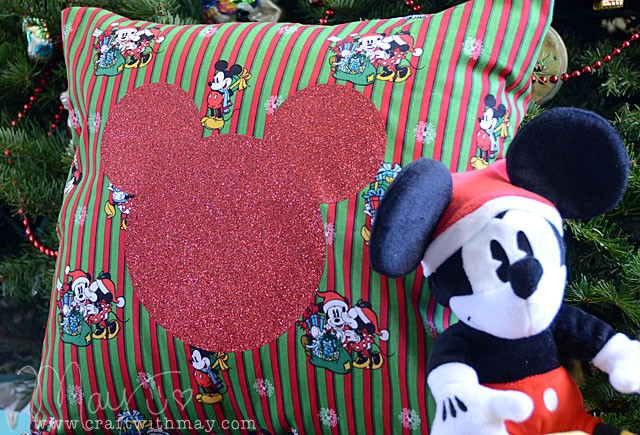
Such an easy project – and a long time favorite! Now let’s talk glittery iron-on goodness, and Mickey Mouse!
Link to YouTube video
Disclosure, as always that Brother provided me my ScanNCut machine to use and review, but that all ideas and opinions here on my blog are my own.
Looking for a ScanNCut of your own? Independent retailers that carry Brother products will have the model I use (650), otherwise online shops (affiliate links) such as Amazon or Scrapbook.com have the more familiar aka “seen on HSN” 350 model.
Cute pillow project! Michelle t
So so so so cute!!! Love the fabric and the glitter
And please tell Brother they absolutely could not have picked a better person than you to showcase all the the Scan n Cut can do!