Make your mark: creative play turned into a card

Some days, I just color and play. I might have an assignment for a company like Brother (disclaimer as usual that I am a paid consultant/brand ambassador but as always all ideas and opinions are my own), or I might have some free time and just want to mull  over color combinations or ideas in my head. I’m a huge fan of just take your time, play around, and see what happens.

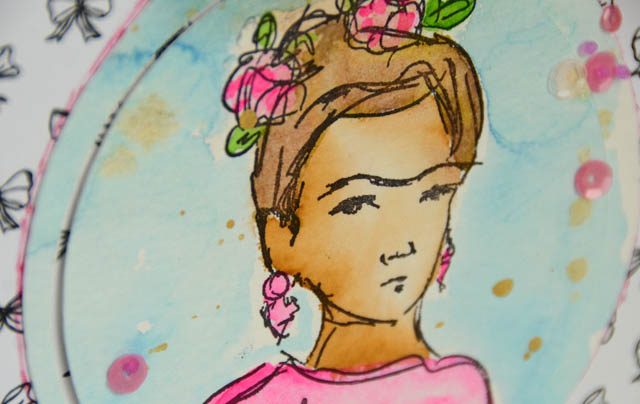
But what happens when you finish watercoloring and find yourself with a usable image on a  page with many some good and some terrible?

Today’s answer: get out the ScanNCut! Here is a link to my YouTube video.

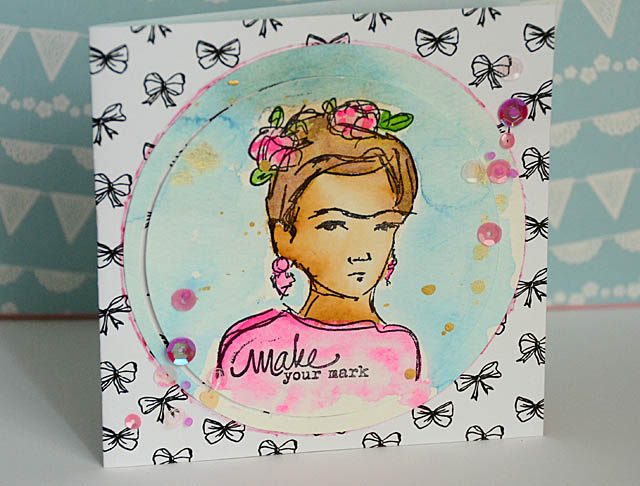
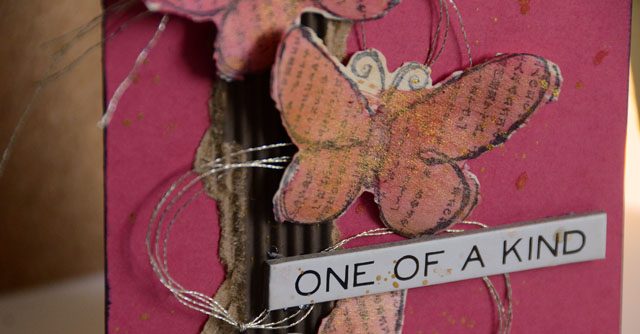
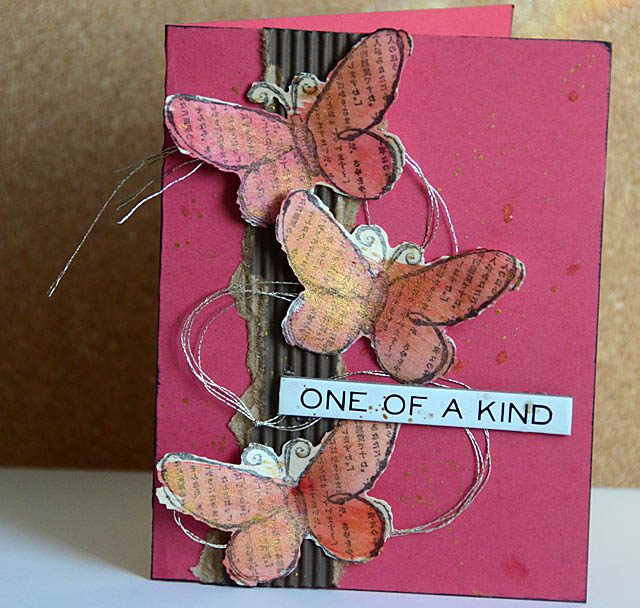
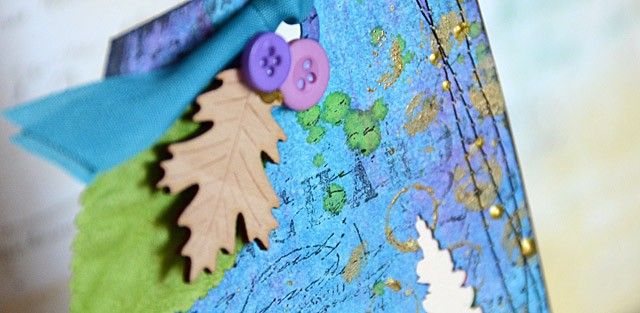
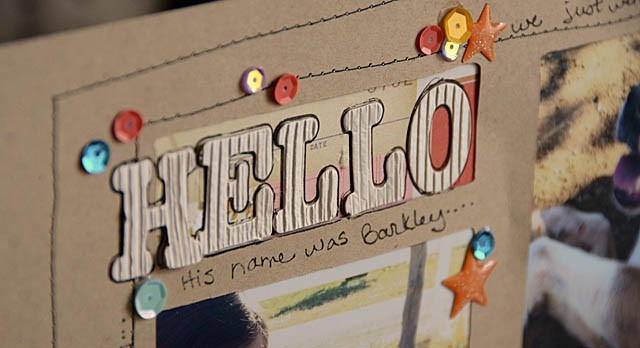
For something like this, a two-color small pattern background and just a few sequins was all I needed to turn this creative test into a card. I love how this turned out, and I hope I’ve inspired you either to cut loose and play a little more often, or to take your creative experiments and turn them into finished projects simply.

Have a wonderful week!

Mother’s Day Card

When it comes to creating with the ScanNCut (usual disclaimer – I am a paid consultant for Brother, but all ideas and opinions are my own) I love how any of my creative ideas can become reality, and easily!

Today I have created a card that could be any occasion – or for Mother’s Day featuring some butterfly stamps that I scanned (and cut) with the machine out of wood veneer paper. Here is a link to my full YouTube tutorial.     

I really love how I am able to cut even stamps like this with a sketchy edge – and I really love the funky scratchy not so straight edge this particular stamp gave me.

Much as I love the butterflies and coloring with them – the gold thread is my favorite part of this project. I just adore adding wild threads here and there on a project, and it adds all the embellishment I need here! I hope I’ve inspired you with this card – are you a fan of butterflies in your crafting? Flowers? What is your favorite motif?

Rose scrapbook page

I’ve been making an effort to scrapbook a bit more – and today I’m excited to share with you that I created a layout featuring the ScanNCut and stencil material as well as one of my favorite photos from my last vacation. (disclaimer that I’m a paid consultant for Brother, but all ideas and opinions are my own) I created a full YouTube video tutorial that you can watch here.

I love how this layout turned out!

Using shading and ink, a bit of gold spray and wow! That stencil has long been a favorite design in my machine and this is by far the best way I’ve used it. It reminds me that when I don’t have the right themed embellishments, I should make my own themed stuff with my ScanNCut!

edited to add: I did indeed catch my whoops on my title and fixed it – but I didn’t initially load the right photo of the layout! Whoops x2. That’s ok! When scrapbooking mistakes happen, and we can almost always fix them. By gently removing my letters and re-applying with liquid adhesive I was able to quickly and easily fix my layout with no damage or issue.

In scrapbooking especially, don’t worry about making mistakes… because they’re bound to happen! Know that there’s almost always a fix and usually a fairly easy one and have fun!

Baby gift bag with ScanNCut

The conversation began was a familiar one – a baby gift needed for a baby not yet born, gender unknown. Oh yes, and gift by tomorrow, please. Loads of my husband’s co-workers are beginning their families, and there couldn’t be a happier occasion to celebrate! I always try to do something special for the gift wrapping, so today I decided to go with the shower invite theme of stars.

What materials to use? I found a variety of adhesive backed materials in my stash and decided to adhere them to heavy cardstock then cut them out. Here’s a tip: since thin materials don’t hang well for a project like this I always like to

To watch the full tutorial, check out my YouTube video.

Gluing the stars to the bag wasn’t in my original plan, but sometimes plans must be altered! In this case it worked out well, and I love how the bag turned out.

There is something so fun about gift wrap, and whenever I can take the time to add a bit of craftiness to my gifts it always feels so great! I love sharing a bit of happy crafting with someone else, as well as putting my own spin on things. It’s just one small way I can add some happy crafting to my life and someone else’s. What I really ought to do is to start pre-crafting gift bags and boxes so I always have some ready! Not quite at that level of organization yet, maybe some day?!

Speaking of organization – yikes how is it April?! I’m off to a meeting with some folks at Brother – secret stuff! Watch my Instagram and Facebook (@craftwithmay both places) for updates from the road. In the meantime, a disclaimer as always that I am a paid consultant for Brother but as always opinions and ideas about the awesome ScanNCut and any of their products is all my own.

scrapbooking: What “old” ideas can I put to use?

Once in a while I like to look back through my past projects here on the blog and find new inspiration from old ideas. Today I’m looking back at some ScanNCut projects (usual disclaimer – I’m a paid consultant for Brother, but all ideas & opinions are my own) to see what I could try that I have forgotten about or simply not brought back! Here are some that come to mind.

1. Hand written and scanned title
412

From the paint details to the embellishing I love this page – but it is that this is a hand drawn title that I love the most!

2. Use the negative!

DSC_2166

This is an idea I’ve not quite figured out the logistics of – but I want to! Basically I want to apply this to a scrapbook background as this is one of my all time favorite tags.

3. Template/windows

DSC_3046

This is one that I wanted to include because I think it would be really cool for a shadowbox. I’m always considering how things I’ve created and techniques I’ve tried can apply to projects of other kinds. This I think you’ll be seeing in an unusual way in the future!

4. Countdown calendar

DSC_5118

Last summer I simply cut a bunch of shapes out of a “calendar” I’d draw on paper. It is one of my favorite things that I did and I’d love to make something similar perhaps for my scrapbook this year. I’d also like to play with the machine pen functions to see what I can do.

These are just four ideas – but I do hope I’ve encouraged you to look back for tomorrow’s great ideas! Sometimes we find a new spin, twist, or technique forgotten and it can be great fun. I’ve only scrapbooked 2 layouts this year – but that is changing as I gear up for some fun crops and at home ‘crafty days’ as well.