A card for dad: featuring ScanNCut

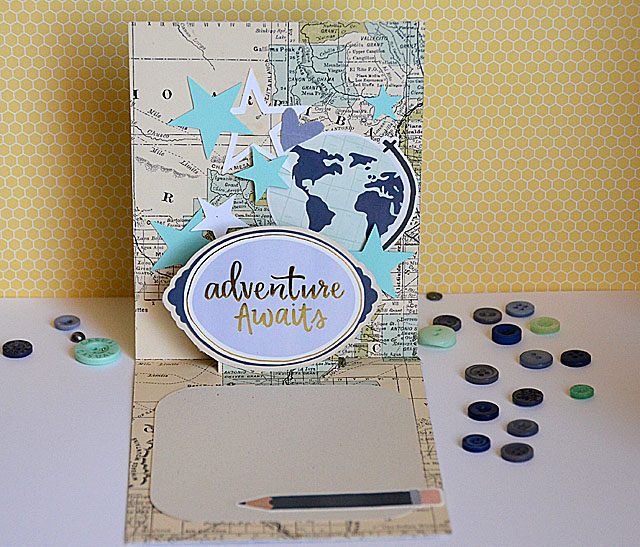
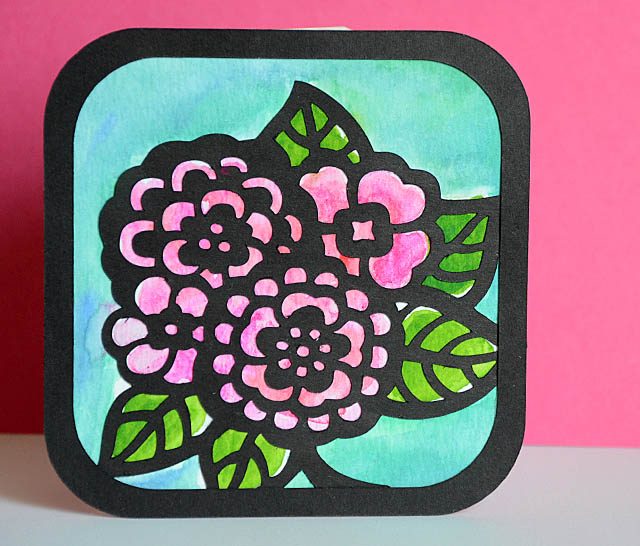
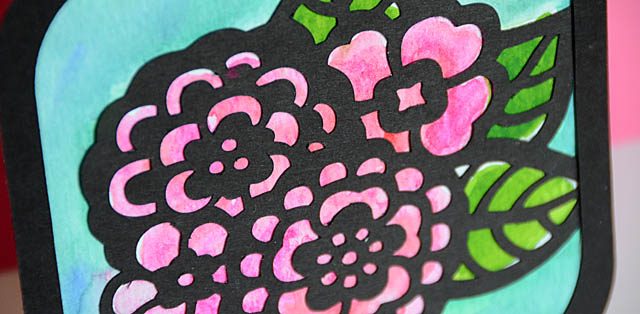
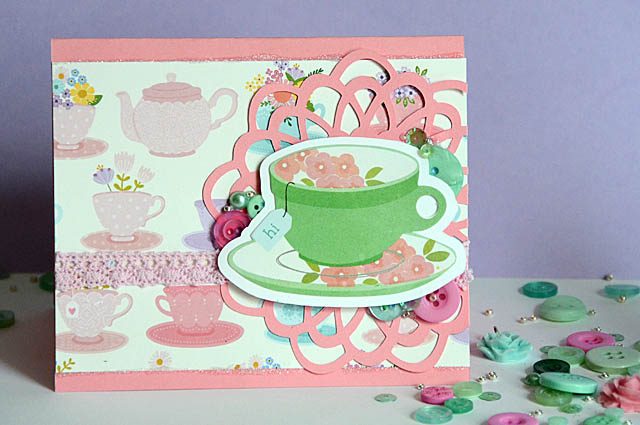
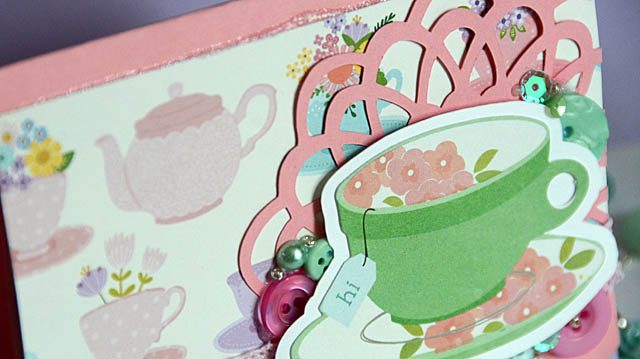
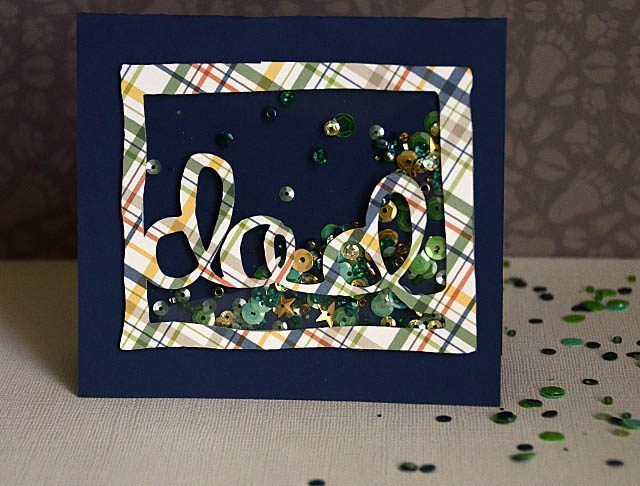
Can you make a more masculine shaker card? Even with swirly writing? Sure! Why not? Happy to share this super fun tutorial with you guys today – all about embracing my perfectly imperfect handwriting and just having fun creating a one of a kind card for dad. How to do this so easily? With the ScanNCut – I turned my handwriting into a cut file, designed it with a thick enough border for some thin foam tape, and off we go!

The usual disclaimer that I am a paid consultant for Brother, but that all ideas and opinions are my own

For the full tutorial, check out my YouTube video.

I have a few tips for making a cut file like this:

  • Remember that you can always re-size the file once made, so don’t stress about making the original perfectly the size you want to have.
  • Use scratch paper and practice a bit as needed to get the feel for what you’ll want
  • Start thin, work thick. By using a thin pen first I got general lines that I could greatly alter to suit my needs
  • Have fun with it!

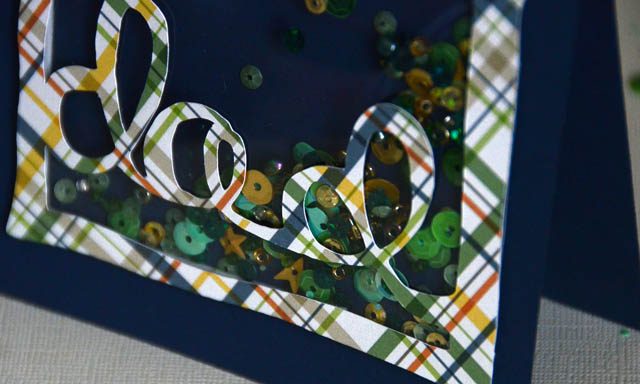
The shaker element is just one option – you certainly could make a window card (with photo behind!) or anything else you dream up. Remember for shaker cards just make sure that you cover all edges – and if all else fails seal with a bit of glue. This kind of a design is also great in scrapbooking – in fact later this month watch for a page from me that features a similar idea of design as a background.

Happy Crafting!

roof shingles on the bird house

Working with the ScanNCut, I’m always delighted when I come up with new ideas. (disclaimer I am a paid consultant for Brother, but all ideas and opinions are my own). It might seem odd to work with fall/harvest colors in the beginning of Summer, but I intend this project to be a bit time intensive and full of details – so by the time I finish it’ll be August. (isn’t that how time flies in summer?!)

I had an idea for outline and filled in pieces – and I’m real excited with how my custom designs turned out! If you’d like to see my how-to video with the ScanNCut you can check it out on my YouTube channel here.

I love that I can draw anything, and as long as I do so in a way that the scanner will recognize/outline – I can scan it, cut it, create it!

My little house looks cute with just the roof cut out – but I have much more in mind. I’ll be sure to update as I experiment with paper crafting techniques and mixed media fun here on my blog. I hope you’re having a nice week!

Pop Up Card with ScanNCut Canvas

While this time of year is always busy, I love pausing to add some hand crafted goodness to my end of year teacher gifts. I’ll have several ideas for you over the next week or so – so stay tuned.

I love challenging myself to come up with new ideas with my ScanNCut (I am a paid consultant for Brother, but all ideas and opinions are my own) and I love when I’m asked to try something I don’t usually do. On this particular occasion, it was a pop-up card, and I have one version to share with you here today.

Here is a link to my YouTube tutorial.

Utilizing a combination of stickers and die cut shapes I just love how this turned out.

I am also really loving how I was able to use patterned paper inside the card, but use the ScanNCut to make just the right sized space to write a note to this teacher heading into retirement.

Putting more energy into the middle and making the front a closure was a lot of fun, and I’m loving the idea of a surprise inside. Be sure to keep an eye on scanncut.com – since I’ll have a tutorial going up for a different card soon, and they’ve got tons of videos and PDF tutorials all the time. In fact I’ve got a new spring bouquet one up now here.

bold watercolor with ScanNCut

As I sometimes do when contemplating use of my ScanNCut, today I got a wild idea. The usual disclaimer that the ScanNCut is a machine I love and use often, all ideas & opinions are my own. That said I am a paid consultant and I always say so on my posts so things are 100% honest and upfront here!

The idea went like this: Could I do some kind of thin black outline, and layer on top of a watercolor background? The answer, is yes and here is my YouTube video tutorial.

I mention in the video I could have gone into Canvas and tried some more editing/creating a single cut file but I didn’t. You see the way my brain works I often do better having physical pieces I put together myself. In fact sometimes when I put all the things together simply and easily in a video I have already done exactly this before filming.

On this card, I really am wowed by how this turned out and I already have a few ideas for changing up the look and layers to get an even more exceptional “wow factor”. I am thinking about using the draw function so I know exactly where all pieces will be and do more in depth color shading as well as building a piece for canvas, shadow box, or home décor project.

When it comes to creative ideas with the ScanNCut, time and time again I find that the only limit is my own imagination – and I love that!

Hi! A tea inspired card featuring the ScanNCut

I totally enjoy (and always disclose) the fact that I work with Brother (paid consultant, but as always this machine I adore and all ideas & opinions are my own), and I always love when they give me a new challenge. Below you see a sneaky peek of something I worked on today – stencils + pottery painting! If it turns out as good as I hope? Well I’ll be doing a LOT more because it was amazing and awesome.

I won’t know the results for a week, when I get to go pick up the finished pieces that I did today. Don’t worry – there will be a full video tutorial here, and I’m making one for the Brother website as well. I just couldn’t help adding this peek in since I spent my day down at a pottery studio and man, it was FUN!

Speaking of fun, I needed a card for a friend and fellow Girl Scout leader and fast! But what to do? I wanted something fun and then I saw it. This teacup paper die cut that has been plaguing me for months! maybe a year or more. Since I’d just spent the day enjoying pre-cut shapes from my ScanNCut to stencil pottery I thought… let’s pull it back out and see what I can do!

Here is a link to my full tutorial on YouTube. This turned out even better than I expected, and I was able to do a thicker outline so I love showing you that when usually I use a very thin outline. I also love any excuse to use this particular doily-esque pattern as well!

“Grounding” everything to the one side as well as that bit of lace trim really brought this card together beautifully for me. I hope you’ve enjoyed it as well – and I wish you all the best for a most excellent week.