Day 9 | hybrid tag

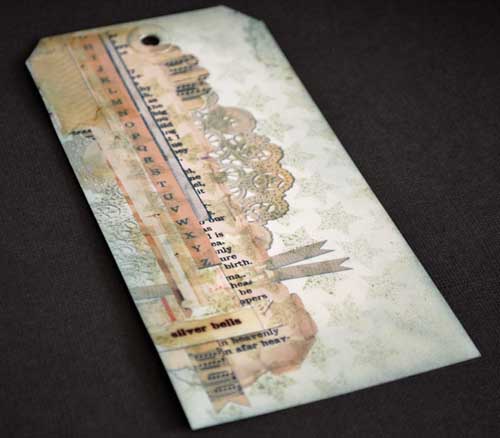
Sometimes I want a fast tag, something semi-homemade but cute. Today I want to share a hybrid tag featuring an image from www.rhonnadesigns.com that only takes a few minutes.

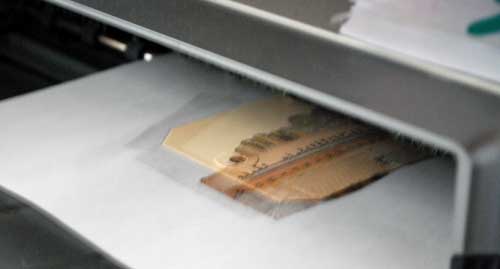
1. Open up the digital image (in word, photo editing software, etc.) and print out onto paper a size that is slightly larger than your tag. I printed 6.5in high for mine.

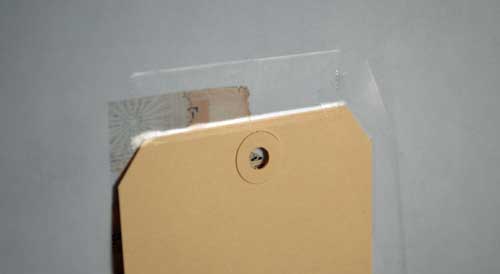
2. Tape your tag to the paper across the top. This will let it smoothly run through the printer, and because you  pre-printed you know exactly where the design will print.

3. Carefully remove the tape and you’re ready to play!

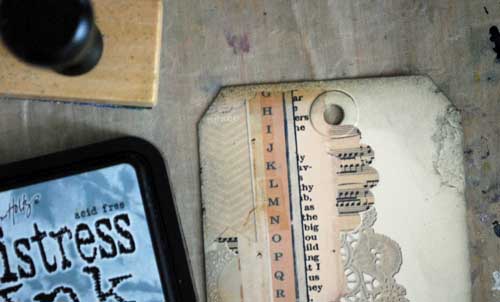
There is a tiny space where the tape was that you’ll have no printing on. It didn’t bother me, but I used a bit of Tim Holtz new limited edition distress ink on mine and made it barely visible! At this point I also highlighted a few areas with glossy accents + allowed to dry.

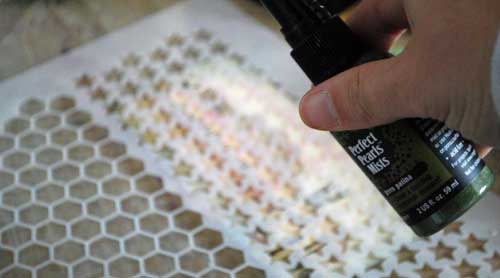
I could add glitter, more layers… but instead I just spritzed with my favorite template + current favorite mist.

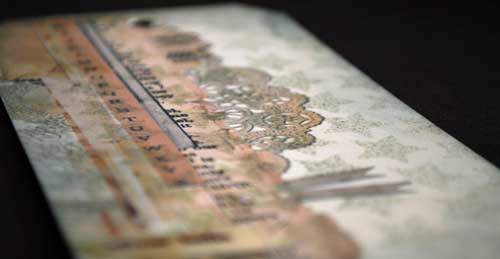
And there you have it.

I will definitely be pulling this trick out more often – and yes you could re-print easily and/or print more than one at a time.

Supplies:


Note: The links to the seasonal distress inks (above) are to Scrapbook.com and simonsaysstamp.com – and they are both on sale as of this post! Get ’em while you can!!

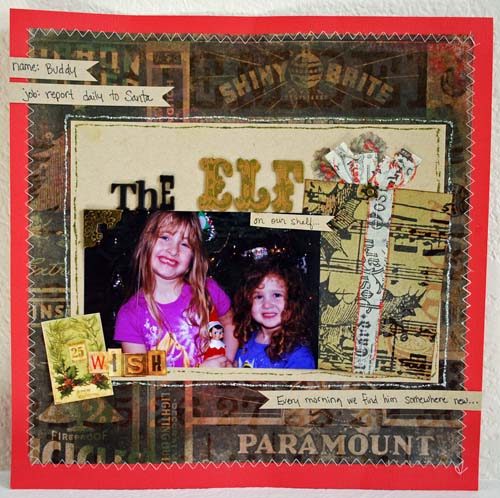
Buddy is back…

Buddy returned this weekend for his second year of being our scout elf. Becca was concerned he might come to life and eat her brains (wha—-?) but then after we re-read his book she is convinced he is kind, but still won’t speak to him. Elizabeth on the other hand will not stop talking to him about her toys, things she wants, questions about Santa…

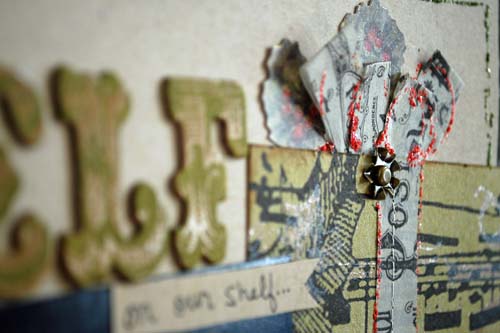
Which reminded me I have this layout about Buddy that I’d created for Tim Holtz (CHA-Summer) that I have yet to share:

Our house rule is that you can hold/kiss/hug Buddy ONCE on the day he arrives, and again on Christmas day before he goes back to the North Pole. But you’re not allowed to touch him otherwise (per the book). Sometimes Buddy forgets to move (whoops) – we think it’s that he forgets where he had been parked or just really likes a specific spot.

Supplies:

day 8 | thoughts on giftwrap…

Crazy crowds and lack of sleep isn’t my idea of a good shopping time, so you won’t find me out in the crush of Black Friday madness, but here cozy at home instead.

It’s a good day indeed! All of the “to be mailed” packages and most of my holiday cards were mailed out on schedule. Hooray! Mailing everything this week is one of my traditions and I am happy to have gotten back on-track with it this year. I spent a lot of time in the last week gift wrapping – I’ll be taking a break from it for a while before starting on to be delivered and/or put under my own tree packages. Today though, I thought I’d share a few.

I really like the layered look with wide ribbon or paper wrapping box. I also really liked small manila tags too. Here’s a video with a birds eye view of me wrapping 4 assorted packages…

[youtube=http://www.youtube.com/watch?v=94sIckp8vdk]

Two things to note:

* I do not think every package turns into a masterpiece. Some come out better than others, I just remind myself that every/anything I do above plopping a bow on is above and beyond and extra fun. IT IS OK if some aren’t awesome. It’s the thought and what is inside that counts.

* I like trying out ideas and new things, and taking risks. Because it’s giftwrap and likely to be crumpled in a ball, it’s ok! Love the freedom to just play.

I hope your day is off to a great start. It’s tree time over here…


day 7 | homemade apron

Yesterday was a big success for 3 reasons: First of all, I started + completed my FIRST real sewing project of 2011. This year… I have not been sewing and it’s a source of personal frustration. I’ve not made time for it, and I want to. The second reason is that I made my first apron – a type of project I’ve wanted to tackle for a very long time. Finally, I made my big trek to the post office and am all but done shipping gifts. (FIST PUMP!!)
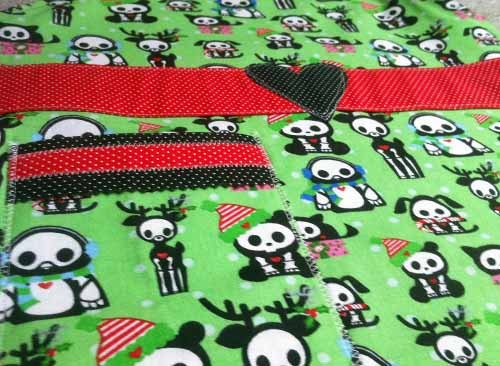
 

My first apron (soon to be followed by #2 and #3 for my own girls) is for the coolest girl in middle school I know. I saw the fabric shown above and *had* to give it a go. I figured she’d love the funky skeleton animals with holiday cheer. First I doodled (badly) and wrote some numbers and generally wrapped my head around how-to and what pieces I’d be cutting. Making an apron has endless options…
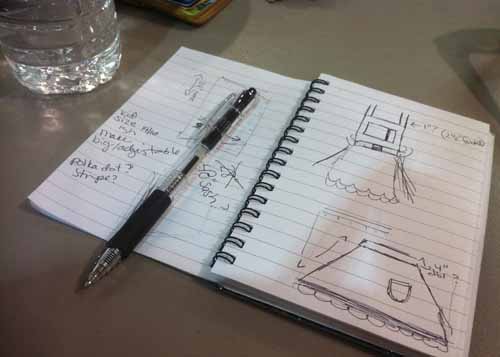
Next up? Carefully cut all the pieces. Despite wanting a frilly ruffled apron at first – I knew it would be too much and I’d either mess it up, or go mad from trying to figure it out on my first time.

Also? get out iron + ironing board. My kids were fascinated. What IS this thing? (can you tell how often I iron?). The lesson I’ve learned in sewing projects past is that you MUST IRON IT ALL. The fabric needs to be pressed flat/creased/etc. The iron is your friend. Straighter lines, fewer screw ups – that is what the iron does for sewing projects. Don’t try to fight it.

Below you see my pieces as I’ve been cutting them and laying out – PRE iron. Laying it out helps me think about the order in which I need to sew, see if I like where it’s going, and generally gives me time to make sure I like what I’m doing. Simple as this project is, it’s not easy in the sense that I was using my brain on FULL CAPACITY the whole time. No day dreaming or “slapping together” for me when it comes to this kind of project!!

Ok. Pleased with my pocket size, thickness of straps, etc. I iron, iron, iron, and sew the pieces as needed. I sewed all the pieces (except neck strap and straps to tie in back) onto front before stitching a (black polka dot) piece of fabric to the back to give apron better weight and such.

There was a point… when I sewed the apron strings into it and flipped right side out to make sure it was working that I realized “oh holy crap. This is going to work.” To be perfectly honest I didn’t do more documenting or anything because I wasn’t sure I could pull it off.
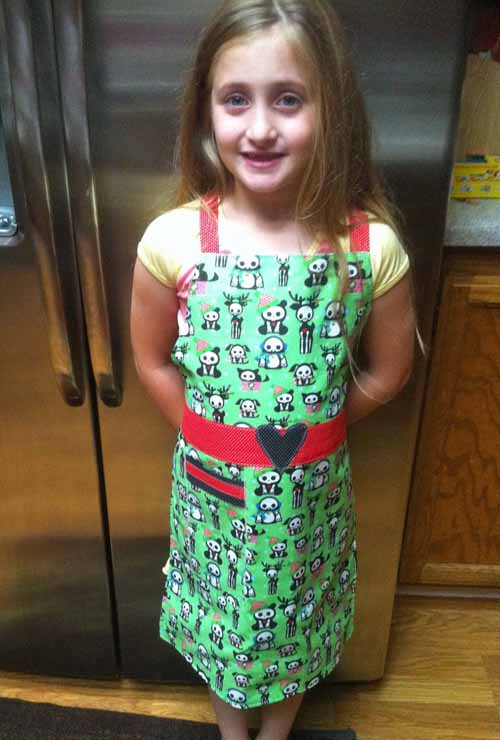
Elizabeth models my apron – and asks when I’m going to make hers with the fabric she had picked out. I used myself and Elizabeth to gauge sizing. Obviously doesn’t need to be exact, but I wanted to be sure it’d be a good size for the young lady it’s heading to.

The very BEST part? I can not tell you how accomplished making this made me feel. I have tried aprons before with patterns – I failed spectacularly EVERY TIME. This time I just grabbed my plain single piece of fabric fronted apron and added my own touches (belt, pocket, etc) – and it worked better. It was a success. I know I’m going on and on – but this was a HUGE breakthrough for me – and I’m slightly giddy.

Will I hit the craft shows? Open my own apron shop? Probably not. My sewing is still weak at best – but I will happily accept this victory and mail off this first (maybe only) homemade gift of the year.

Happy Crafting.

question: would you want to see a process video (of next one) and have sizes/pieces used to make such an apron? Let me know in comments… I am thinking about if I want to do more tutorial as I gear up to make the next one…

day 6 | digital holiday invite

I have said since the beginning that this series is about REAL holiday crafting. Now I’m all for playing and creating just for the love of it – with no particular goal in mind. However this time of year, time is tight and I want to share the crafting that I’m doing for use immediately in my holiday season. I have some decor fun projects planned – but we shall see how much time I can work in!

Today I want to share how I easily use digital supplies (frame + 2 borders in this case) to create invitations. You could actually do this in Word (just layer behind text!) if you wanted. Anyhow, here’s my invite + how I quickly made it but look super awesome to my family:

Open PSE and create 2 new files. One that is 8×12, the other 8 1/2 x 12 1/2.

I used designs by Rhonna Farrer for this – they coordinate so beautifully. Ok, so open the two borders and one frame and drag and size onto the 8×12 file as desired. Type in text and flatten image. Drag onto the larger file, center, and add drop shadow.

Email to invitees! [or print + mail]

It’s seriously that easy. I play with font size, what to say, etc… but it’s so simple!

I *LOVE* how these supplies (Which I purchased for some hybrid crafting this season) can be useful in creating one of a kind invites. You can check out more at www.rhonnadesigns.com

.