Embossing + Ink

One of my favorite basic techniques is to do white or clear embossing on white paper, then coloring with dye inks. Today I’m going to share two examples featuring Close to My Heart stamps.

DSC_6335

These stamps are available from CTMH- just love them and especially this new puppy one!

DSC_6342 copy

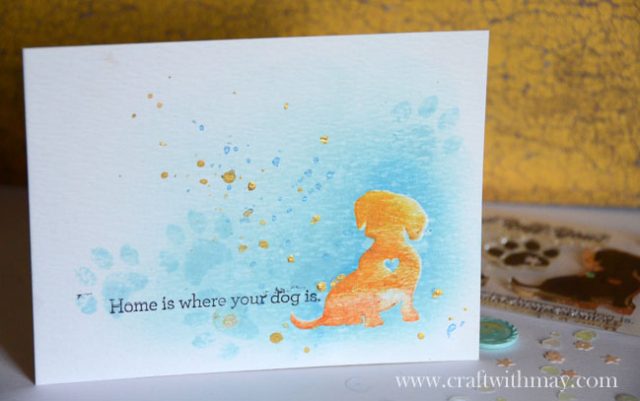
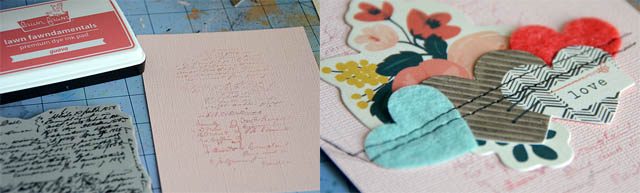
I stamped the pup with ombre (Hero Arts) ink and whoops. I forgot I had heavily textured paper and this was a bad choice for this type of stamping. What to do? Re-stamp with embossing ink and clear embossing powder! Once heat set, I knew it would work because then I came in with some light blue (distress) ink around the image which helped the puppy stand out. LOVE the heart in the middle!

DSC_6344

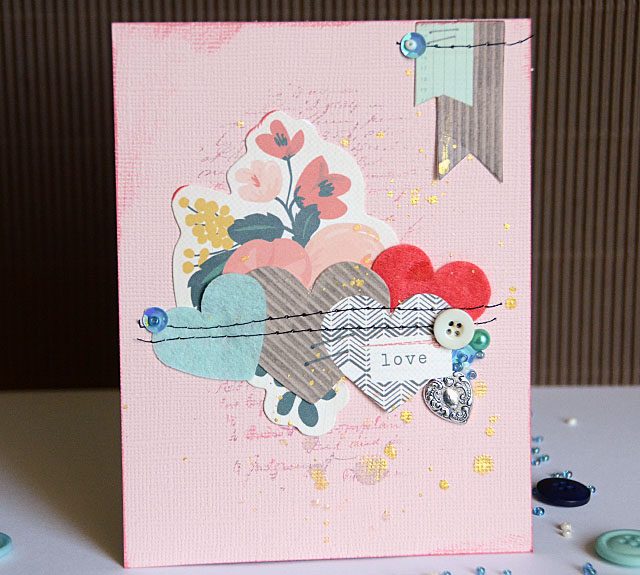
I then stamped my sentiment (and a certain new puppy bumped me as I did so but that’s ok!) and added some paw prints the same color. Love how this turned out, and a few sprinkles of gold mist and my card is ready to go. Inspired, I decided to try the same but this time with white embossing powder (and no ombre ink!)

DSC_6351 copy

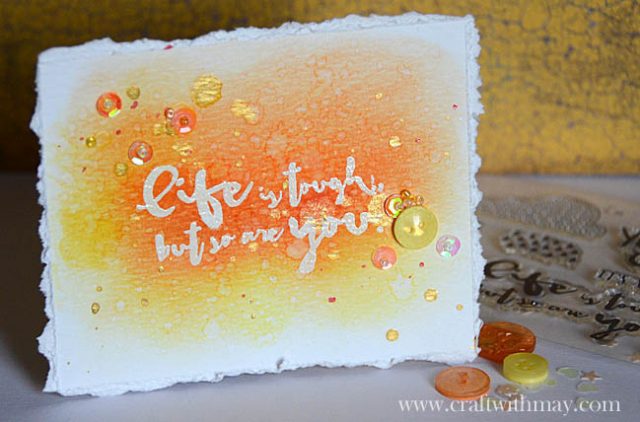
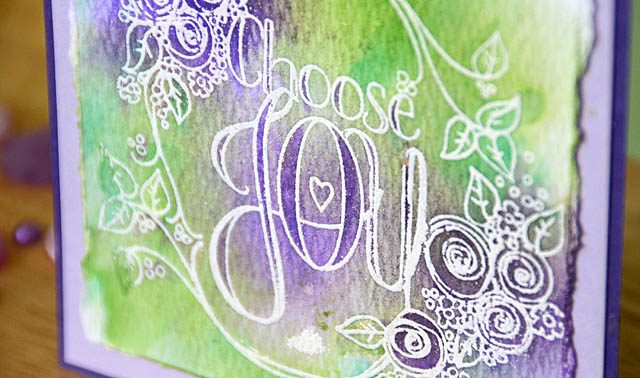
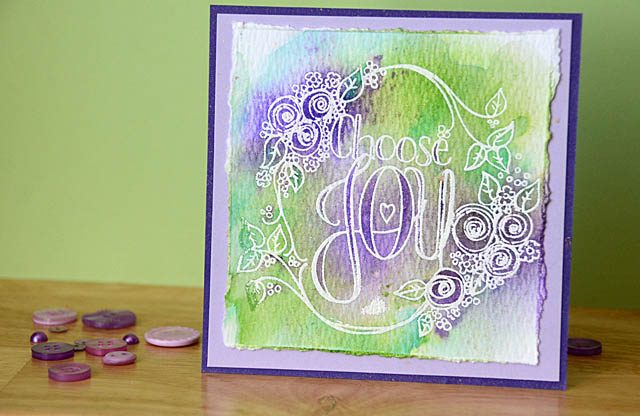
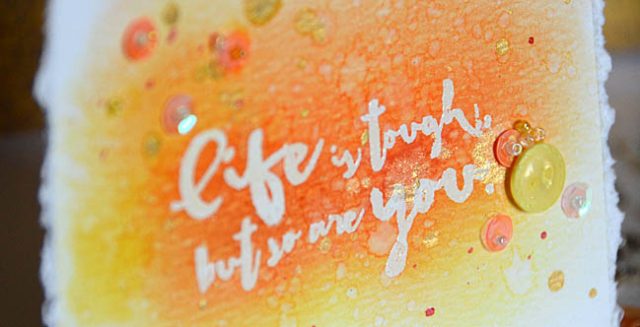
This one I used a variety of distress ink colors, with the darkest oranges next to the words. This stamp set is really cool – love the uplifting messages. I tore all the edges and added a few more embellishments (as well as water splats and gold splatter)

DSC_6355

Just love how these cards turned out and I really like playing with basic techniques now and then. Hope you enjoyed these – you’ll definitely be seeing me using both sets again!

Cards for every occasion: Inspired by lessons 3 and 4

Today I’m back with two cards- these cards were inspired by lessons #3 and #4 in my free scrapbook.com class. I had such fun raiding my die cut drawer and stacking details up!

DSC_6108

note: affiliate links are used in this post – should you use them they help support this site at no additional cost to you.

pic1

I pulled out some die cuts, layered, and stitched them into place. Then I added a few more – and added a deer head on foam adhesive. When creating a card like this I like to pick a few pieces at a time. I also like to add texture! The stitching worked well, but I also added in some buttons & embellishments from the Attic Findings kit (link to scrapbook.com)

DSC_6083

Here is my finished card:

DSC_6102

As you can see just a few strategic embellishments and the card was done! I used some Heidi Swapp (link) from an embellishment pouch and then some Crate Paper bits and pieces as well.

pic2

For my second card I edged cardstock and stamped in Lawn Fawn Guava (link) – my current absolute favorite color ink!

DSC_6088

From there the process was similar – but fewer pieces. I really love ephemera packs from Crate Paper – I hope they never stop making them! This one is a few years old and I’m glad I got it out and used up.

DSC_6091

Want more card ideas? Be sure you’re signed up for my free class! You can visit scrapbook.com and sign up for my class and many other free classes.

Inspired by Lesson 2: Card with Lawn Fawn Fairies

If you haven’t already – you can hop over to scrapbook.com and sign up for my free self-paced class “Create a Card for Every Occasion” – ten video lessons packed with inspiration!
picsb.com
note: affiliate links used in this post – no cost to you but it helps support this blog should you choose to use them. Thanks!

Today I’m working on lesson #2, and once again inspired to use Lawn Fawn stamps. With so many cute little stamps often it is challenging to figure out how to use them best, and also how to do so in perhaps a more simple way.
DSC_5592
I created a full video tutorial on YouTube for you to see how this process went – and the techniques I used including coloring and stamping on patterned paper! I just love how this card turned out!

Supplies Used (links to Scrapbook.com)
Lawn Fawn Fairy stamp setcoordinating die set, guava ink, and patterned paper; zig clean color pens; vellum; 28 Lilac Lane beads & sequins; black archival ink; and woodgrain cardstock
DSC_5613
My favorite thing about this card is the flowers on patterned paper! I don’t often color on patterned paper but for this card I think it worked out beautifully! To see the original card that inspired this one, and to register for my free class you can click here to visit Scrapbook.com. They’ve got loads of wonderful free content – including my class – I hope you enjoy!

Cards for any occasion: lesson 1

Great news! One of the FREE online classes that I filmed for scrapbook.com is now open for registration. Not a card maker? not a problem! It’s packed with techniques and ideas you can use in your art journal, scrapbook, or mixed media project as well.

What could be better? Each week I’m going to be sharing a video and card inspired by class right here on my blog, so over the next ten weeks you’re going to see ten very different takes on the various lessons from class. Double the fun!

DSC_5504
Note: Affiliate links are used in this post- thanks for your support!

So kicking it off lesson #1 in class (sign up for class here) is a fun loose watercolor birthday card. Stamp 1 image. add some color. mount it onto cardstock layer(s) and done. It’s a simple idea, and one I really like because whether your coloring skills are limited or you’re wearing a wrist brace still (like me) it’s doable. Different every time. A TON of fun.

Here is a Link to YouTube video for my new take on this lesson.

The card I created here features a new Tammy Tutterow stamp, as well as purple and green shades of distress ink. You could use any watercolor type medium, and while optional I find embossing in white or clear to be well worth it for that extra pop. Bolder/darker colors around the edges will help it really stand out.

DSC_5507
I really love how this first card turned out – and I hope you’ll join me here every week as well as over at my free class. I love that scrapbook.com offers these free courses that help show techniques and ideas for paper crafting, and it was a total labor of love creating this class. I hope you enjoy the bonus content posted here at my blog each week as well!

Happy Father’s Day: Stamped Card

DSC_5369

How are we approaching Father’s day already? The time I tell you is really flying by! Today I’m excited to share a card that features some new Close to My Heart stamps (find out more info at their website). Wait, not some. The ENTIRE STAMP SET! That’s right I went for it and used them all. This card didn’t need much embellishing either – but a few nautical accents from my embellishment line 28 Lilac Lane “At Sea” kit (available in stores now) and some twine were the perfect accents.

This card actually began as a watermark stamping idea… but I decided with the awesome urban papers (from CTMH) I could not just use up my stamps… but a good number of inks too! It’s easier to show – so here’s my  YouTube video

I really love how this one turned out – now if I can only find a gift for the great dad that lives here in this house… hmmm.

DSC_5354 copy

I hope that I’ve inspired you today to use ALL THE STAMPS (yes, all caps) to create a card like mine. This one happens to be Father’s Day – but any theme would work! I love that instead of having to pick a favorite I was able to make this collage of fun. Until next time – I wish you very happy crafting!