Teacup stamping fun

Hi there from Gilbert, Arizona! I’m here creating a new online class for Scrapbook.com (more on that later!) and was cleaning up some files and realized I have a fun card I’ve not yet shared! This is made with one of my favorite Pink Ink stamps – I just love this teacup + flowers!  

The how-to is really quite easy as well – here is my YouTube tutorial.

This stamp inspires me to host a tea party just to use it for invites! I love utilizing my wood mounted stamps and I have so much fun with simple coloring like this. What is your favorite stamp to color?

Card making 1-2-3

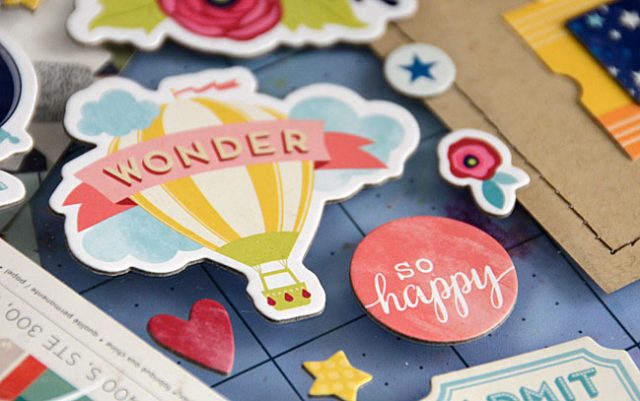
Sometimes I have extra stickers or scraps of paper that I don’t want to put away or store. What to do? Make a few cards! You can keep it simple or amp it up, and today I’m here to share a trio of ideas to get your creative mojo started! My focus was to create some birthday cards great for anyone boy or girl, baby or adult.

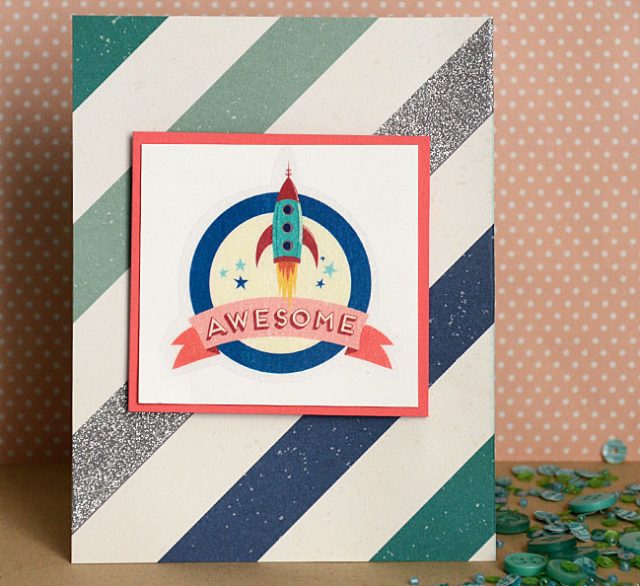
Option #1 works best for a sticker or small journaling card or die cut that you want to feature on its own. Mount onto cardstock, then a contrasting cardstock, and center onto a patterned paper as you see here.

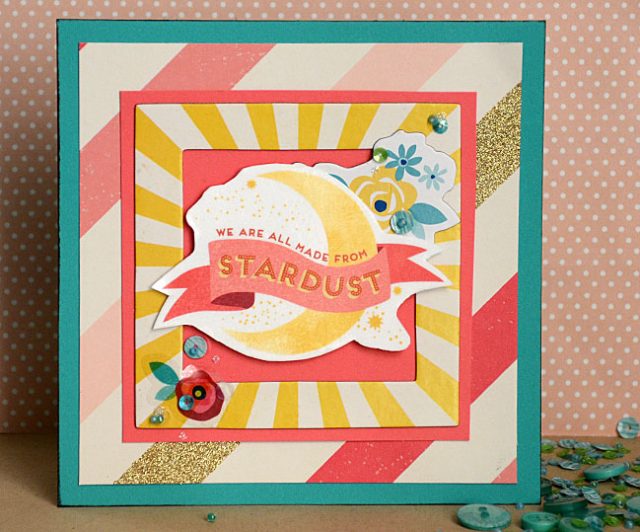
Want to amp it up just a bit? Take a look around for elements that you can cluster together. Here I took a chipboard frame, some small stickers, and of course that big beautiful stardust sticker and placed them together on some coral cardstock.

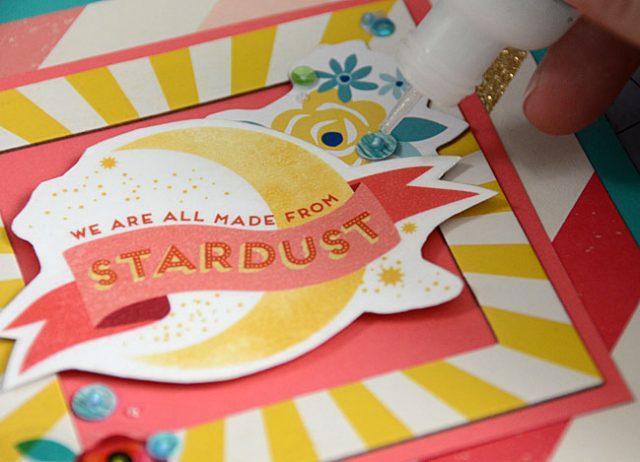
This card needed a few added layers for pop and contrast – and I just love how those few extra steps (including adding glitter glue) brought it together.

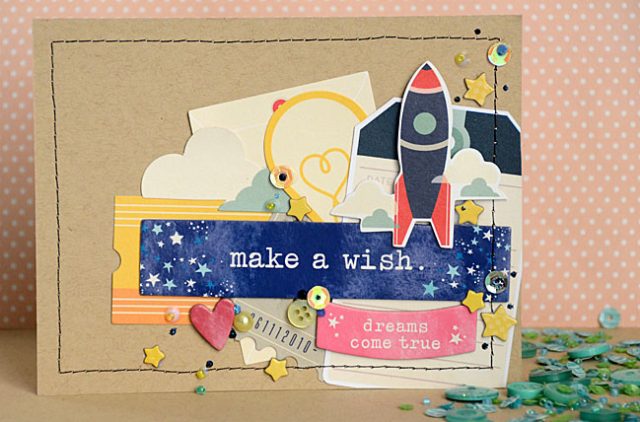
Ready to take it to the next level? Working off the same basic principle, but going a bit more free form we have the third card. This time I stitched around the edges to create a layer/frame.

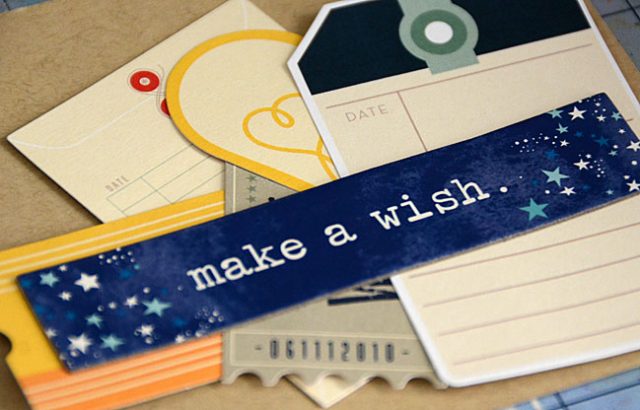
I also took the most fantastic chipboard ‘make a wish’ and used it to sort out what die cuts would look nice clustered underneath.

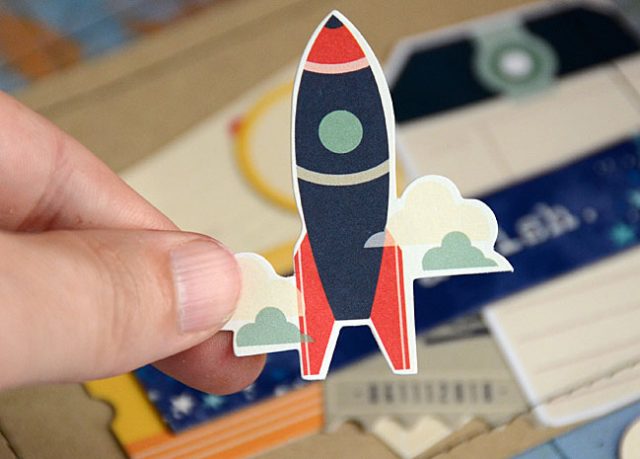
Remember that you want a variety of colors and sizes. Once satisfied, I added a robot on foam adhesive to add a pop of fun. To add more detail I added some chipboard stars, sequins, and of course more glitter glue.

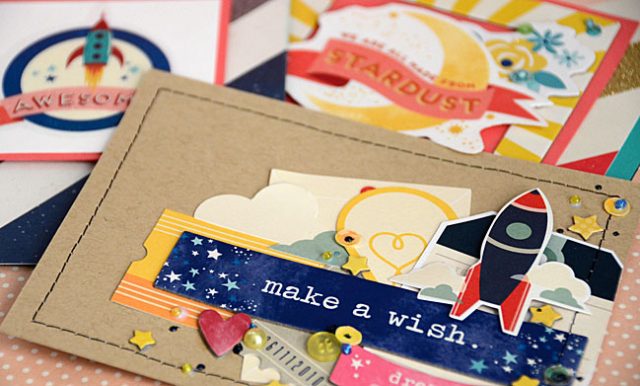
I think that glitter glue is my favorite embellishment for all projects, adding just a bit of sparkle and shine! I hope you’ve enjoyed walking through these three cards and seeing how with a few adjustments and additions can take a project from clean and simple to a bit funky.

I used a mix of Shimelle papers/stickers + 28 Lilac Lane embellishments for these cards. Want to find some of your own? (Affiliate links used) –  I’d recommend scrapbook.com for both. and for more card ideas! I’ve got two free card making classes there for you to check out as well.

Happy Crafting!

Holiday Card ideas & a free online class!

If you would like new card ideas for Christmas – or any holiday – this post is for you!

dsc_9518

note: affiliate links are used in this post. There is of course never any obligation to use them, but doing so does help support this blog so thank you in advance!

dsc_9523

Here is a link to my YouTube video tutorial for the trio of cards featured here today.

I am so happy with how all of these cards turned out – and for even more be sure to check out my new (free) online class with Scrapbook.com that features ideas for holidays all year! Speaking of scrapbook.com – they’ve got all kinds of holiday deals/specials going on so keep an eye out!

Here are the three cards I featured in the video, as well as some key supplies used.

dsc_9512

supplies used: Minty embellishment bottle, cotton candy embellishment bottle, holiday papers, and sentiment stickers 

dsc_9521

Tammy Tutterow stamp used as well as clean color pens on watercolor paper – this was so fun! Loving Tammy’s stamps.

dsc_9531

supplies used: distress ink, pretty princess and dragon fire embellishment bottles, sentiment stamp by Tim Holtz

There’s something so fun about creating cards for holidays, and I hope you’ve enjoyed this big post filled with ideas!

dsc_9540

I will be checking in again with more ideas from cards to giftwrap to décor for the holiday season. Have a wonderful weekend, and kick off the holiday season with something crafty if possible.

note: scrapbook.com has a cool article on die cutting up now including one of my cards. Check that out here.

Use the stash: Sticker scene

dsc_7517

This sweet little card was made not because I was inspired, but because I wanted to finish out a sheet of stickers. I couldn’t see a use for the huge trees and teepee… so now what? Well I’ll tell you the answer:

make a card or tag

Color me crazy, but I’d always prefer to have finished giftables ready to go than a sticker sheet with 3-4 stickers left on it! For this, I created the background of trees and teepee, then layered on a sentiment and 3 additional stickers. Using my stash, making a card, and it was quick and easy! The fall kit I put together to make this project is from my Kittastic 2016 all new class. Want to learn more and join the fun? Click here! The pre-registration price ends this week!

Inspired by lessons 5 & 6

Today I’m drawing inspiration from two different lessons in my card making class with Scrapbook.com. I hope you enjoy this card – and do note that affiliate links are used in this post. It must be all the my little pony shows & play that have been happening this summer but I needed to play a with something sparkly…

DSC_6368

It’s no secret I adore this unicorn stamp set (link to scrapbook.com) from Avery Elle – and I decided to see if I could try a dry version of the lessons in class. What I mean is, instead of watercolor I used a glitter pen to color my unicorn. For the background just a few swipes of dye ink! As I so often do, I flicked a bit of mist (love that color!) and added a few sequins.

DSC_6374 copy

One of the things I think is really important is to remember you can always ALWAYS substitute! I wish you a magical day, and I hope that you enjoyed this sweet little card.

Want more card ideas? Be sure you’re signed up for my free class! You can visit scrapbook.com and sign up for my class and many other free classes.