Holiday card: Memory Box Tree die

I know, it’s early for this. But here is the thing:

The holidays SNEAK THE HECK UP. Every year, December 15 rolls around and people freak out because they’re not ready. Well guess what? This is why September 1 is the opening of my “go ahead, craft cards and tags, shop if you see the perfect thing buy it” season. The thing is, I’ve made it a part of my fall traditions. I still decorate with pumpkins and give thanks and all that – I just also sneak in a bit of Christmas crafting here and then. This makes for a VERY relaxing December, and it lets me really treasure each project, shopping excursion, and really savor each gift chosen and every thing I make. It started as a way to pass the time one boring November… and it has expanded! Since holiday dies, stamps, and papers are showing up in stores I figure I will share things as I make them vs hanging on for months.

I tell you this because – well… if you see it here, now you know why! Ok. Here’s a card:

SIMPLE. SO simple. Die cut + stamp + rhinestones. DONE.

Supplies used:

Here’s a detail shot…

Happy Crafting!!

Product focus: Hero Arts Shadow Ink

note: this is the first in a new series where I will be creating holiday inspired projects with Hero Arts Stamps. Watch for more over the next few months!

I hear good things about Hero Arts ink pads and I was curious – what was the shadow ink like?

InLinkz.com
The answer is: rock solid. It is a beautiful ink to stamp with – one that does not blend, fade, or react with water or mist (unlike distress inks) but that is softer than an archival or staz-on type ink. It has a softness to it, and combined with absolutely beautiful colors I know I’ll be getting + using these pads a lot in the future!

What can you do with them? Stamp with them! I also loved the look when I simply rubbed my ink pad onto a paper – such beautiful coverage. For today though, I made a card featuring two colors, and after stamping my background I used distress ink, mist, and water blended and you can see it did not react. That green ink pad is such a great color!

The heart is also stamped with a new shadow ink color – that’s my very berry favorite. LOVE that rich pink hue. Here’s my finished card:

One holiday card down, many more to go!

Supplies used:

If you’re looking for a really nice ink ad to use on your stamping projects, in lovely colors that won’t react or smudge when you go to do other stuff – I’d strongly recommend the shadow ink pads!

Sept SSS card kit: part 1

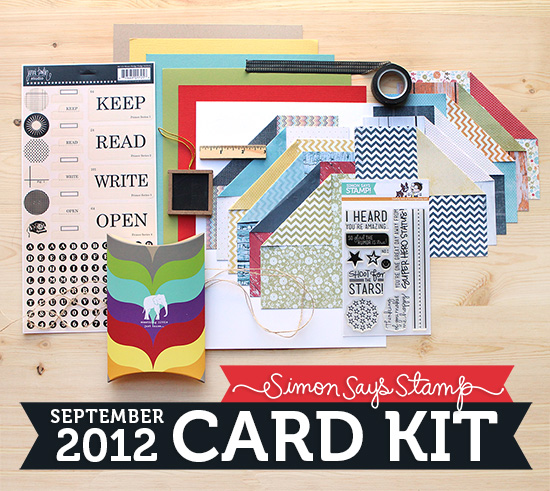
How do you break into your kits? Do you think about it for a long time? Dive right in? Play with small projects first? No matter how you do it – the important thing is that you use them!! Today I’m breaking into this kit:

I believe in jumping straight into a kit. Just dive in and GO. Otherwise, I tend to avoid using it because it is still new + perfect. Can’t have that! In this month’s kit, I’m loving a lot of those elements, and I’m thinking I’m going to make cards from it too. Although, who knows maybe I will make some layouts too. Anyhow, it is 7am, I want to do something creative before this day that promises total insanity takes over, and I want to see if this kit can help me with something creative and quick.
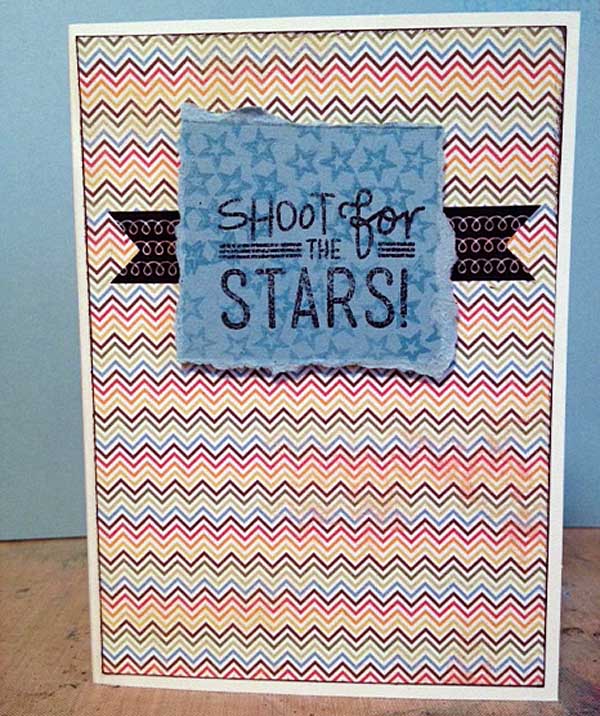
I decided to focus on the stamp set, and do one of my go-to card designs. Just do one thing, slightly above center, and that is it.

Result: I love it! Super simple, but I got a bit inky, got to dip into some perfect pearls, and best of all this was a 10 minute card which means I didn’t throw off the crazy schedule – but I did work in some creative play time. I’ll be trying some more ideas out with this kit and sharing them tomorrow. Stay tuned!

Supply list:

challenge: what do you say?


It is time for a new Simon Says Stamp & Show challenge, this week it is all about sentiments. Remember you can make ANYTHING crafty that you’d like! The only real rule is just that you in some way be inspired by the challenge – everyone is welcome. To be entered [Simon Says Stamp is giving away a $50 voucher- randomly drawn!] you just need to participate + link up! You can get all the details at the blog here.

Here’s my project – a very simple card featuring the lovely Basic Grey Paper Cottage line!  I pulled out one of my favorite for this card – inking up a doily. You’ll need to have a light hand, but re-coloring doilies is cheap and a lot of fun. I love the dimension it adds too. Here’s a listing of the other supplies I used:

Um, yep. That is IT! I used up scrap of paper + bits of sticker with my doily and thread. SIMPLE baby!! When it comes to summer crafting, sometimes simple really IS better. Hey – if it is craft a little or not at all, I will tell you I’ll always pick the little bit.

My project is inspired in part by my recent round of clearing out single stickers and last on the sheet type stuff – gotta use it is my motto!

When I get to “uh, what am I gonna do with THAT?” sentiments, as I so often do with stickers, I know know the answer is “make it into a card!”

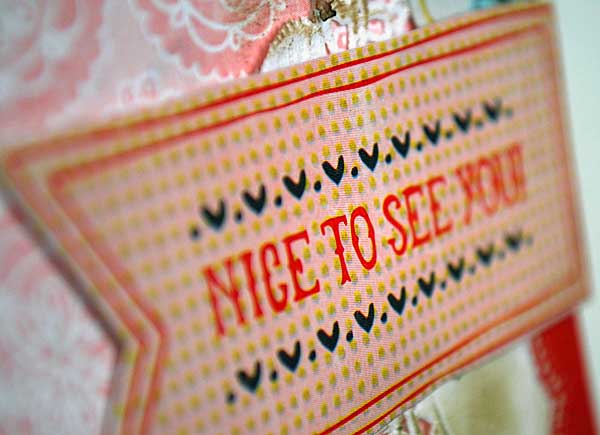
This is definitely one of my favorite card designs. I only have two photos to share today because well, it’s a super simple one! Simple as it is – I love the layers and details I incorporated and I’ll be making many more cards with this general look. Tiny doilies really are the best.

I wish you very happy crafting – this is going to be a big + fun week here in my studio!!