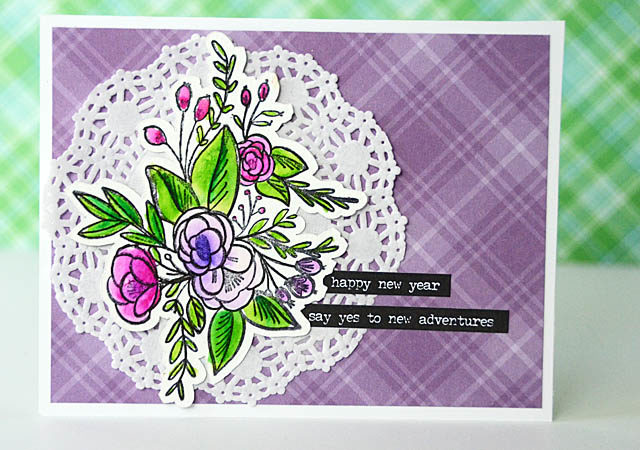
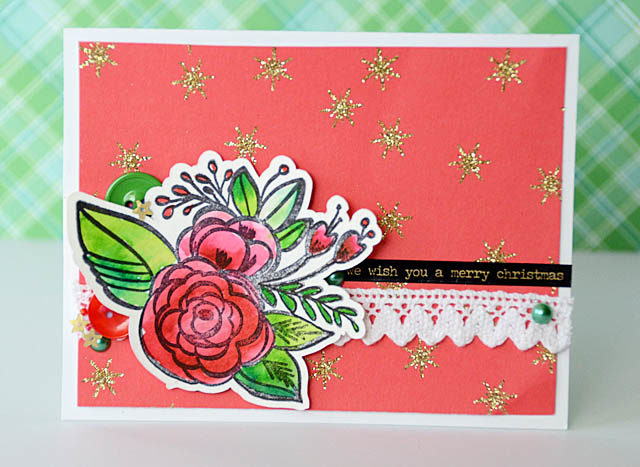
One of the first things I learned to do with my ScanNCut – and still one of my favorites – is cutting around stamped images.

You simply can not beat cutting out stamped images with the ScanNCut because it gives you total control! You can have a negative, none, or a positive outline around the line in any size you want. What could make it better? It is super easy and you can do it with multiple stamps at the same time as well.
Before we keep going here – the usual note and disclaimer that I am a paid consultant for Brother, but all ideas and opinions are my own. Basically? I’m sharing what I create & dream up here but just disclosing that I do work with them. Total honesty all the time here!
Back to the cutting. So this is a HUGE feature for me because it does matter! Sometimes I want an exact cut out (for example when making a mask for my stamps (watch for a new video on stamp masking soon!), or when I want to be really precise. Now of course you can also decide you want a little or a LOT around your image. I am specifically talking stamp here, but patterned paper or fabric design applies too!
Here is my YouTube video showing the process of cutting with DX:
You’ll need to remember:
- There must be an outline/line for the machine to follow
- If there are gaps, it’ll notice! Just touch up with a black pen!
- Adjust settings from how much of a border to have to what intensity of color(s) the machine reads
- Choose cut, and enjoy!

As you can see I created two different cards with a similar design. LOVE coloring and adding a few bits and pieces to a card! For extra “oomph” consider foam adhesive under your stamped image to really make it pop. I hope you’ve enjoyed this project – for all you card makers this is a great way to use up extra stamped images or highlight your favorites! The design is simple and the results always fun. Do share if you try it!
These are really pretty cards May …. hard to believe I’ve had my Scan n Cut 2 for 2 years now – I bought it as a Christmas present to myself back then!