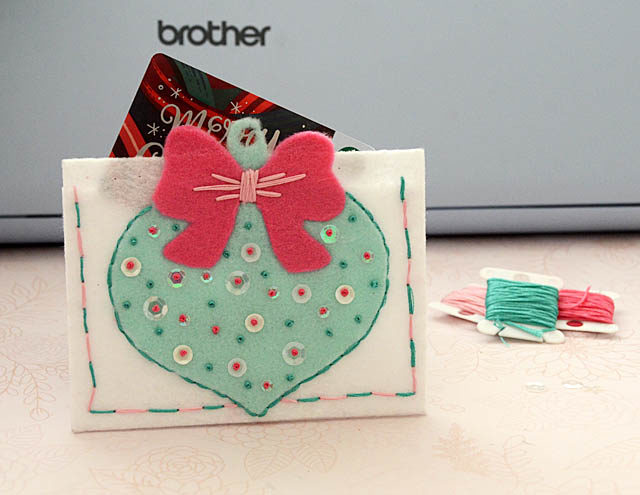
The holiday season is upon us – ready or not! Today I am excited to share with you a fun gift card tutorial that I had a really good time making.
The usual disclaimer – I am a paid consultant for Brother, and all ideas & opinions shared here are always my own.
For a project like this you’ll need felt, thread, sequins, and of course a ScanNCut really helps! For the full how-to, here’s a link to my YouTube video.
The directions are:
- Cut two pieces of felt approximately 3×5 (use ScanNCut or cut yourself with scissors)
- Back felt for ornament with iron-on backing (and leave paper on!)
- Cut shapes for ornament with ScanNCut
- Iron-on the ornament pieces to the front
- Stitch around and on ornament, including using French Knots for the sequins
- Stitch the back white felt piece to the front to create the pocket
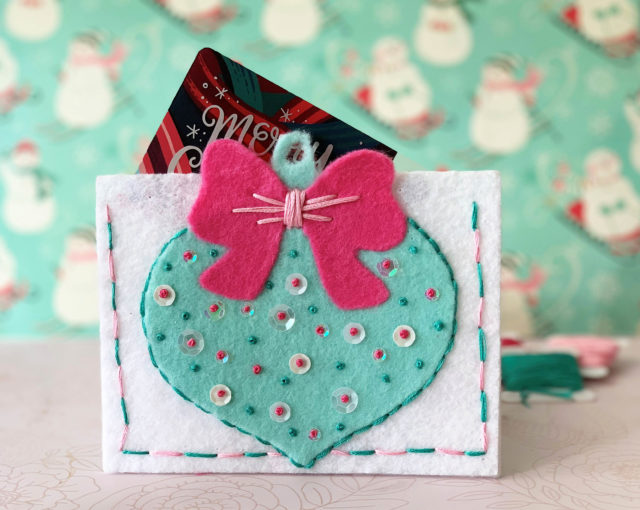
And you’re ready to gift! I just love the mint and pink colors, as well as how cute of a gift this will be. Gift cards are one of my favorite things to give, and making custom holders a favorite as well! I hope you’ve enjoyed this tutorial – stay tuned! I will soon post a round-up of favorite gift card DIYs!
This is so pretty May – I love the colours