This fall I’m working on some new crafty skills – specifically embroidery and cross stitch! I’ll talk more about those in future posts. Today I want to share how I took my first real cross stitch project (yay!) and saved a lot of hours not to mention added dimension to it by using my ScanNCut DX!
note – I am a ScanNCut Brand Ambassador/paid consultant for Brother, but all ideas & opinions expressed are always my own. I love what this machine can do!
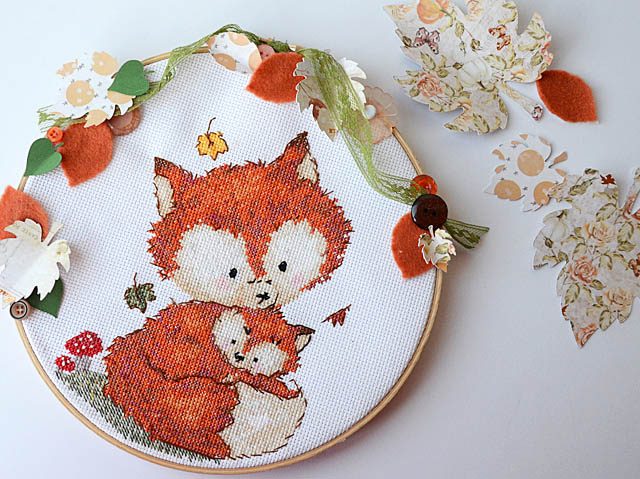
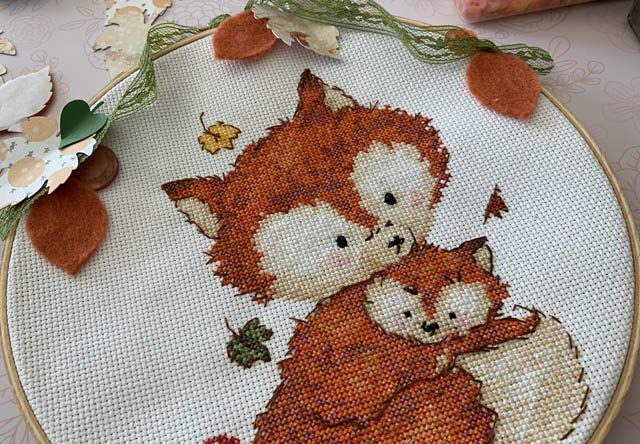
Above you see my finished project that now hangs on my wall – can’t tell you how much I love this little hoop! When I got to adding leaves I realized I would actually prefer dimensional leaves, and so out came my ScanNCut!
Here is a link to my YouTube tutorial for how-to on these leaves/adding to this project. With the DX, one feature I’m really loving is the ability to cut out different kinds of materials without having to change the blade! I cut paper then felt then vellum then fabric – all by simply letting the auto blade do its thing!
The felt I used here was really dense and the machine sensed and re-cut a second time. I can’t tell you how cool it is to me that it simply knows it needs a fix and does so! As for me, I’ve got my house all set for the fall and look forward to enjoying more apple cider and pumpkin pies before I move on to winter things!
Want to check out a live broadcast from my place as I use the DX more to enhance my fall crafting? I’ll be on the Brother page (FB link) this week doing a Facebook live on the 25th at 10am Pacific time. Join me!
You really are incredible May!!!
Love this – too too cute!