One of the questions I get a lot as a brand ambassador for Brother ScanNCut is about scanning images and what you can do/how you can do different things. When I’m doing demos or talking to folks whether hand drawn or stamps or any other image you’ve got. The #1 rule for me, is to have something with a clear line. It must be obvious what you are asking the ScanNCut to do.
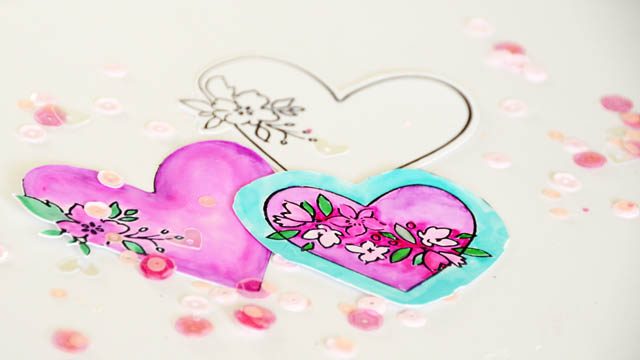
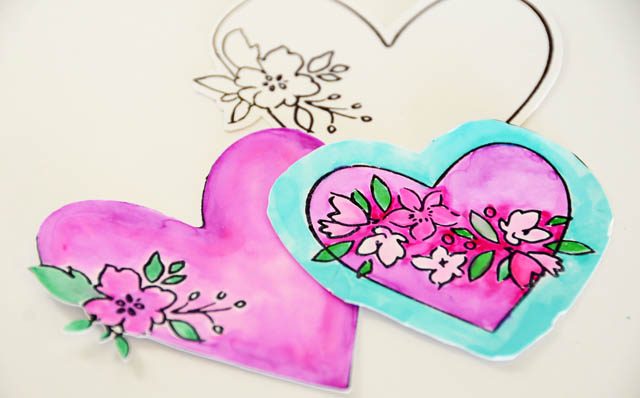
For today’s example I had been stamping with a heart + floral stamp and got to thinking about how I could cut it out, and what I would do with it. I shot a short video showing the ScanNCut in action for YouTube.
I am reminded that stamping & testing things – or simply using images with clear line designs from simple coloring book images to clip art – is always a good idea! I love to test color vs black and white, cut margins, and so much more!
Remember if you are having trouble to pause, take a breath, and look at your image again. I realized my watercolor was very ‘stroke filled’ and so clearly causing havoc. Yet I was able to come up with an alternative after all. Would I have done it differently for a project? Probably. But these creative sessions of mine are meant to spark new ideas – not necessarily result in a finished project.
I am saving all three of these for possible future project inclusion. They all worked – and could all be used some place! I think my next experiment will be about sizing a general shape to fit a collage or scene without scanning. So many ideas in my head – and it’s my pleasure to share some of them here with you. Stay tuned – I’ve been crafting up a storm!
So pretty May