Today I’ve got a tutorial to share with you – and one that I see using a BUNCH! It’s really quite simple, however it took me a long time to get the logistics down so I’m happy to share it with you here today!
the usual disclaimer here, that I am a paid consultant for Brother, but all ideas and opinions are my own.
To explain best, here’s my YouTube video.
I mentioned in my video two different ways to handle this:
- Use grouping to layer/select and then weld the tab and big/main rectangle, then unify with the holes for binding
- Don’t try to line up holes, cut those later
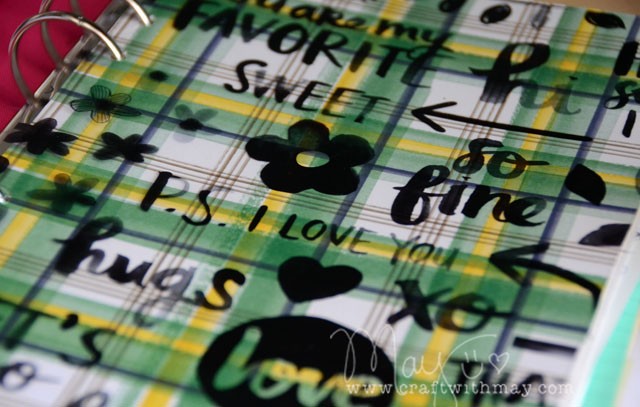
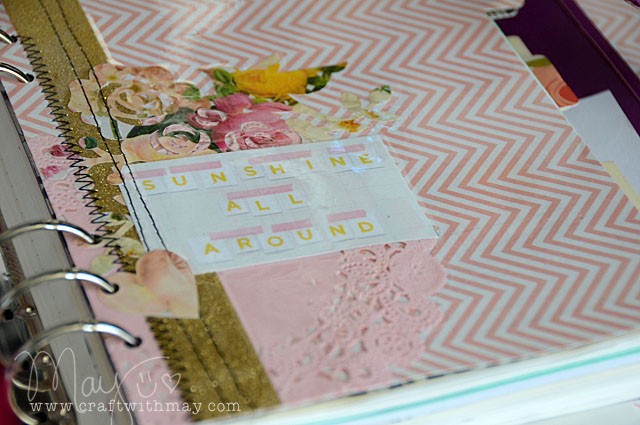
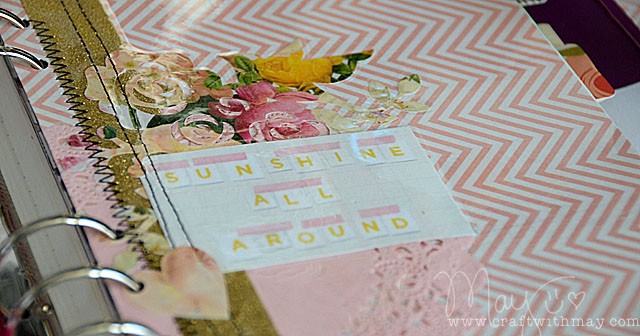
I prefer letting the ScanNCut take care of the holes for me – but either way works! This isn’t a “planner thing” either – you could use this to make pages for any application from mini books to pocket pages! I really liked covering my “bits and pieces” page shown below with the laminate covering so that nothing can flick/flap/be ruined. Totally fabulous! And yes, the ScanNCut cut right through it all.
Now that I have the formula down and am better at welding just parts of a pattern (vs everything) I see doing more pages like this in the future for my camping album, special mini or brag books, and yes of course my planner! Keeping it simple and easy, yet decorative and fun. I sure did love creating these for you and hope you enjoyed the tutorial as well.
Fun! Love the laminated page with all the goodies.
Great stuff! Thanks!
Love that – thanks May!
Planners in dashboards are a new concept for me but I love using one to plan all my craft projects – I just move it each week and tick off what I’ve done!