Know what my favorite season is? Autumn. For me, it’s the best time of year and I soak it up all the time. I want to share a new project featuring the ScanNCut machine. This card could also be mounted onto a canvas or framed to make it home décor.
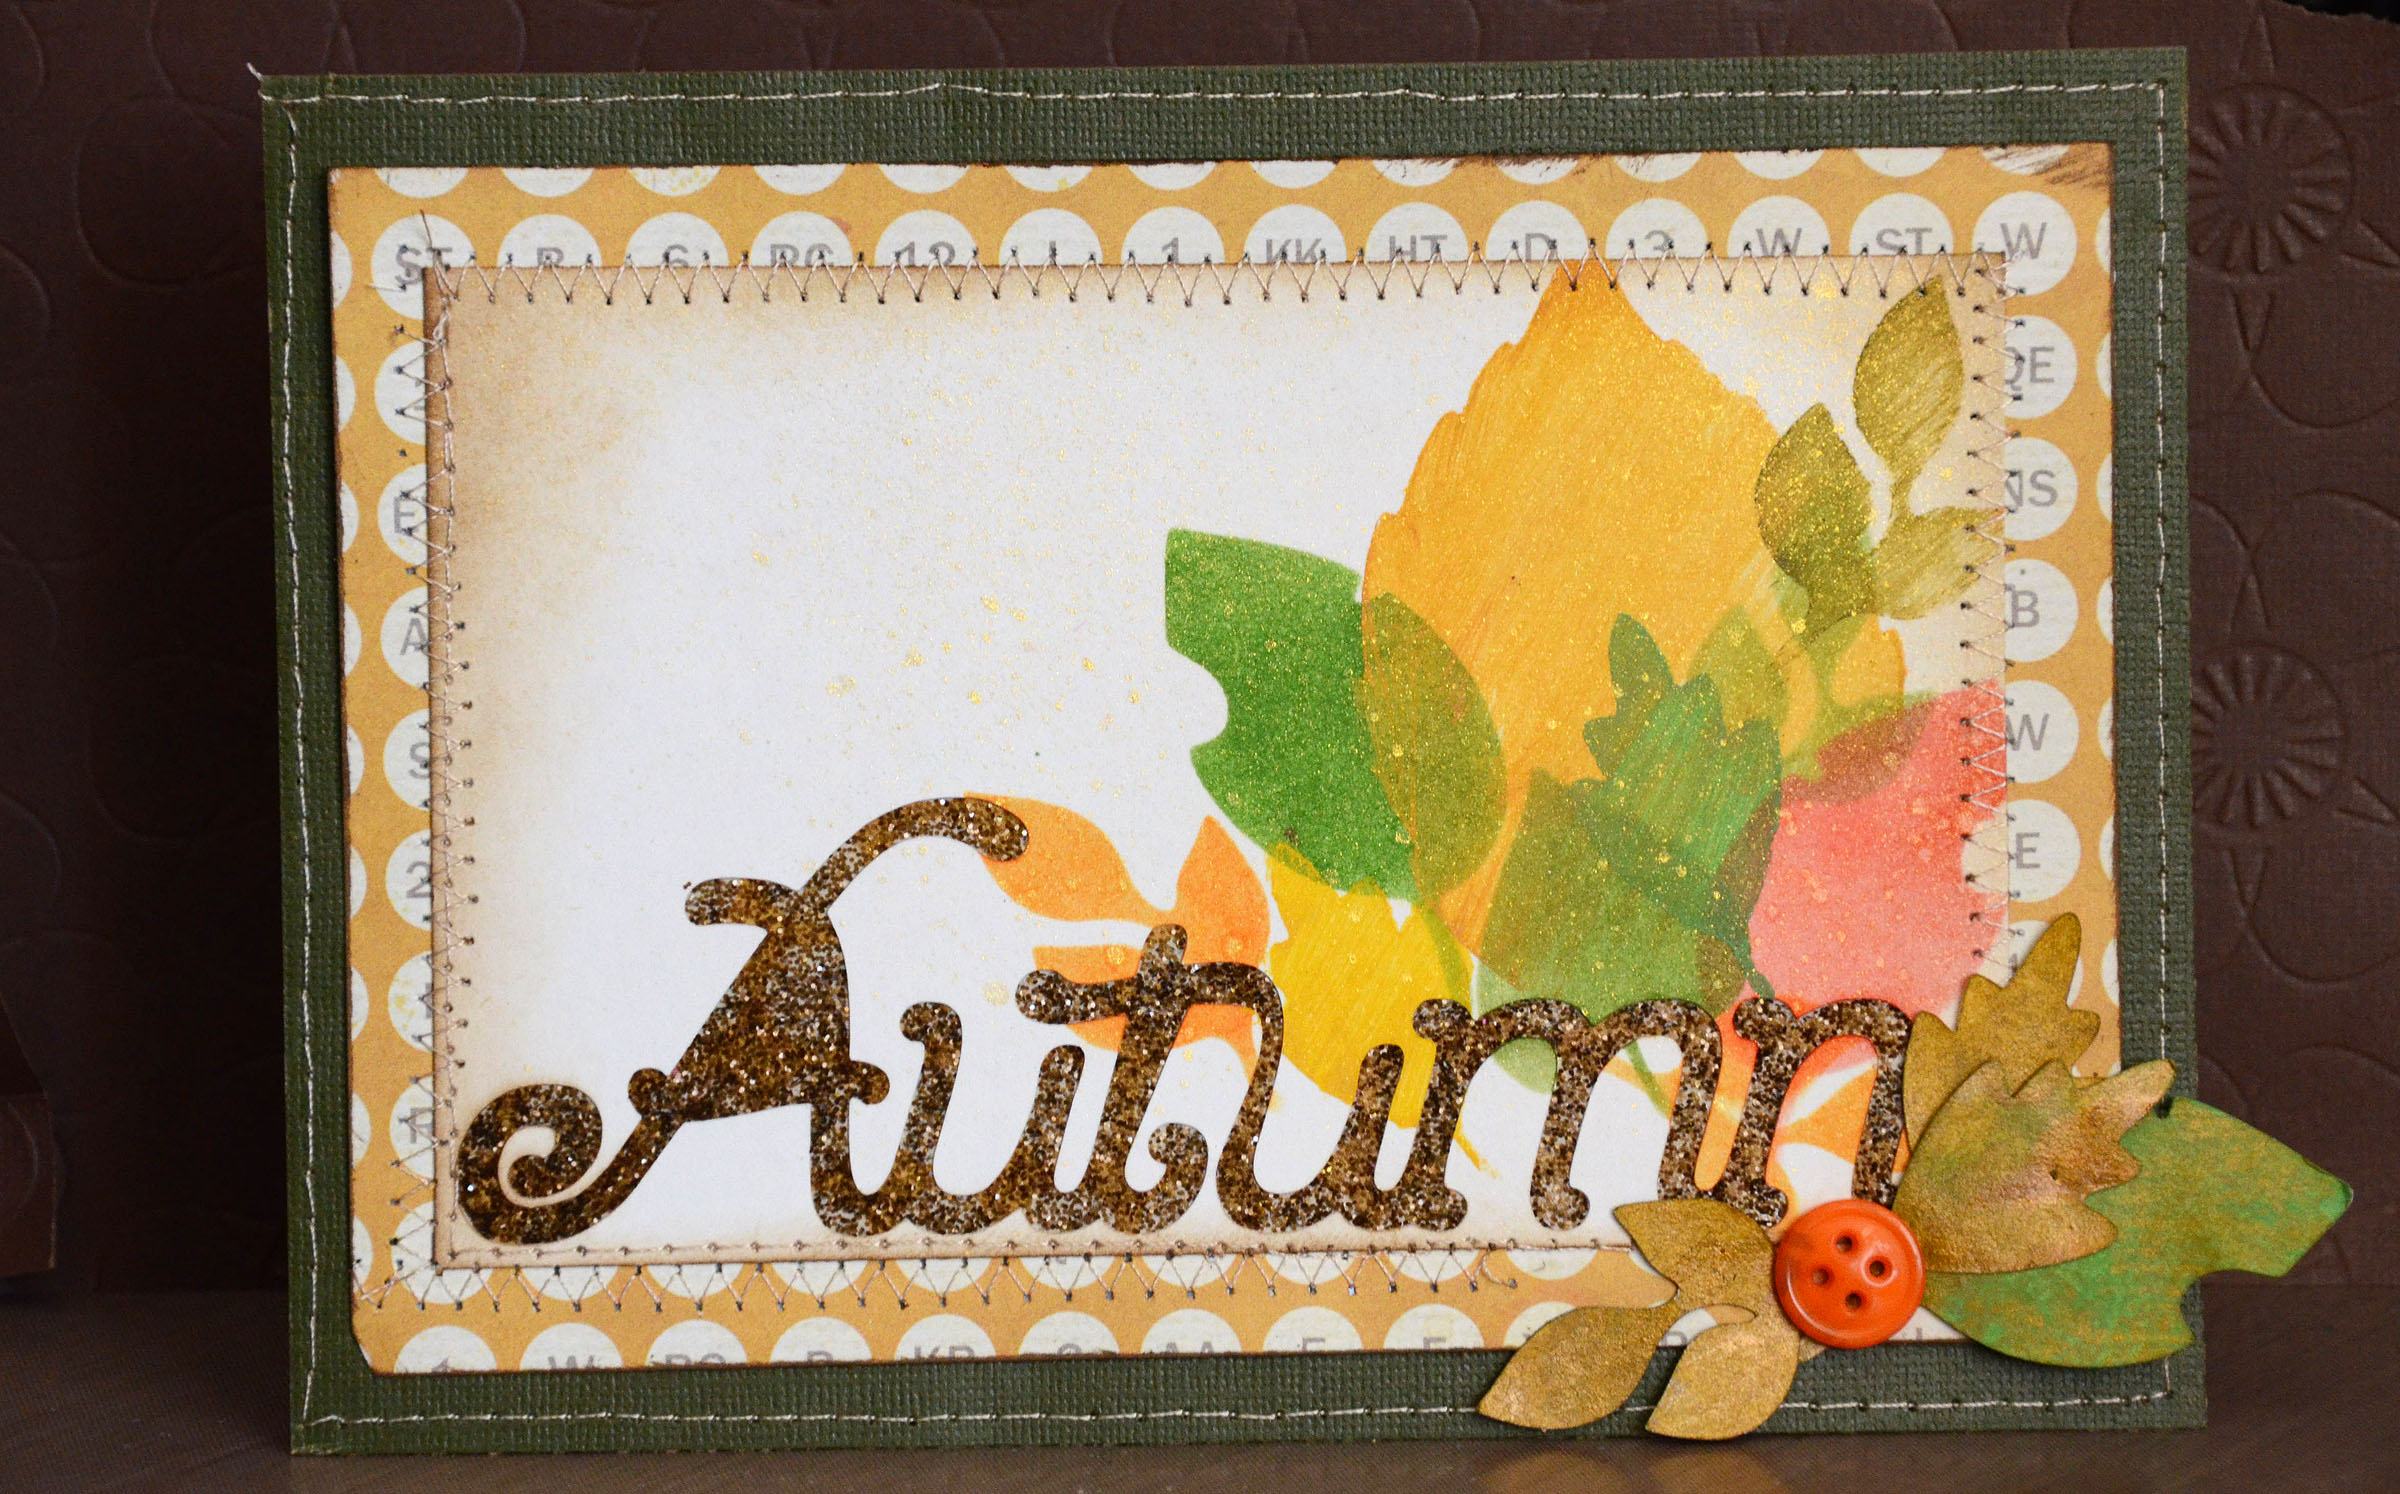
Autumn Card
Thanks to the ScanNCut I was able to do some fun stuff for my sentiment as well as create my own stencil to make this project.
Supplies: Paper (Green , patterned, cream , white 6×6 for cutting leaves), 1 button, glitter, double sided tape, assorted acrylic paints, brown ink, orange ink, foam to blend, golden mist
How-To:
1: Using the ScanNCut machine, cut the word Autumn out onto cream cardstock (size 4 ½ x 6 ½ ). Save the word for a future project, we’ll be using the negative space left on the cardstock.
2: Take a piece of white cardstock (6×6 is what I used) and cut some random leaves ranging from 1.25 – 1.75” wide.
3: Using a variety of ink colors, begin using the white paper as a stencil to layer leaf designs onto the cardstock that has “Autumn” cut out of it. Using a piece of foam or make-up sponge is a great way to gently apply ink for this project.
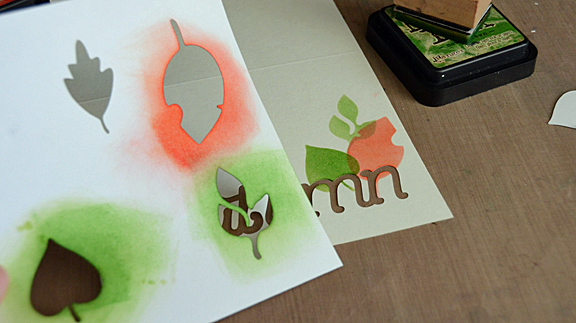
4: Use acrylic paints and repeat the process to add more leaves and texture to the piece until satisfied.
5: Once satisfied, edge the piece of cardstock with brown ink. Use a piece of foam to softly blend if desired.
Note: At this point in time if desired, add a spritz of golden(sparkly) mist for some sparkle and added depth to the project.
6: Attach a sheet of double sided tape to the back of the cardstock, making sure the entire word is covered. Do not remove both sides of the adhesive, only the side attaching it to this paper should be exposed at this point.
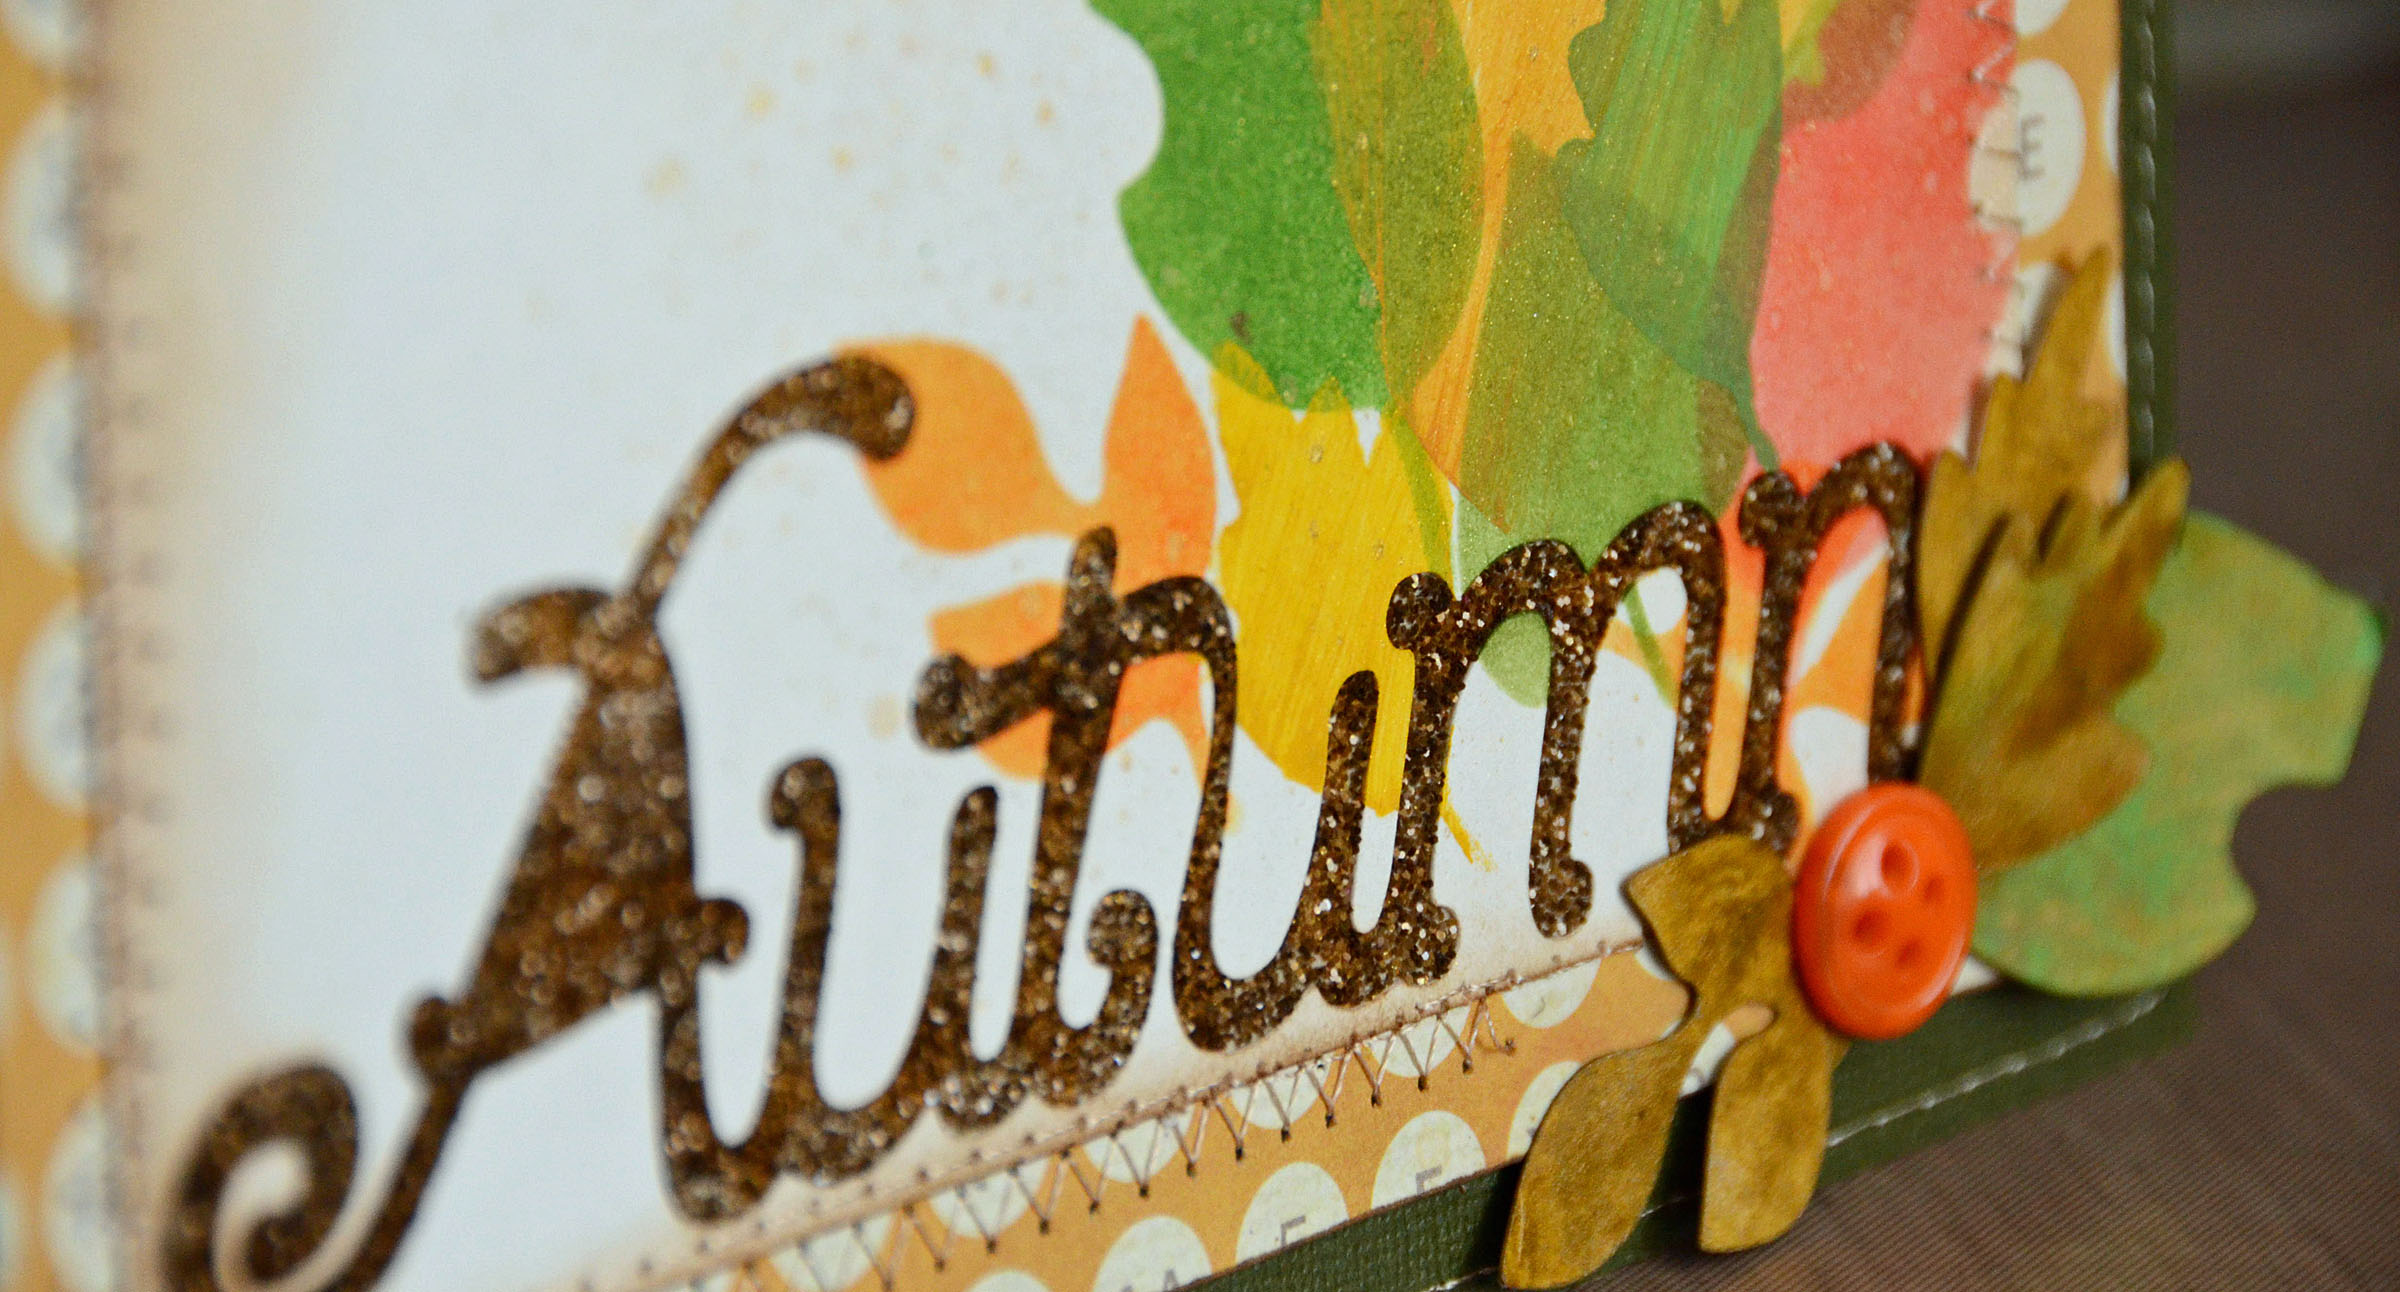
7: Pour glitter over the front of the card and rub gently so that all of the area within the letters is covered. Shake off excess.
8: If your cardstock that you have been working on was not trimmed down to size, now is the time to do it. Then stitch to a piece of ( x ) patterned paper with a zig-zag stitch.
9: Stitch around the edge of a (5 ½ x 7 ½ ) piece of green cardstock. Then attach this to the rest of the card front.
Note: you could use a 7 ½ x 11 piece of cardstock, folded in ½ for this and it would be your card. Otherwise, you’ll need to attach this completed card front to another piece of paper to create the card.
10: Finish the card by painting and attaching several leaves (that you had previously punched out to create the stencil) and a button.
I’ve created a video to show how I used the ScanNCut machine on this project as well:
Happy Crafting!

Note: Brother(tm) International is launching https://scanncutcanvas.brother.com/ which will allow you to convert .svg files to use with your ScanNCut machine on November 8! This is really exciting to me as it will open up so much more possibility for the ability to use pre-made designs. For more information and inspiration on the ScanNCut machine visit www.scanncut.com. You can connect with Brother social media on Facebook, Twitter, YouTube, and Pinterest.
I am a paid consultant for Brother International Corporation and have received a ScanNCut from Brother to evaluate. However, the opinions expressed are entirely my own and based on my use of the product.
I’m becoming more and more convinced that I need this machine
No electronic machine of any kind in my future-but I really like how you did the leaves. They look so delicate-very pretty!
You are killing me with these Scan n Cut posts….makes me want one sooo bad! 🙂
So fun! I really want a SNC!
love your demo, just bought the scan N cut
and I love it, keep the demos coming