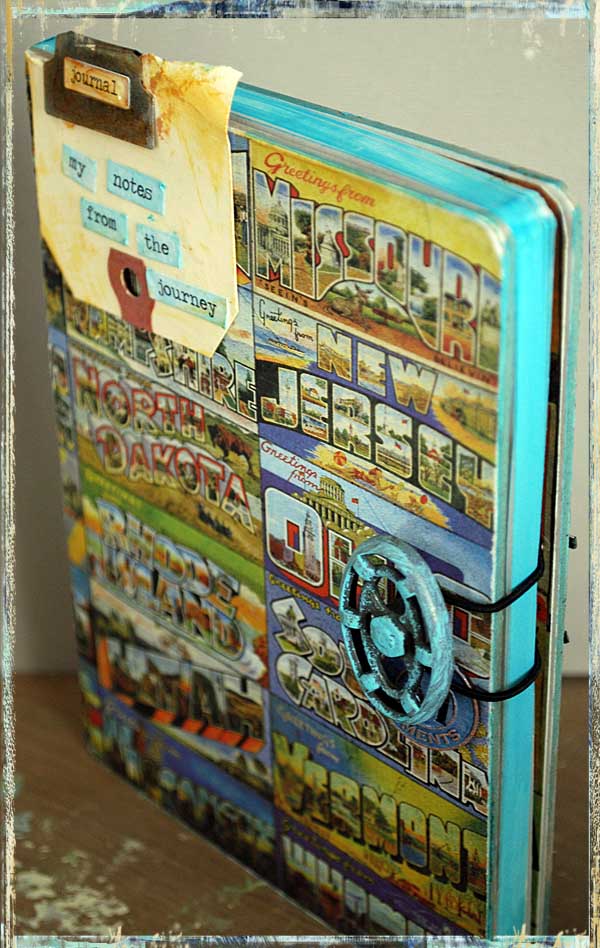
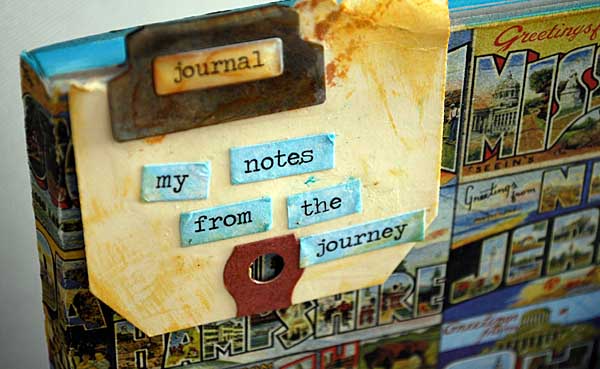
Here’s a project I created that was first seen in the Tim Holtz Idea-ology booth at CHA…

Take a $1 notebook from the craft store that has a nice thick chipboard-like cover.
Combine with your crafting stash.
Create a notebook that is all your own.

tips:
- Avoid loose bits on the front. Use good liquid adhesive to really seal stuff down.
- To color the edge of paper, use ink and rub along edges before decorating. I did this with tumbled glass distress ink.
- You can apply paper to cover with dry adhesive along very edge of ALL sides, as well as center. Be generous!
- Cut off most of the excess paper, then use sanding block to get the bits off and rough up the edges.
- Cover inside of covers with paper when finished.
- re-color metal with alcohol ink, paint, or embossing powder.
- Sometimes simple is good. Especially if you use a very busy paper!

Supplies [images link to Simon Says Stamp on-line store]:
Hi May,
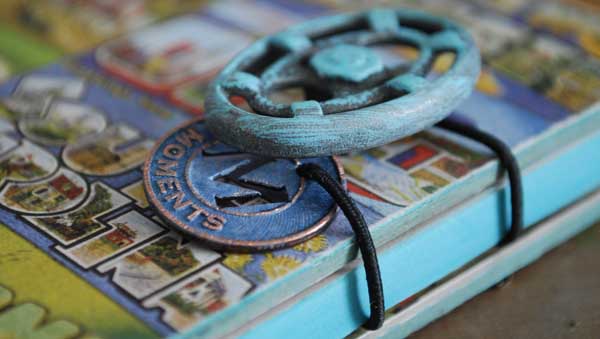
This project looks so cool, but I am confused. From the picture it looks like a tin, not a notebook. Did I miss something? I love the end product, just trying to figure it out.
It’s a notebook. Photos are of front and the aqua edges are pages… Knob is on front of journal…
This is WONDERFUL May! I love all of it. I also love your pictures – so interesting. Keep up the very inspiring work. I love to see what you’re up to. Have a wonderful weekend! XOXO
p.s. any luck with the Raskog??
I LOVE this!
May,
Enjoyed watching you introduce yourself for the class-Double Take. Now I will introduce myself ..I’m a first year retiree from a 25 year career in education where I was a school librarian. My name is Patricia League but I go by Patty. I have been crafting for many years-too many to count. My first love was stamping which lead into scrapbooking. From there, I have tried many other paper crafts. I love to make jewelry and knit.
I am so excited about the class and can’t wait for it to start.
Take care,
Patty
Awesome project love it!
Looks really great! How did you attach the knob?