Distress 101 [and an exclusive discount code!]

It has been an exciting time around here! I just found out (shhhh!) that Big Picture wants Camp Scrap to come back as an (all new) class this summer – you heard it here first! In the meantime I’m keeping busy with lots of fun projects including getting ready for opening day of Field Guide – the FINAL run of my 12 week technique, video, project, and craft-stravaganza class at Big Picture. If you’re interested or want more information you can find it here.

Now, I’ve been here in the studio filming videos and making bonus lessons to add into Field Guide, and as long as I had the camera out and was in the zone I thought… why not make a distress video to share here on my blog? I get asked all the time about how I use distress products (ink, stain, markers, and now paint), and what the differences are. So – I present to you a 20 minute “distress 101 primer” class:

[link to you tube]

Here are links to the complete collections, some surfaces I used in the video and/or recommend, and also my top five most used distress colors in ink pad, pen, and stain: 

Funny enough – you see a lot of orange and yellow here and those are so NOT favorite colors of mine, it just so happens that they get used a ton. It is important to think about what colors you’ll use (vs which you find prettiest) when buying inks and color mediums for sure! As much as I adore my purple distress colors, they don’t see a ton of action. So because some of my favorite (but less used) distress colors are not represented, here are my personal 9 favorite colors not already mentioned above.

(I’m just showing these in ink pad form – but all are available in some other form as well)

Well there you have it – I hope you’ve enjoyed this mini course on how (and why) I love distress products! I feature projects with them here on a regular basis of course, and I share a lot more videos, tips, and ideas in my class that starts in a few days Field Guide as well! If you’re interested in joining that class be sure to do so soon – registration ends in just a few days.

If you have any distress (or Field Guide) questions – feel free to ask away!


My friends at Simon Says Stamp are offering a special discount code just for my blog readers! Use the code RANG20 now through February 4th to receive 20% off of all Ranger products So if you’re looking to add some distress colors to your collection – or any other Ranger goodies now would be a great time!!

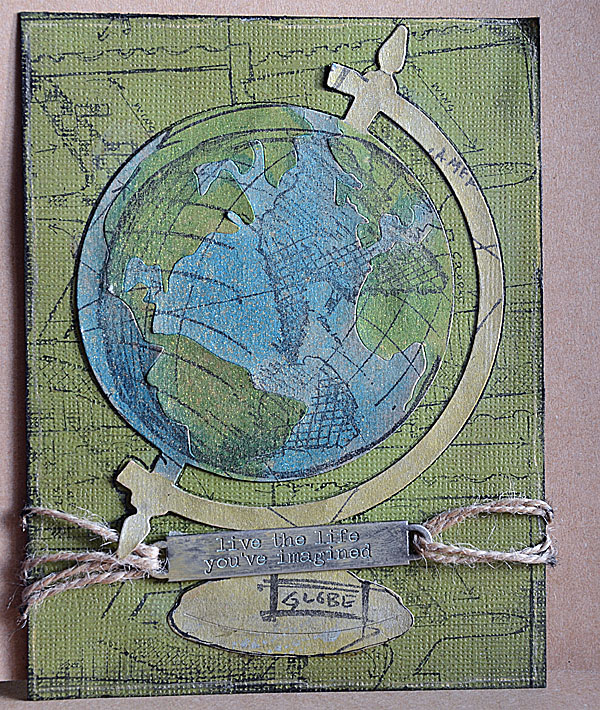
Card: Tim Holtz globe

globe2

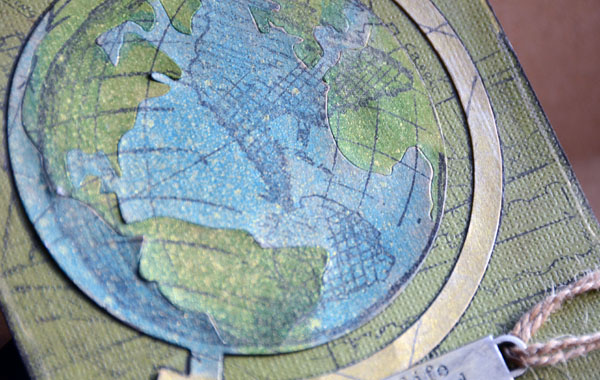
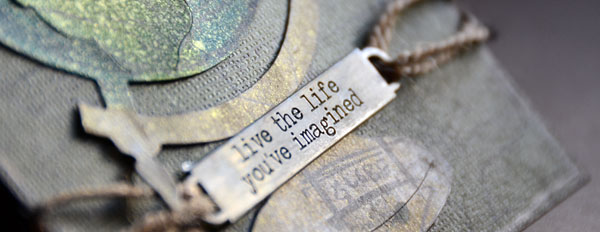
It was an honor and a pleasure to create cards for the Stampers Anonymous booth at CHA this year – truly I had an absolute blast. Did I really create more than 20 cards in about a week?! Yes, yes I did. I will be sharing many of them here on my blog – today I want to share one of my favorites using the travel inspired blueprint stamps. Now the globe stamp does NOT match up with the globe die cut, but seriously since when did I ever care about getting something perfect? Oh yeah, I don’t! I just like the way it looks, and I stamped it after coloring the globe die with stains…

globe

Supplies Used:

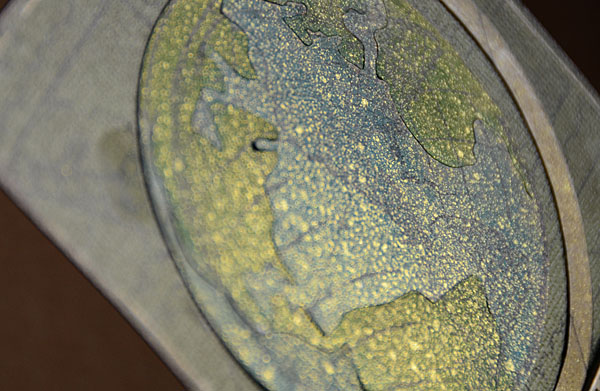
You can’t really see the sparkle head on – but if you angle the card just right.. ahhh I do LOVE sunflower sparkle perfect pearls mist. I hope you’re having a happy creative day –
globe4

CHA spotlight: Tim Holtz

Tim Holtz never fails to amaze me – and this show is no exception! This post is going to be a long one – I’ve got a LOT to cover.

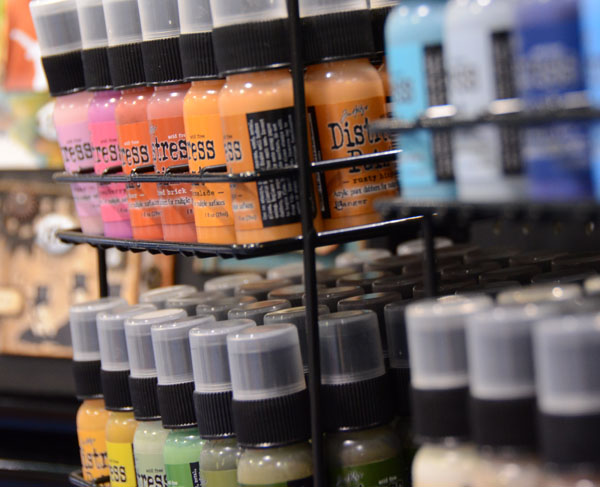
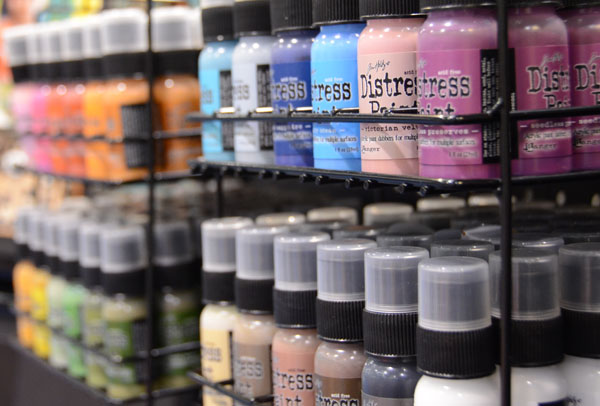
When I first saw distress paints thrilled wouldn’t begin to cover it! For the few years I’ve resorted to using re-inkers or stains with white acrylic paint to make distress colored paints. Which works, but it isn’t quite the same as having distress paint. So imagine my delight when I found that Tim found a way to make distress in paint form!

As Tim explained on his blog:

The distress paint formulation works on multi-surfaces including paper, chipboard, grungeboard, fabric, wood, metals and plastics.  it is also reactive with water while the paint is wet allowing you some great blending ability and awesome textural effects.  the best part however, is once the paints are dry, they don’t rewet so you’re able to layer these with the other distress products like inks and stains to achieve incredible effects.
tim1
tim2

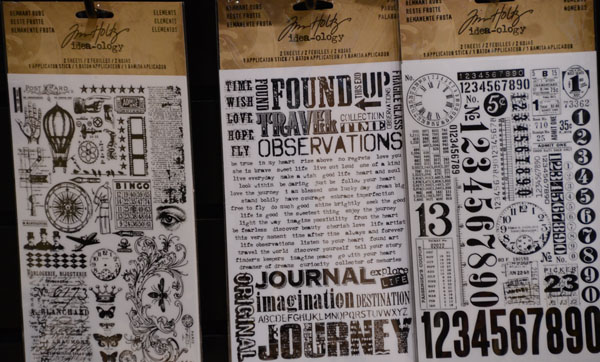
I will be working up tutorials and a review once these are in stores. They are now available for pre-order at Simon Says Stamp as a set or individually. You will also find Tim’s stamps (some shipping now!) and all his other products as available at Simon as well. Speaking of his other products- WOW. From stamps to dies to ideaology Tim did not disappoint! Let’s start in idea-ology:

t68 Continue reading “CHA spotlight: Tim Holtz”

tag | textured foil background

I was dying to know how Tim Holtz did his funky metal background technique – and I was very excited when he taught us how to do it at Ranger U. I was blown away to discover that it was a lot easier than it looked! You’ll need some alcohol inks + ranger sticky-back foil. I think this could also work with acrylic paint, but I’ve not tried that. You’ll also need something to stick the foil to, and some things to make texture.

To really explain, I think a video would be best and so I created this for you:

[link to youtube]

Are you inspired yet? I’ve shown this on tags, but I could see it on a frame, as a die cut embellishment, and so much more!

Perfect if you’re looking for some way to add some funk to more masculine or urban pages, and just – whoa. LOVE! It’d be great off the page too in altered arts.

Supplies shown/used:


Today’s post is sponsored by Blue Moon Scrapbooking.

With new items coming in all the time, fast service, and free shipping (within 48 states of USA) for all orders over $50 – they’re one of my favorite spots to shop! You can find the supplies I used today there, and you can also get a special deal – good only today and tomorrow (June 14-15):

Note:  if you’re spending more… you can get something even bigger! Spend $75.00 receive a Tim Holtz District Market Burlap Panel, or spend $150.00 and receive a Tim Holtz Tote bag! Just don’t forget to type in that special code to take advantage of the special gift with purchase offer.

canvas | featuring Tim Holtz products

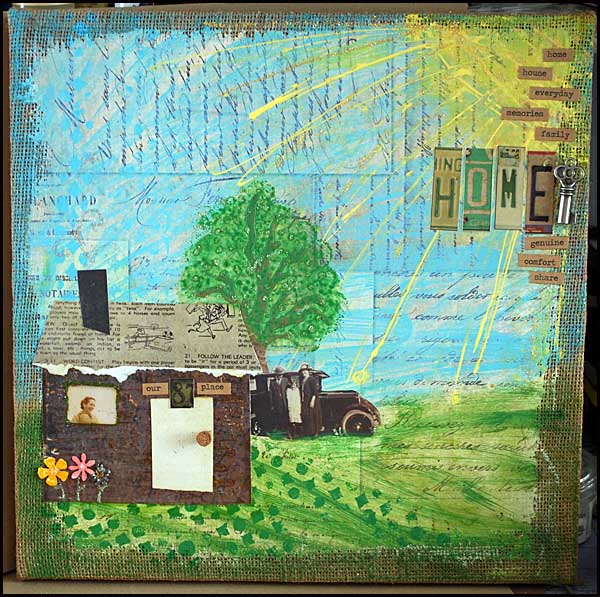
This is the final project I have to share from the things I created for Tim Holtz (seen at CHA). It was an idea that I’d had in my mind for quite a while, to do something with one of Tim’s canvases…

The great news is that it worked! The 12×12 burlap panel worked great – as it was a nice background already done for me I just added some paint, ink, paper, metal bits… and played!

Some distress stickles, embossing, some stenciling with die cuts…

I created this in one sitting. Because I was able to just use some paint and inks to do a bit of background (vs starting from scratch) it made this possible in a number of hours – vs the usual which is days.

In fact- I’m going to teach a class based off of the ideas I used here (students will have freedom to create ANY look/scene they choose) and teach it at Stamper’s Corner in Elk Grove on the 19th. Assuming I get the thumbs up from students – I may bring it to other stores and/or repeat it.

Here’s some insider info: I’m currently working on another one (with different product and look) that I will share next month during camp scrap.


image links to supplies used: