New on-line class (and early bird registration!)

Winner is Valerie! Congrats! You have an email with info/notifying you. Thanks everyone for the kind words – this is gonna be a great class.
I am so very excited to tell you that I have an all new, several months long class coming your way. This class has been a LONG time in the making and I am so very excited to be sharing it with you!!

What could be better? For the next week (through June 15th) you can sign up for the SUPER Early Bird price of $15!! No code needed. What will it be all about? The focus is on photos, but it’s not a “scrapbooking” class. It’s going to cover a LOT including some scrapbooking, but we’ll get into cool home décor pieces, shadow boxes, frames, and more! Simple to funky, technical to easy – and with all the back-up you need including unlimited email access to me, we can share and chat on my new facebook group, and so much more.

Hope to see you in class – what’s your biggest photo challenge? Leave a comment here and you’ll be entered to win a spot! Note that if you register AND win a spot, you’ll be refunded. So don’t hesitate to sign up early while the price is so low! Limit is one comment/entry per person, winner will be notified via email and this post updated on June 16th, 2017. The winner will be drawn via random.org – good luck!
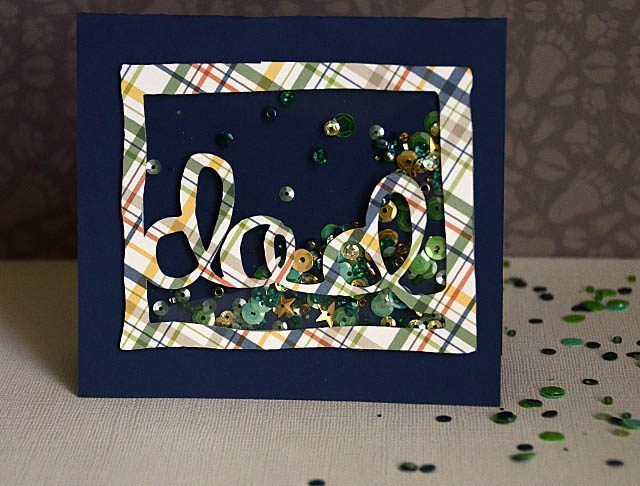
A card for dad: featuring ScanNCut

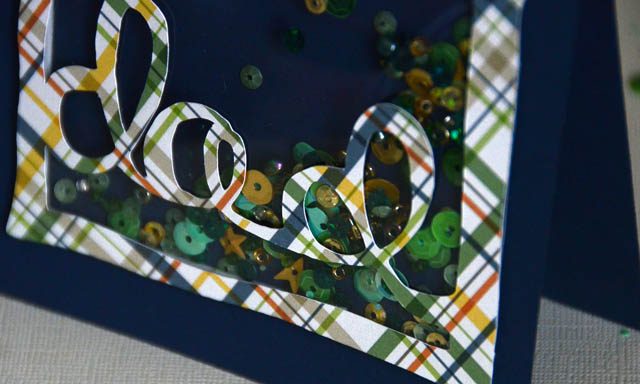
Can you make a more masculine shaker card? Even with swirly writing? Sure! Why not? Happy to share this super fun tutorial with you guys today – all about embracing my perfectly imperfect handwriting and just having fun creating a one of a kind card for dad. How to do this so easily? With the ScanNCut – I turned my handwriting into a cut file, designed it with a thick enough border for some thin foam tape, and off we go!

The usual disclaimer that I am a paid consultant for Brother, but that all ideas and opinions are my own

For the full tutorial, check out my YouTube video.

I have a few tips for making a cut file like this:

  • Remember that you can always re-size the file once made, so don’t stress about making the original perfectly the size you want to have.
  • Use scratch paper and practice a bit as needed to get the feel for what you’ll want
  • Start thin, work thick. By using a thin pen first I got general lines that I could greatly alter to suit my needs
  • Have fun with it!

The shaker element is just one option – you certainly could make a window card (with photo behind!) or anything else you dream up. Remember for shaker cards just make sure that you cover all edges – and if all else fails seal with a bit of glue. This kind of a design is also great in scrapbooking – in fact later this month watch for a page from me that features a similar idea of design as a background.

Happy Crafting!

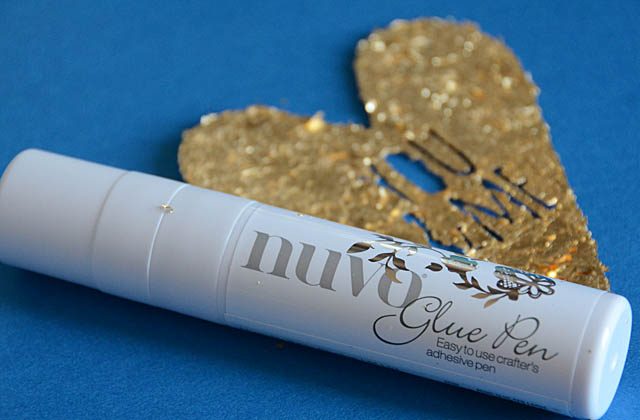
Nuvo glue & gilding flakes

These two products are awesome alone – or together and are products I’ve been using a while now yet somehow don’t ever seem to get mentioned here so I wanted to share a quick little video + post about them. affiliate links are included in this post

The glue pen comes in several sizes, however I really like the BIG one because so often I want a lot of glue but with minimal swiping. This does the trick!

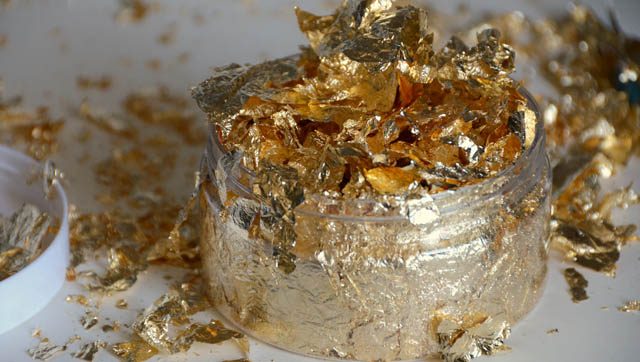
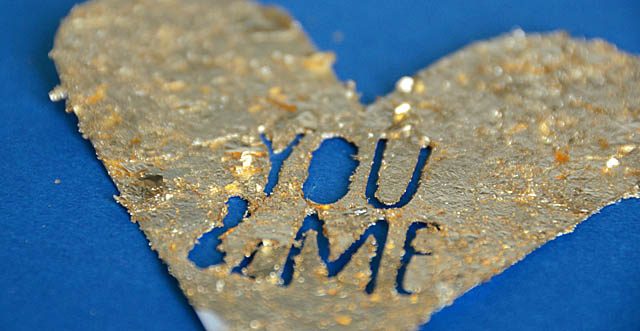
Here is my YouTube video showing how I added gold leafing to a die cut.

Now gold leafing – it is a mess. It is so light even a soft breath out in its general direction can make it flutter around! That said, its finish is like no other and it really is a lot of fun to play with whether covering using glue like this, double sided tape, or any other ‘sticky’ solution. Remember dry clean hands are the best hands to handle this – and good news. It does clean up easy even if it is a mess to use.

The finished results always wow me – though they sure are hard to photograph.

If you continue to gently rub the gold leafing, and press you can get rid of any and all loose flakes/particles of course. I personally like it a bit on the wild side. Other favorite methods for using gold leafing include gel medium + stencil, with a (sticky) rub-on, and a strip with double sided tape. Looking for some of your own? I’ve seen these Nuvo flakes in tons of stores including scrapbook.com and Ellen Hutson. Same goes for the glue pen – here’s a link to the scrapbook.com selection of glue pens/options from Tonic.

Around here: June 1, 2017

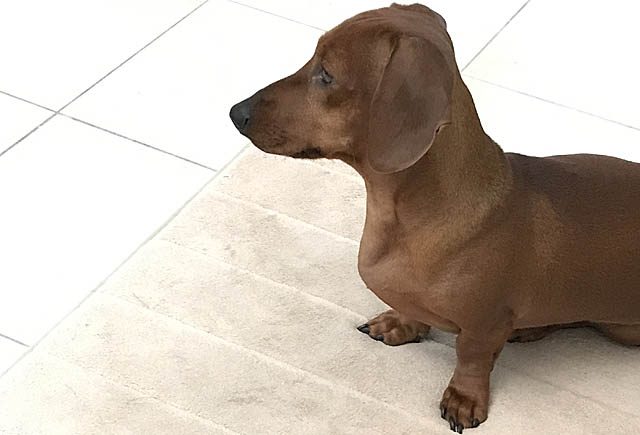
Bandit is entering his 12th month living with us – and how far he’s come socially! He’d barely approach us when he first came to live here and now I can not even brush my hair without turning around to find him at or on my foot. Love our whole dog pack – and all is well. When not hanging with them, a lot of my time is of course crafting.

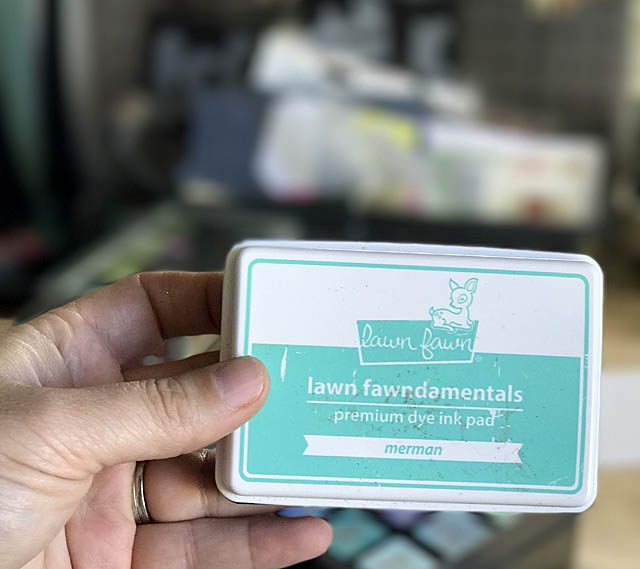
Lawn Fawn’s Merman remains my favorite ink name – I’m a Zoolander fan forever! I have been using it more in my summer crafting.

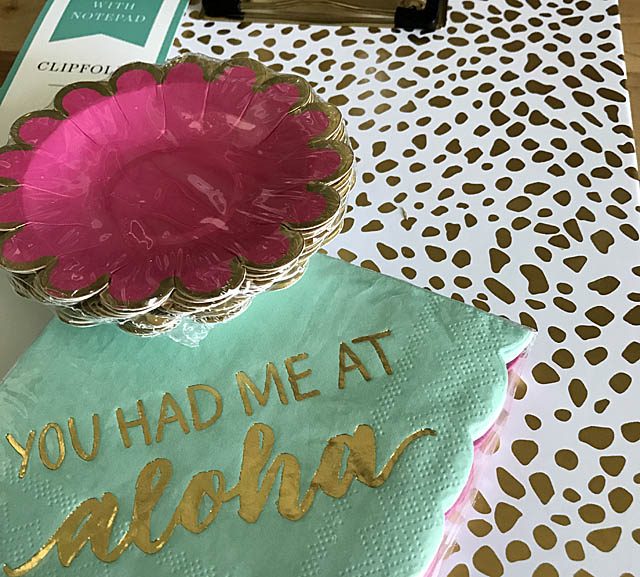
Speaking of summer – I’m loving these finds from Target! I love scallops, and they’re showing up all over. “Aloha” is also showing up a lot (love that!) and I even found one of my favorite planning tools on my last trip – a “clipfolio”.

What is a clipfolio? Clipboard + notebook inside + pocket inside. The perfect go anywhere (orthodontist to camping!) way for me to make plans, plot ideas, and journal thoughts of all kinds. Love that – and I needed a new one.

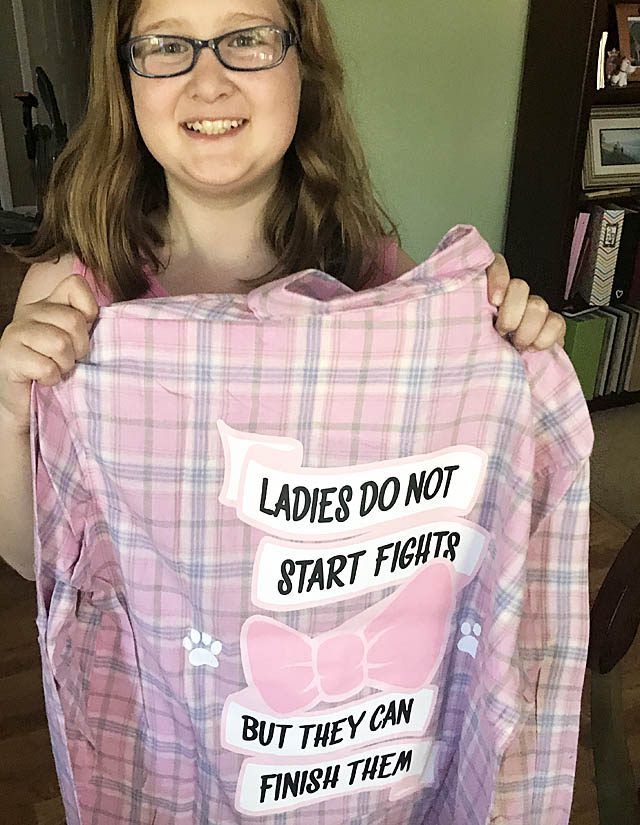
This shirt is 100% Rebecca – it had to happen. She’s a fan of DisneyBounding (dressing up like Disney characters in regular clothes) – and of Marie. So this is everything!

Now I’m heading back into the crazy zone of school year-end madness…

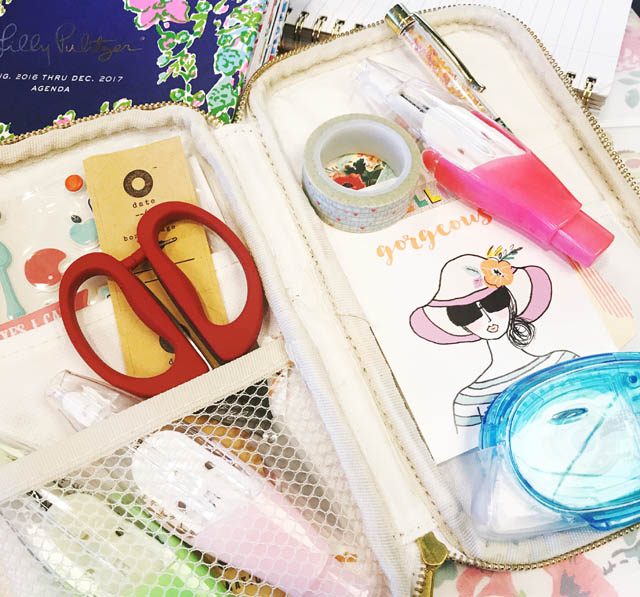
In which I’m making a desk wherever I go. Although sometimes my actual desk is equally full!

I hope to have some new posts about travel + memory keeping coming soon, but I’m really digging into some of the how and why I do some things the way I do with regards to documenting. I’m really having a fun time blurring lines of crafty “types” and coming up with something in the middle perfect for me and my style. Like I said – more soon!

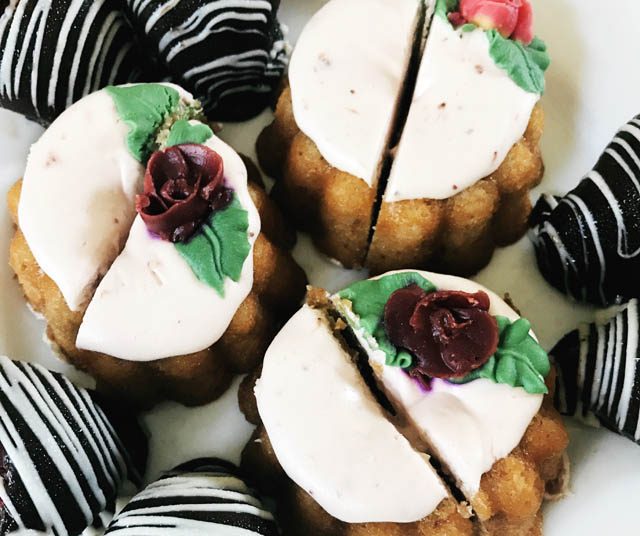
For now I’ll look at this dessert plate from my birthday a few weeks ago (sigh) and wish I was on a “eat all the fun stuff” diet and not a “say no to the carbs and fun” healthy challenge. It’s been great training with the girls for Cross Country this fall… but the discipline of avoiding sweets and bread most of the time is not. I know long term we’ll be glad though – and this year is all about building up, new habits, and healthy ways so I’ll keep those treats to a once in a rare while.

I hope the summer ahead is looking good for you – any fun plans? Crafty events? Do tell!

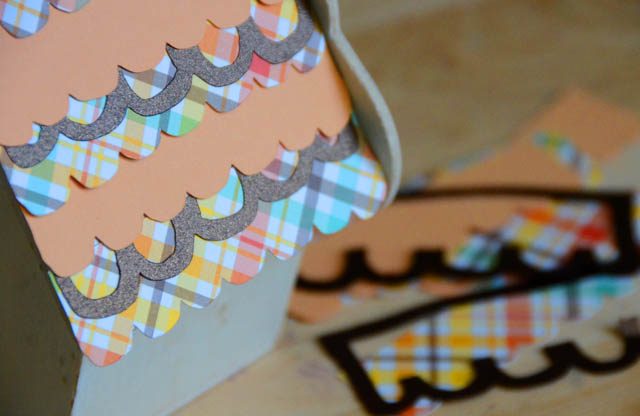
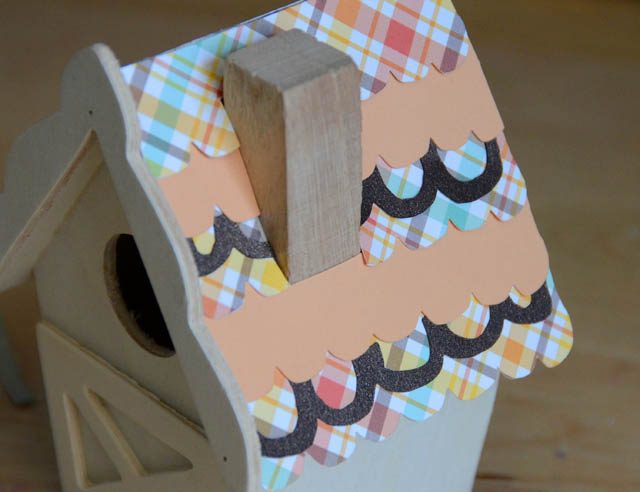
roof shingles on the bird house

Working with the ScanNCut, I’m always delighted when I come up with new ideas. (disclaimer I am a paid consultant for Brother, but all ideas and opinions are my own). It might seem odd to work with fall/harvest colors in the beginning of Summer, but I intend this project to be a bit time intensive and full of details – so by the time I finish it’ll be August. (isn’t that how time flies in summer?!)

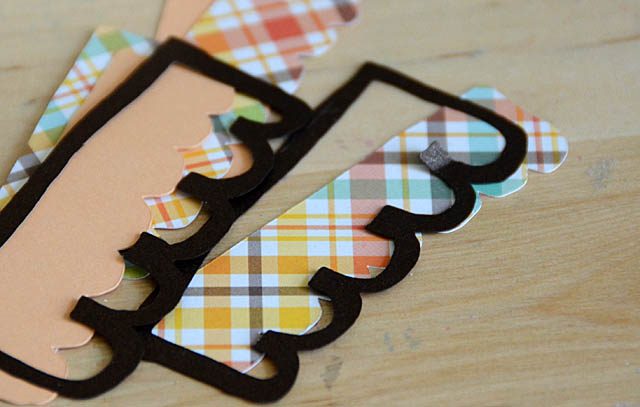
I had an idea for outline and filled in pieces – and I’m real excited with how my custom designs turned out! If you’d like to see my how-to video with the ScanNCut you can check it out on my YouTube channel here.

I love that I can draw anything, and as long as I do so in a way that the scanner will recognize/outline – I can scan it, cut it, create it!

My little house looks cute with just the roof cut out – but I have much more in mind. I’ll be sure to update as I experiment with paper crafting techniques and mixed media fun here on my blog. I hope you’re having a nice week!