Bookmark with Pink Ink Stamps

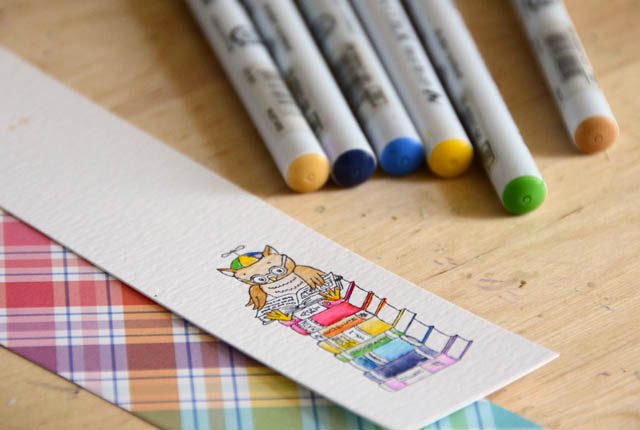
I was trying to think of something fun to gift the girls to start summer, and I got to looking at this book owl Pink Ink stamp that they sent me a few weeks back. What to do with it? Bookmark!

note that affiliate links are used in this post – thank you in advance for your support!

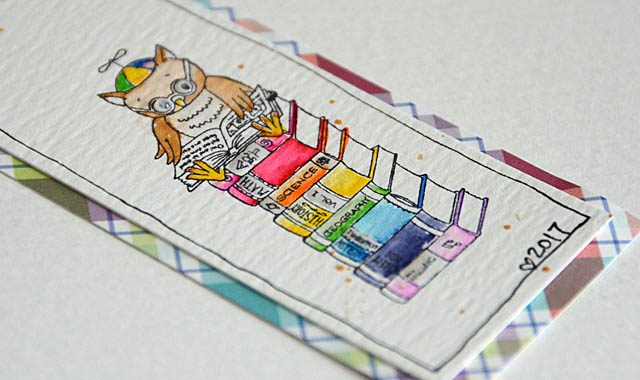
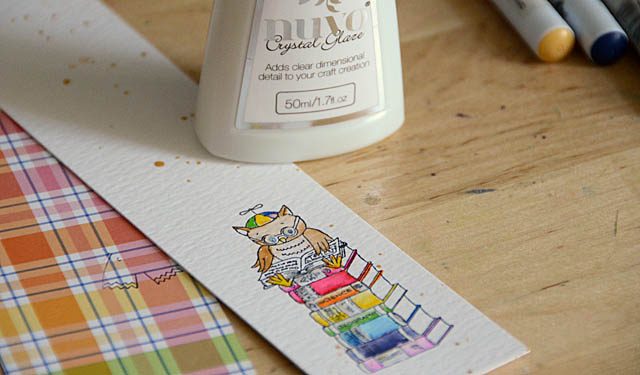
I began by using some clean color markers to make the books into a rainbow, and add a bit of color to the owl as well. Note that I didn’t color every single detail – just some fun color + water with a water brush. Just add a bit of color with the marker, then add a bit of water and blend. Repeat as needed it’s that simple to create simple coloring!

Then I took some nuvo clear drops to add dimension to his glasses, the book titles, and anywhere else I felt like it would add a little something.  The supplies I used on this project include (links to Ellen Hutson.com):

Pink Ink Book Owl Stamp
Heidi Swapp gold mist
Clean Color Markers
Nuvo crystal glaze
Lawn Fawn (rainbow) patterned paper
double sided tape
black micron 05 pen

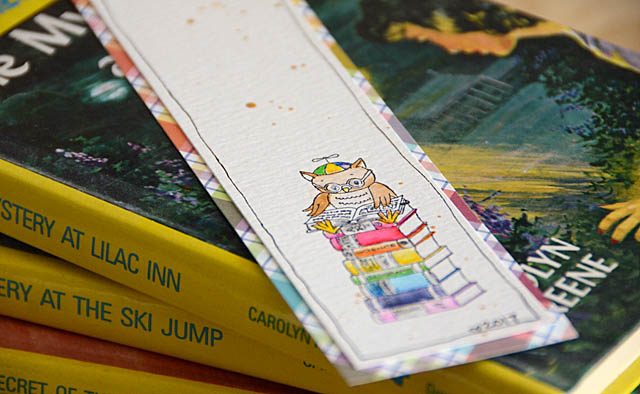
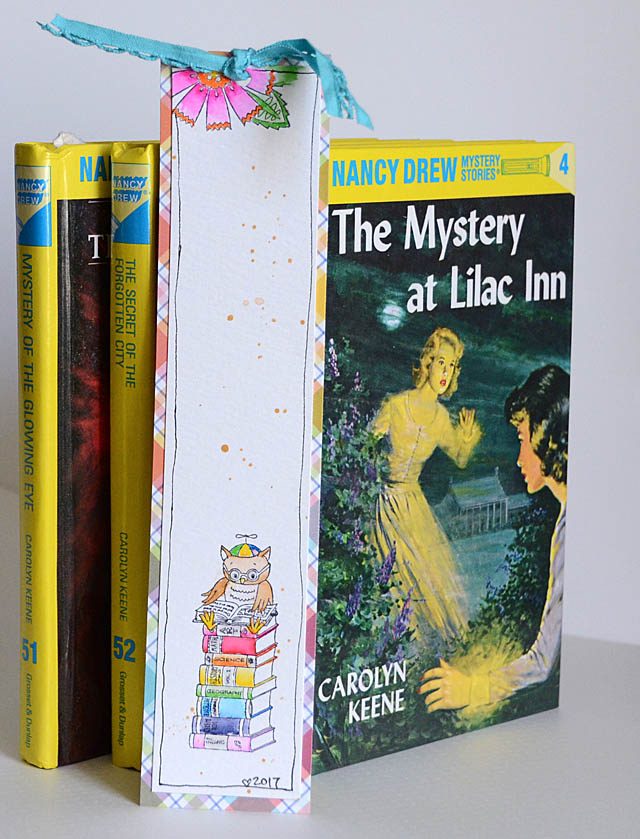
My white paper is 1 3/4″ wide, I mounted it on 2″ wide patterned paper after stamping (and coloring in same way). I also added some flecks of gold, and a bit of pen work in form of an outline and the year.

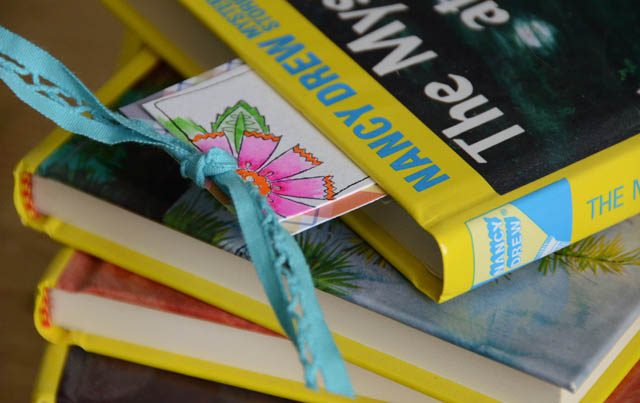
This bookmark wasn’t quite complete, so I punched a hole and added some trim.

Here is the finished result – along with some Nancy Drew summer reading for the girls!

The rainbow stack of books is my favorite thing I’ve colored in quite a while – and I had a lot of fun making something totally flat (for a change!) with this project. I hope you’ve enjoyed this project – it sure was fun to make and a reminder that I can have hand crafted detail – even when I read!

Travel picks: top 6 products

As I prepare for summer adventures (and way beyond!) as well as ways to document travels in the moment I thought I’d pause to take a few minutes to share some of my favorites, as well as a few tips.

  1. There’s no such thing as too detailed of travel planning! From considering where you’ll find restrooms to what a time change will do to you energy wise, knowing where there is good food options to having all your reservation numbers in one place – well it’s always good to be prepared!
  2. When it comes to taking documenting supplies along, pack light. REALLY light. You’ll  never use everything you bring, and you can always add more decoration at home.
  3. For planning in advance, I prefer a binder system for flexibility. However if simply jotting notes down and for minimum space, a small notebook rocks! If using a traveler’s notebook setup, I like to bring 1 notebook that has all my notes, and one that has an empty book for documenting my travels.

These are my top three tips for you, as I enter my 20th (yep, really!) year of documenting my travels.
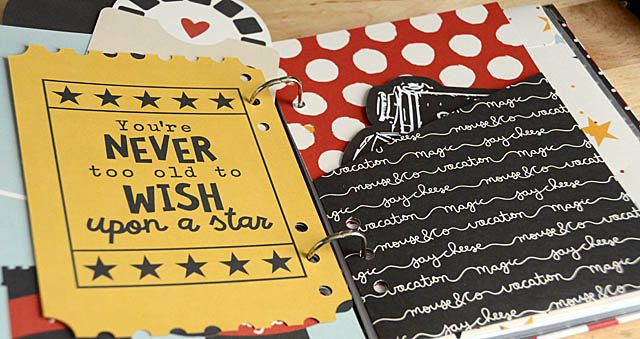
Sometimes I take my travel notes and turn them into formal scrapbooks, and sometimes I add a few photos to the notebook and/or use the notebook to reference much later when I am scrapbooking a specific event or trip. Speaking of trips – I’ve got six products I love and will share with you here. Note that these products are widely available, but I’ll be linking to Scrapbook.com and using affiliate links. Thank you in advance should you choose to support this blog and use the links!
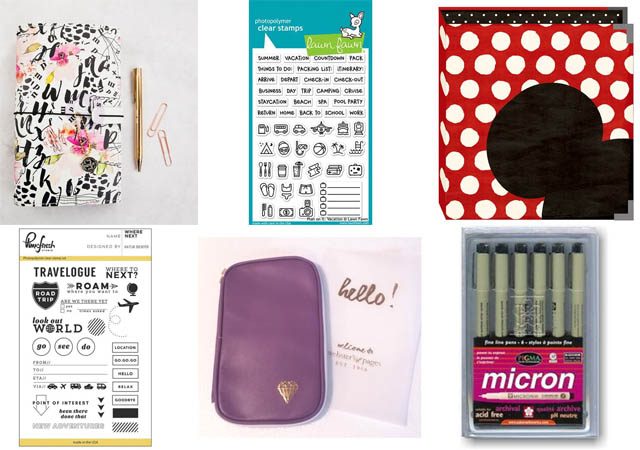
Working clockwise from the top left:

This has my full attention right now – I love traveler’s notebooks and this cover seems not only beautiful but useful too. Yep, the New Prima traveler’s notebook cover is high on my need list! Webster’s Pages also makes a number of great covers that I like for multiple little notebooks.

Lawn Fawn vacation planner stamps are brand new, and wow these are going to be great! Stay tuned for a post featuring them very soon.

I swore I wouldn’t buy anything… but I had to! This Say Cheese Binder from Simple Stories is so great – it’s pictured in photos above and I’ll be explaining how I’m using the system to be a photo + planner combo for a distant future trip. I love the 6×8 size, and their binders are most excellent for scrapbooking!

If you’re looking for a good travel stamp set for your scrapbook – check out these PinkFresh vacation stamps. Loving all the options.

My usual “everything must fit in here” limit for travel is this Webster’s Pages folio. I’ve talked about it before – it is a great zippered pouch with spots for everything from stickers to pens, and you can fit some washi or other small items in too.

When it comes to pens – if I want to be sure the words I’m writing last, I use Sakura Micron pens. The ink is smooth, they’re easy to write with, and I have been using them for as long as I can remember.
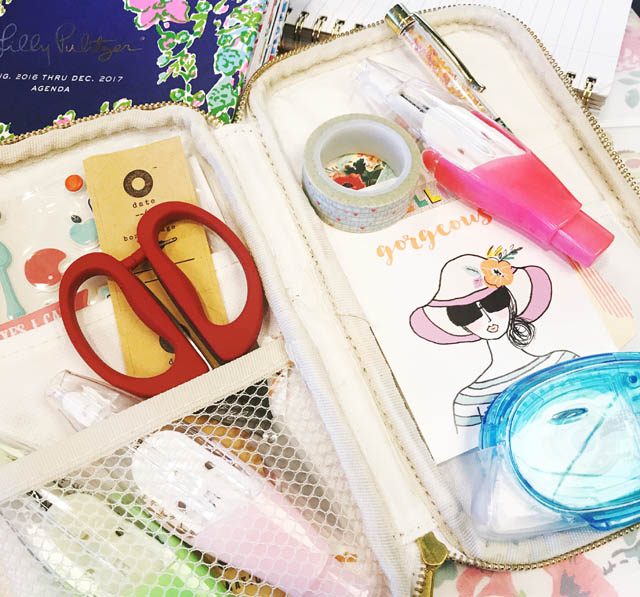
Well that wraps up my travel post (pouch mentioned is shown above) – for today at least. I have several in-depth posts coming up, as I love sharing ideas! For me travel is wonderful in and of itself, but documenting details both in the moment and preserving ephemera and stories + photos later with a scrapbook? Priceless!

If you’d like to see more of my vacation scrapbooking that category of blog post can be found here. You can also see my “hurry up and finish” scrapbook “project Hawaii” series here. Vacation scrapbooking will always be close to my heart, as I love preserving adventures in so many different ways. Do you ever journal or document your trips? What is your favorite format? I’m playing with a lot of different approaches these days and I’ll be sure to share here.
ScanNCut.com projects: three favorites

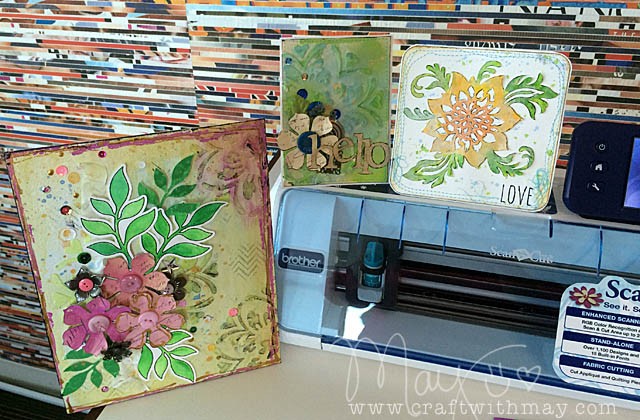
As you know  (since I always disclose it) I work with Brother, specifically with the ScanNCut. It is my honor and pleasure to create all kinds of projects for their website, trade shows, and use on TV (as well as some that I share here!) and to challenge my creative limits. But did you know that the ScanNCut website has TONS of free downloadable project PDF files as well as videos?

Today I want to share three favorites of mine that I have up there. To find any of these or dozens of other projects just visit the videos page (link) or the project PDF page (link).

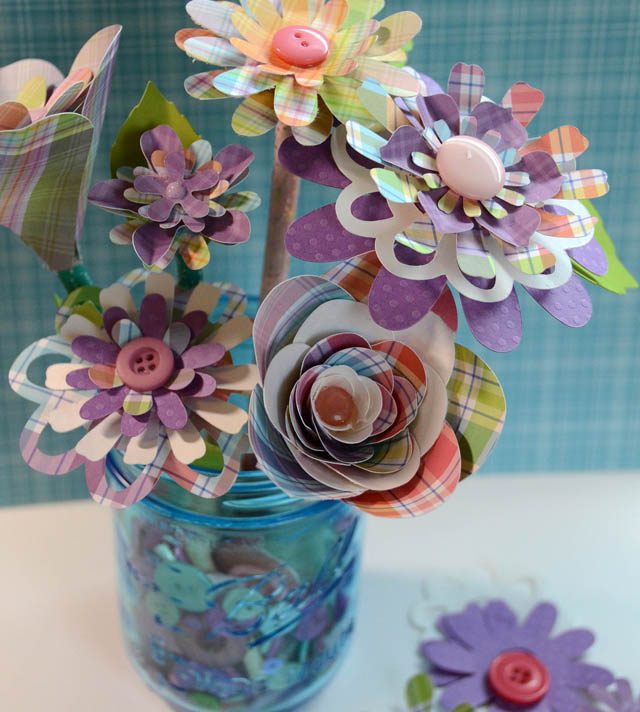
One of my most recent creations – a bouquet of paper flowers!

While I do a lot with paper flowers, I don’t often layer them in this way so it was a lot of fun to create and play with them – as well as discovering that buttons are in fact a FANTASTIC way to anchor and keep them all safe. This project has a video (video page) as well as a project PDF. I love that both versions are offered so you can choose what works best for you, or watch a video then go download the PDF and print it for future reference!

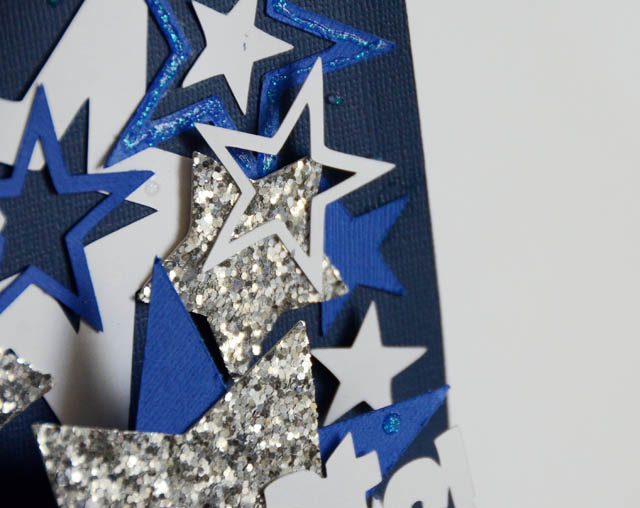
Speaking of the future – I was asked to make a pop-up card suitable for celebrations/graduations/etc.

My favorite part of this project is the stars. The glitter ones (cut out of super thick glitter paper – glad to get it used!) and the “star within a star” outline ones most especially. Basic shapes such as stars, hearts, and flowers are a signature of my crafting style so I always love challenging myself to find new projects and ways to use them!

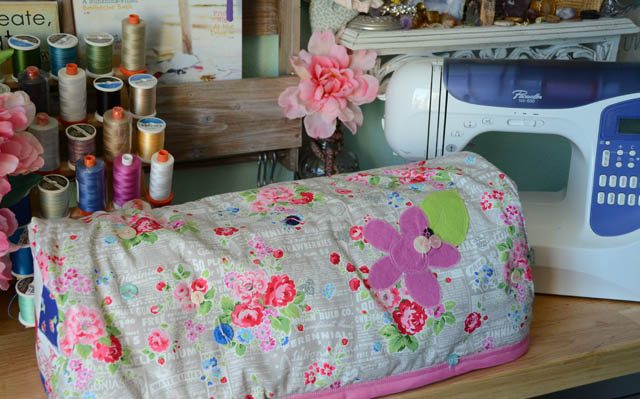
Speaking of challenges – about a year ago I was asked to make a cover for the ScanNCut – and a tutorial. EASY! I thought. Well if you go and read my tutorial or watch my video it is in fact easy. What wasn’t easy is getting it to the point that it a) worked and b) the process made sense in a way that I could explain it for anyone else to follow along.

This was definitely the most complex sewing project I have ever successfully completed – and I am proud of that! I really believe in challenging my mind creatively and I am so very glad I got this assignment. If we are not testing our own limits, challenging our own “I can” boundaries – well we will never grow or improve in any way!

Whether you have a ScanNCut machine or not – I hope that you’re inspired by all of these projects that are available for anyone to view and learn from. I love how much free education and inspiration Brother provides – just one of the reasons I’m happy to say I work with them. When I need inspiration I like to check out the other brand ambassadors projects (Erin has a recent travel journal, Julie has an Eiffel Tower project that I want to try…) and see what they’re up to as well.

What creative limits have you pushed recently? Do share!

full disclaimer as always that I am a paid consultant for Brother, but all ideas and opinions about this awesome machine and all their products that I use and love are my own.

Mini icons by doodlebug: the perfect stickers

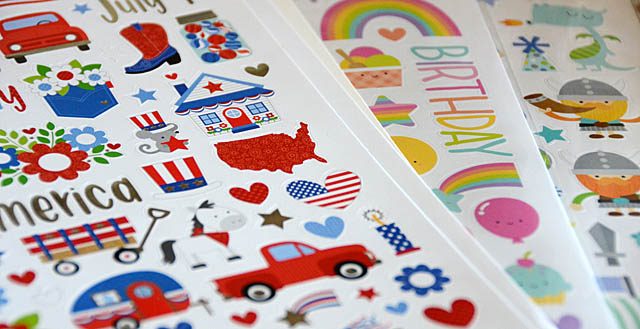
It isn’t often I walk into my local scrapbook shop and find something I have no idea exists – and it delights me when it happens! On this particular day, I became totally smitten with Doodlebug “mini icon” stickers. Basically, you get two (identical) sheets of adorable stickers that match their lines, and are sized much smaller to better fit projects of mine. Color me excited!

Note: affiliate links are used below. Should you choose to use them, they help support this site so thank you in advance!

There are a few key differences namely that the stickers are on a much thinner paper (vs heavy cardstock), and of course the size. The decorative strip down the side isn’t “cut out”- but you can easily cut it yourself into a sticker which I think is a lot of fun. You could punch shapes into it, use a die cut machine to cut it, or just use scissors and cut a strip!

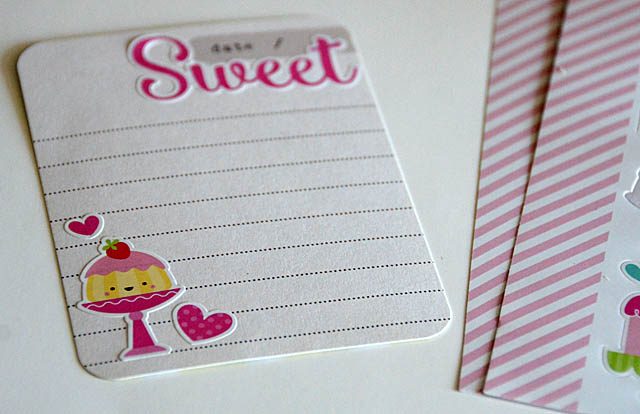
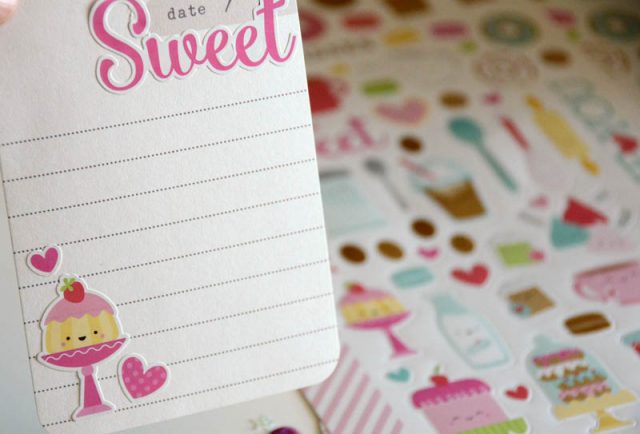
I really like them for journaling cards, and I think they’ll be great on greeting cards as well. I’m always looking for little decorations for my scrapbook journaling cards and this is much faster (and let’s be honest  – better done) than me stamping, coloring, and cutting out all these images. Lovely!

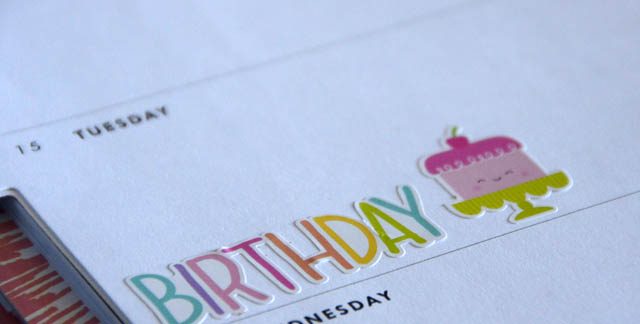
I also know these will be great in my planner! I like that I can mix & match some to fit any design or spread. Immediately I claimed the really cute cherry on top cake for my own birthday.

Simon Says Stamp (link) has a great assortment of the mini icon stickers- including the dragon ones my daughters just can’t get enough of.

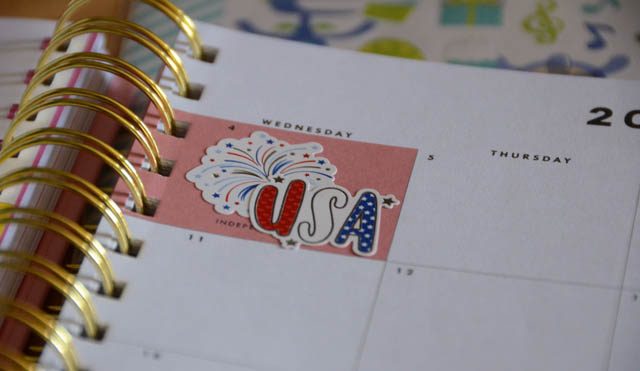
Scrapbook.com just got the new Yankee Doodle ones that have the cutest little camper and fun fireworks too.

Both girls have taken sheets (lucky that there are 2 sheets of each design!) to begin adorning their school year planners for next year. It’s June after all – and that means the new planners are out (terrifying! time flies!) and they’re having a blast decorating special dates and just the corners of things where it would otherwise be plain.

I really hope we continue to see these from Doodlebug because this size (along with the absolutely adorable designs) works so well for gift wrap, tags, cards, journaling cards, planners – and more! I love seeing long time favorite companies continue to update and adjust products to work for even more kinds of paper crafting.