One of my loftier craft goals is to fill the new studio with a variety of banners. Big, small, fancy, easy… and I’m going to share the how-tos with you here. Why? Well for a number of reasons including that banner making is an art form in and of itself. I also want to share them with you as I go so that you can see how I’m adding hand made decor to this special space.
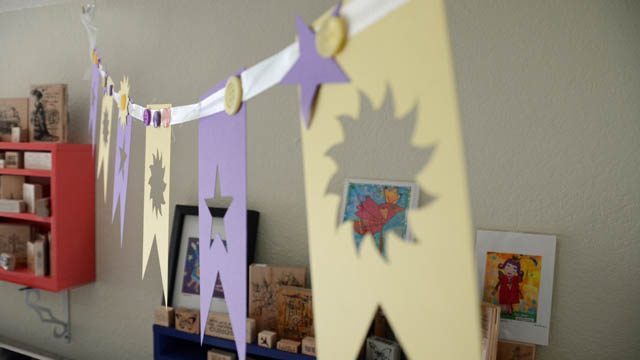
The hardest place? To just begin! I was playing with a new ScanNCut princess cut file (Rapunzel!) and I got the idea that a yellow & purple banner would be absolutely fantastic. I also decided I wanted holes in the cardstock so that it would not feel super heavy, and that this would be put in the corner where I want my banners to begin.
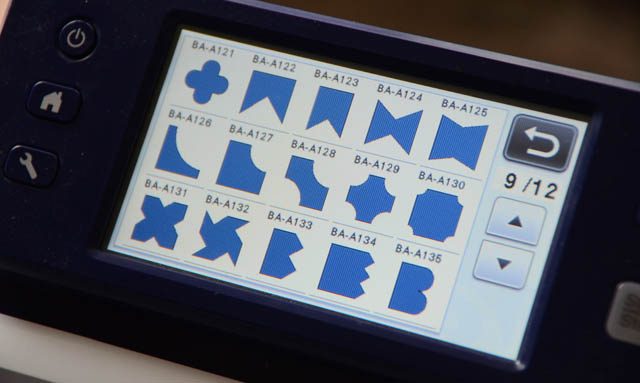
First up, I pulled out the ScanNCut, selected a banner shape (there are MANY!) and re-sized it to suit the dimensions I was after.
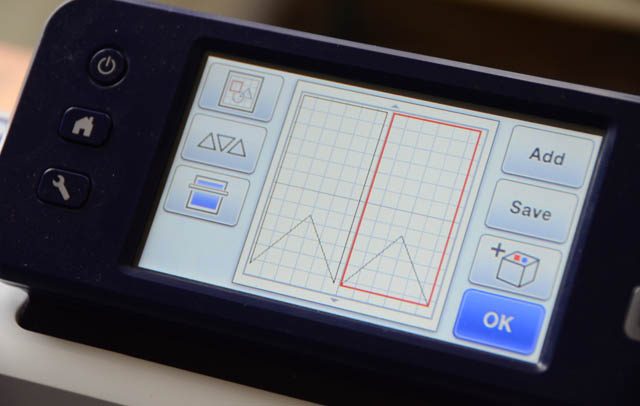
Then I picked a decorative shape, added it to the center, and re-sized to suit my design preferences as well.
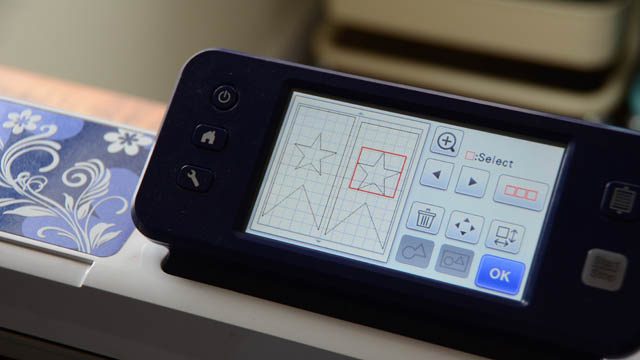
This is the part that really saves time. I did not have to keep going back in and redesigning my banner. I simply cut out the two, then insert a new paper and cut again! Repeat as many times as needed.
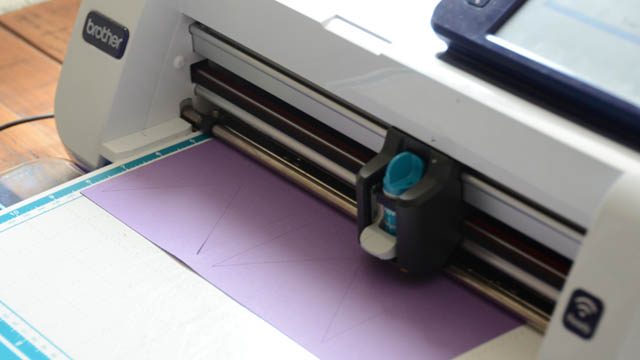
Another option? Cut some with NO decorative shape cut to back these papers. You could also change the center pattern (as I did with the sun burst), change the size for a mixed-size banner, or otherwise alter what you’re cutting to add more or less variety. Once everything is cut out it’s assembly time. I like to make banners with:
- twine
- thread
- ribbon
- ric rack
- wire
- paper
The how is really up to you, and your project. I went with a very light weight but sturdy white ribbon for this banner.
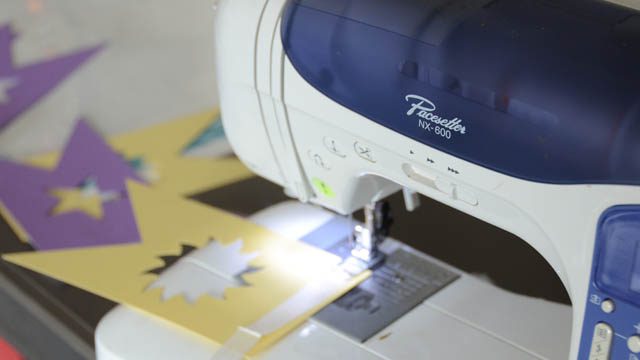
The next choice- how to put it all together? I decided for my trim type and banner design stitching would work well. Out comes the sewing machine set at a medium zig-zag and off we go! Other options include:
- hole punch and run material through
- incorporate rectangular holes in SNC cut pattern for ribbon or twine
- brads
- hot glue or strong adhesive
- set eyelets
- staples
- hand stitching
Consider what material you’re using to hold it all together, as well as what will look good for your banner. For example when I’m working on something small that will hang low I will put more detail vs something hanging 7 feet up in the air!
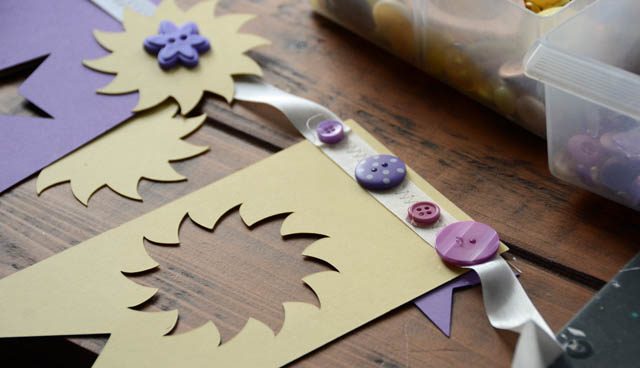
With my banner stitched together it was finishing touches time! I went for hot glue + buttons and some of the cut-outs from my banner design. This turned out so very cute – and I love seeing banner #1 of ??? up in the studio! Below you can see it hanging up – collection started.
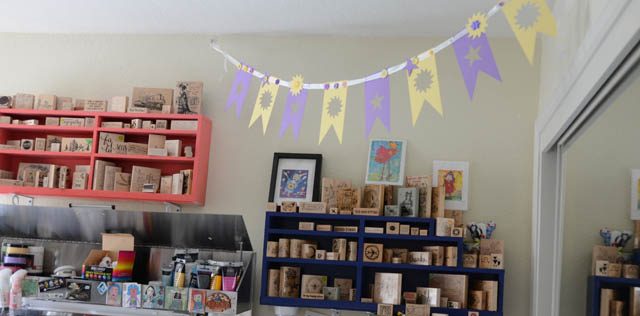
Before now I’ve mostly done little mantle banners or birthday party ones. I’m excited to dig into stitching, fabric, beaded, and more intricate as well as simple banners in the future! I feel like this adds so much homemade personality to the room and I am delighted to get this project going. You can bet the ScanNCut is going to continue to help me along this creative journey too.
note that I am a paid consultant for Brother, however all ideas and opinions are my own. The ScanNCut is a machine I adore and am happy to share ideas about!