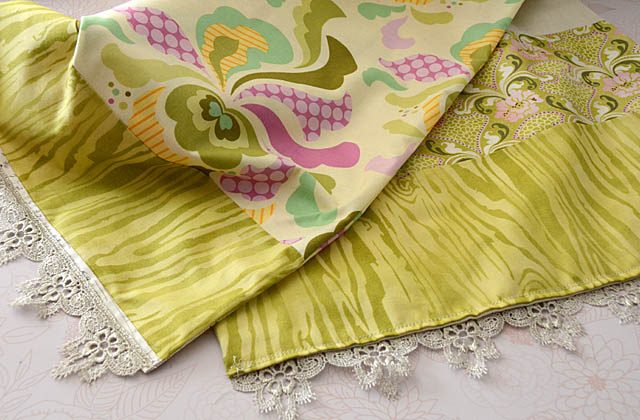
In my last post I shared a table runner how-to, and today I’m back to share how I’m using the new ScanNCut DX to add iron-on glitter vinyl to this table runner. If you don’t feel like making your own guess what? You could totally start from here and create your own iron-on designs to stick onto a premade table runner, table cloth, or place mat!
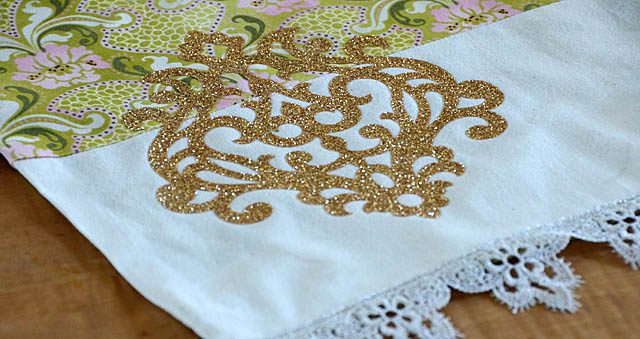
The how-to is so easy – and I have to tell you this was that took me from really liking the new ScanNCut DX to making my jaw drop! These designs just FYI are built into the machine I have – score for quick! But the real wow happens because the machine’s blade auto senses and with the push of one button cuts the vinyl, but not the carrier sheet. I couldn’t believe how beautifully my vinyl cut and how well this project worked!
Here is a link to my YouTube video tutorial.
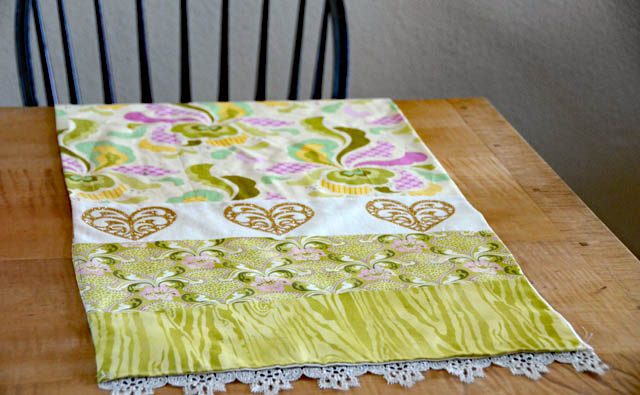
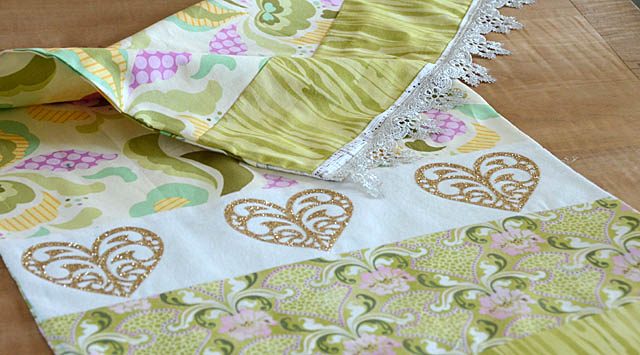
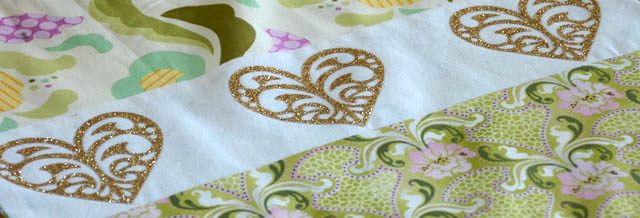
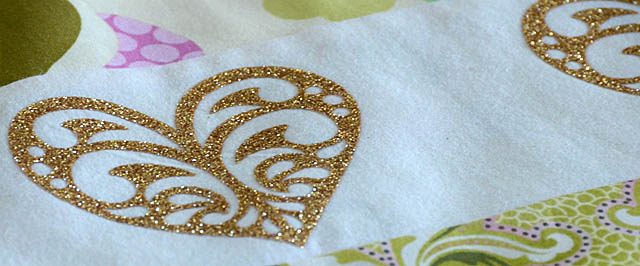
I placed my patterns on the white area for the most “pow” and despite all the color and pattern already going on I have to tell you, I really like what the glittery designs add! These hearts are so spectacular you can be sure you’ll see more of them from me in the future.
Speaking of love – I can’t say enough good things about the new ScanNCut DX. If you’re on the fence – keep watching. Because I have a wealth of videos and tutorials coming to celebrate fall, this crafty new machine, and creativity in general! I’ve been so inspired and creating up a storm around here.
To recap the steps to iron-on glitter vinyl like this:
- Select and cut out your pattern, careful to not cut the carrier sheet.
- Pick or ‘weed’ out the elements you do not wish to use.
- Iron on the design to your project as desired. It is recommended to place a piece of fabric between your carrier sheet and the iron.
- Remove the carrier sheet, double checking that your design is transferred fully.
- ENJOY!
For more about this machine stay tuned, and check out all the nitty gritty on the Brother website.
The usual disclaimer that I am a paid consultant for Brother, but all ideas and opinions expressed by me are always 100% my own!