I’m always looking for fun projects to do with my daughters, things that will have us working together, having fun, and being off screens! One such project recently? Diamond Dotz! The company sent me Van Gogh’s Starry Night to try out – and oh we had a good time! Today I’ll talk about the process and why I think this makes a great project or gift.
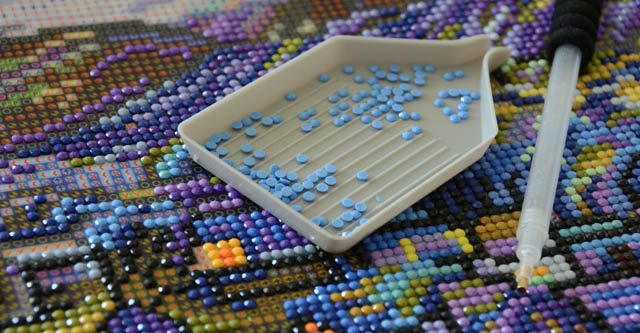
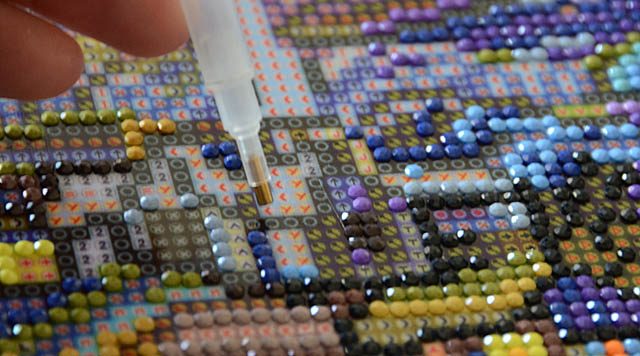
Above you see the work in progress. Tiny symbols representing the various colors are across the fabric, as well as a layer of sticky adhesive.
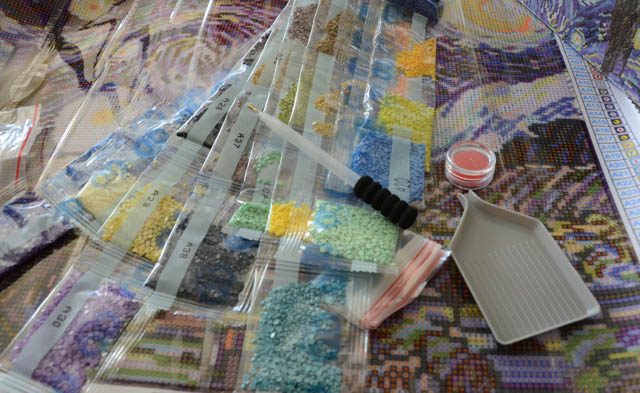
The kit comes with everything you need – as well as ample extra stones in case (like me) you tend to spill and be a bit messy! You can check out my YouTube video and introduction as well as how-to here.
For best results you’ll want to:
- Work one section at a time, filling in edges first so you’re not sticking your hand in the adhesive
- Keep your colors well organized so that you don’t lose them!
- Keep a small tray or cup for stray rhinestones – it happens
- Have FUN!
This was such a relaxing process and really I enjoyed it so very much! Rebecca and I – both avid puzzle enthusiasts really liked the methodical and almost meditative nature of the work. Elizabeth liked coming and doing a few colors/dots now and then, but it really wasn’t her thing.
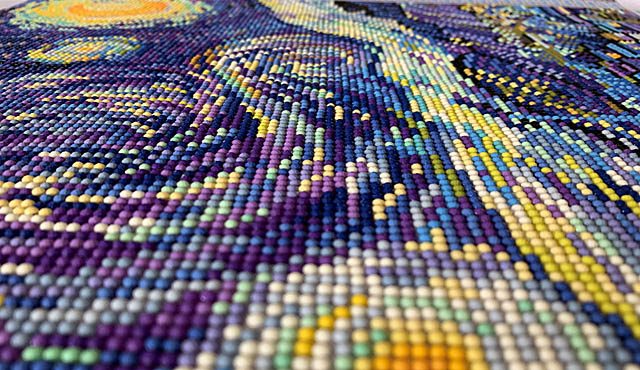
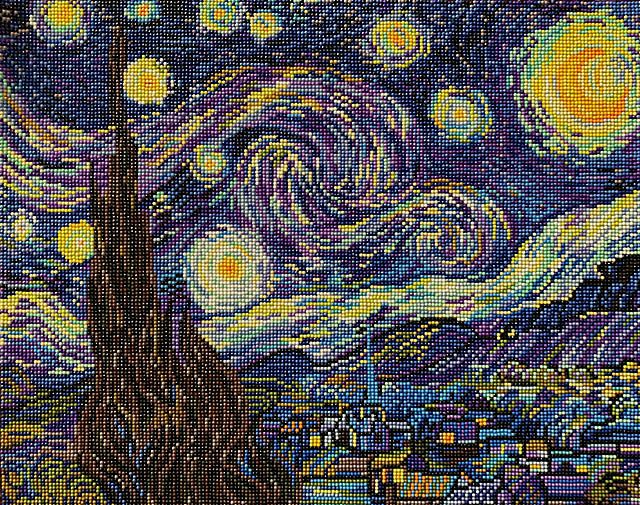
This piece is 16×20, and solid dots! Some of their designs are partially printed fabric – so be sure you know what kind of design you’re getting. Once complete I layered a thin amount of glossy PPA (mixed 50/50 with water) using a paintbrush over the entire surface to both protect and ensure it would last for a good long time. PPA dries completely clear as well as being archival – this is a must have adhesive for anyone. (here’s an amazon affiliate link) Note that the company doesn’t recommend sealing, but for a piece of this size and complexity not to mention the amount of doggie hair in this house – well I didn’t want anything sticking to the tiny spots of exposed adhesive. The dots are round, but the entire surface is coated with that good adhesive so I don’t want to take chances.
I love that all three of us girls worked on this together and want to display it!
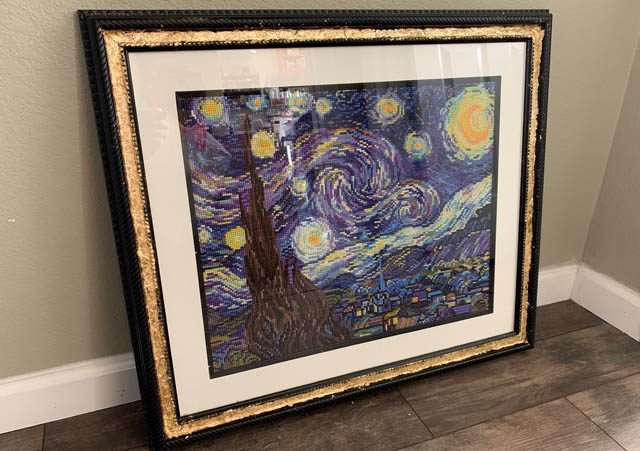
Above you can see the finished piece fit beautifully into a frame, and now I just need to hang it there in the hall outside my studio! Below is the finished piece before framing – so much love and work went into this!
Before I wrap this post up, I want to share a few final thoughts and notes:
- This is a great project that requires zero skill, just patience. Don’t be put off by the website’s “advanced” or “beginner” labels – it’s all totally doable so long as you are patient and enjoy the challenge!
- I would probably recommend 4th grade (so, about 9 years old) or up for this just because it does take focus and precision.
- This project took Rebecca and myself 2 weeks of working at least 60 minutes every day on it. Some days even longer. It was in no way quick!
- This was so much fun! I loved it even more than coloring book time, and can’t wait to do another!
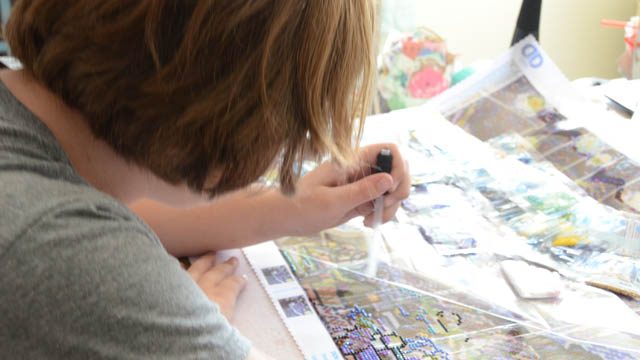
Below you can see Rebecca working away!
I have found a great variety of Diamond Dotz® products at my local Michaels, and you can also order directly online from their website. Note that not all brands are created equal – and not all will be as quality as this one! I was wildly impressed with the kit and we will do another this winter when rainy days need more indoor fun for sure!
Have you ever done a project like this? Do share!
Oh wow! Just love this May! I think you have given me my Christmas presents for my nieces!!! I love that it’s something you can do with your kids
This is pretty! That’s my favorite painting. I’ll have to check them out, thanks for the informative post. Michelle t