Thank you to Brother for continuing to work with me and allow me to bring you these crafty posts! Disclaimer that I do work with them, and that within this post ‘opinions expressed by a paid consultant’.
Today I’m using a built in “thanks” design on my ScanNCut to create some thank you cards. It’s the season for sending thank you cards, after all!
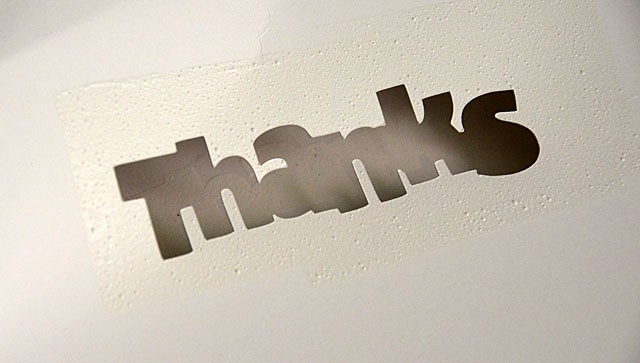
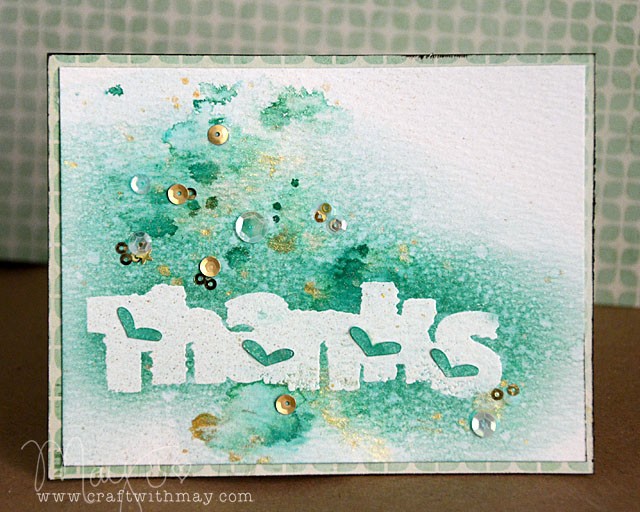
First I cut the design out, and kept the cut-out design. Then I took the paper left over (aka the outline), placed over watercolor paper, and pressed with white pigment ink. A nice foamy/juicy ink pad works best for this as you need a squishy ink pad to really get down and into the design. Once you’ve done this, coat with clear embossing powder and heat set.
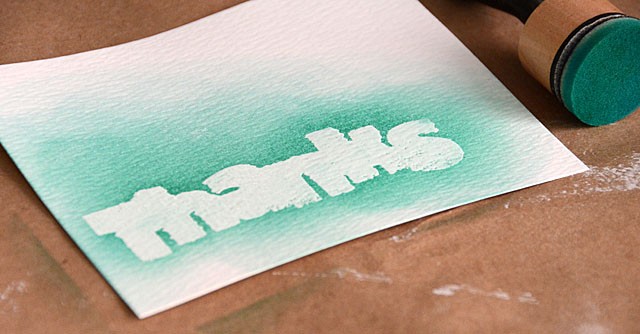
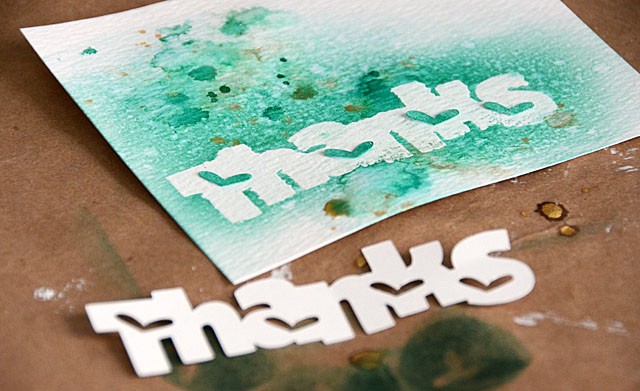
The next step is to take ink and a foam blending tool and ink it up! The embossed word will resist the ink, and if you use a water reactive medium (watercolors and pens work for this too!) you can add water to create splattery looks. For more variety add some more colors (such as gold), then add in the little heart cut-outs (colored with same ink color).
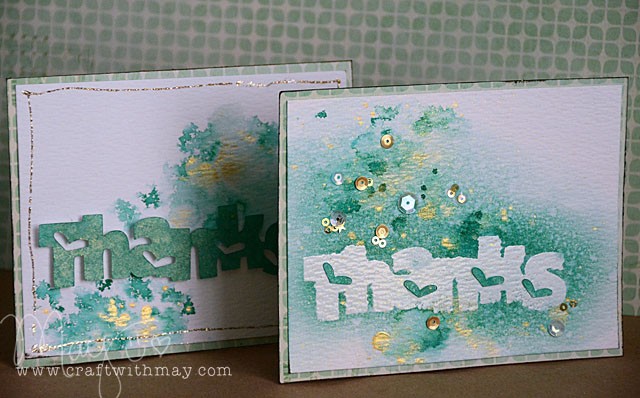
Here you can see my finished card:
But wait! I couldn’t waste the original cut-out! So I just did a little splattery action and inked up the thanks design.
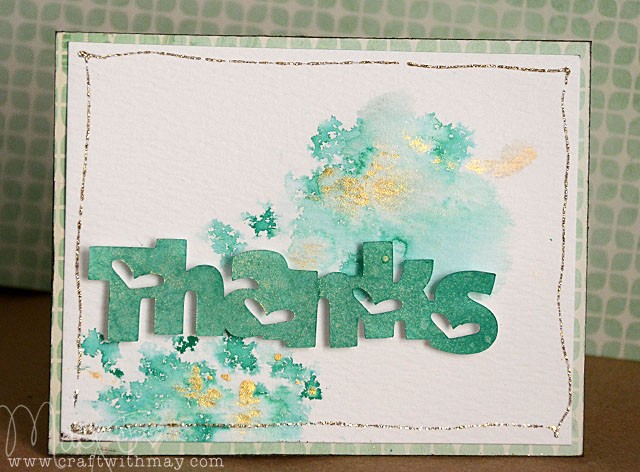
Now I’ve got two cards ready to send off, and I should probably clean up the holiday mess while I’m at it!
Cool! Very cool splatters, love how that turned out. Great idea to use both cuts from the scan and cut. Pretty colors. Michelle t
Beautiful! love how you did it two ways!
Love how you used the positive and the negative! Great colours too!