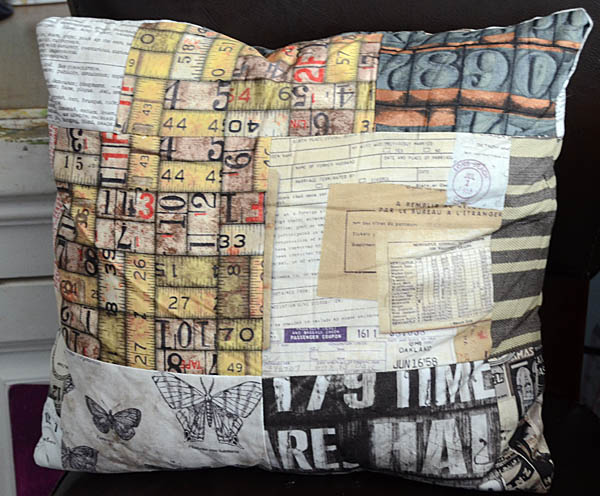
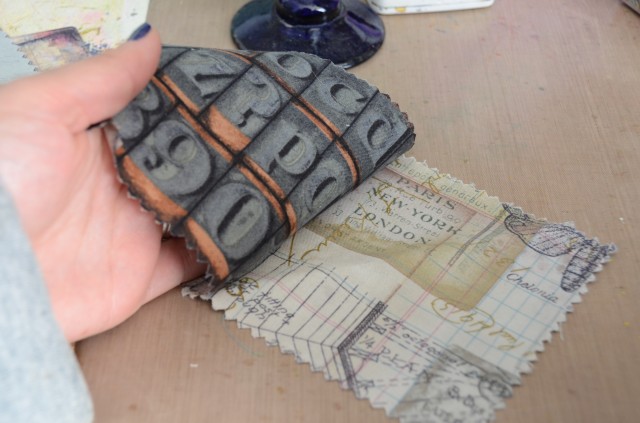
I kind of have a lot of small squares of fabric. WHY, over the years I’ve collected these I really don’t know. I bought them that way. But as I want to get working with them, I thought the newest addition (Tim Holtz) would be a good place to start. I started working on a pillowcase, then got all frustrated because HOW was I going to make it work exactly?! So, after many hours and much frustration I realized my squares of fabric pillow case could only work if I made all the squares into the size/shape I needed in raw material, that I needed to stop complicating it.
Pillow cases really are one of my favorite things to make because they are so darn easy! So here’s the how-to:
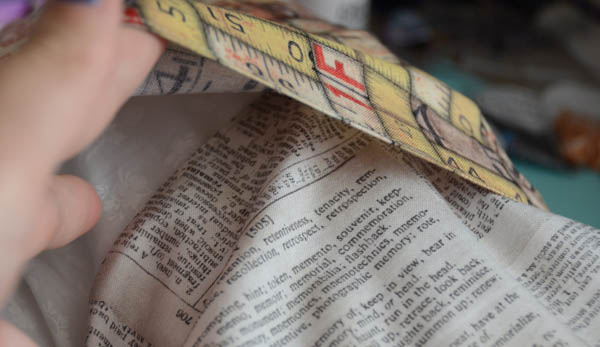
1. Take two squares of fabric. Face them together. Stitch one side.
2. Repeat, repeat, repeat until you have a square (or in this case, a rectangle) of fabric big enough to work for your project. Sew pieces to the sides, to the tops – whatever you’re just building a big piece of fabric.
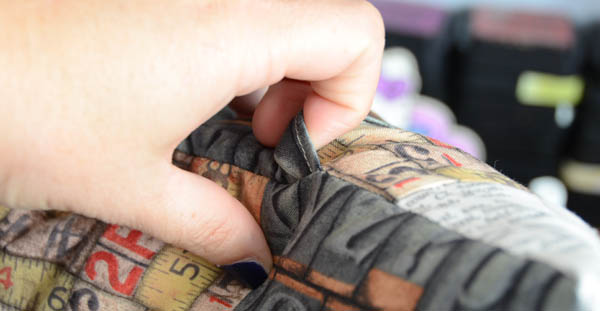
3. When you’re done, time to stitch up your pillow case! I had a 14″ pillow so my raw fabric was 15″ x 34″ to start. Two ends (that will be the overlapping slit where the pillow can get in & out) need to be folded and stitched.
Then you’ll want to fold the fabric (inside out, of course) in the way you will want it to lay, so that there is 3″ or so of overlap on the back side. This will provide enough room for you to get the pillow in and out, but also make it so the pillow won’t be seen.
4. Stitch the two open sides of fabric, and that is it!
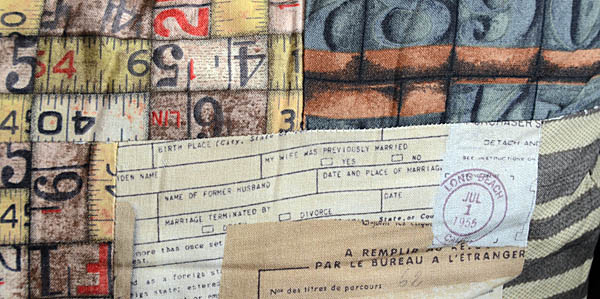
Now that I’ve made this, I started playing with bigger pieces, odd shapes, and other patches of fabric in general. My next task? A table runner for Thanksgiving! I will be sure to share it here with you. Now that my weekly fabric play is back on track, that is!
Love your pillow!
Very cool! I’ve got to get some of this fabric!
That’s really cool! I can’t wait to see your runner too.
Love it!