Three things you need to know before I really get this post going:
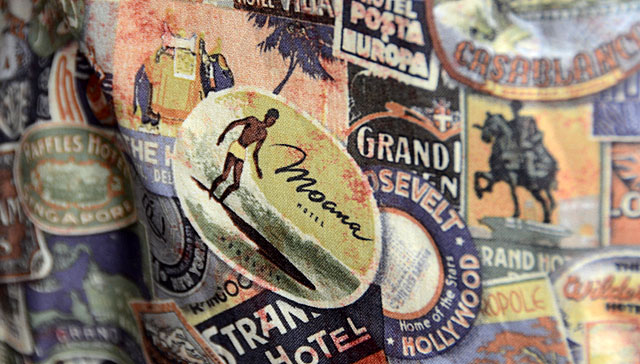
- I got a bit wild at Joann Fabric when the Tim Holtz fabric came out (and was 40% off!!!) and I might have purchased 12 yards total.
- Sacramento now has a Hobby Lobby, and I am afraid if I go back in I may never come out.
- I really, REALLY mean to use my beautiful Brother(tm) International sewing machine a WHOLE lot more than just as a paper stitcher.
These facts laid out, I introduce you to fabric Fridays. For the next few weeks I’ll be sharing fabric projects AND the how-to. They will all be easy, as I am a totally lame sewer and thus things need to be simple. Luckily I have Tex (aka my sewing machine and BFF for the last few years) to help me along. Today I’m kicking things off with how to alter a tote bag. These bags? They’re available for sale at most craft stores in all kinds of canvas/denim/heavy/light fabrics, they’re CHEAP, and let’s be honest. It would take me hours to actually make a tote bag and starting with a ready-made one just makes good sense for someone who is rusty and needing to get back into good habits. Uh, and use the 4478392404085 yards of fabric she has in her office.
ahem.
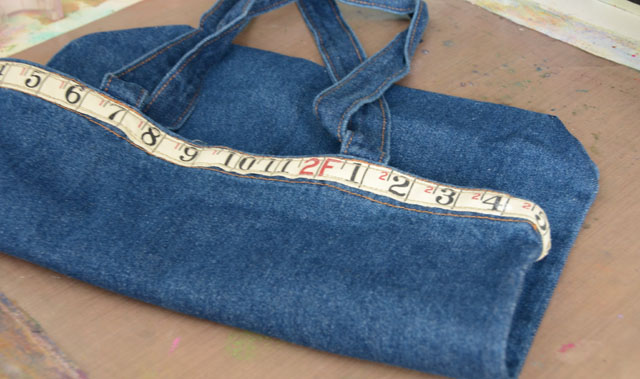
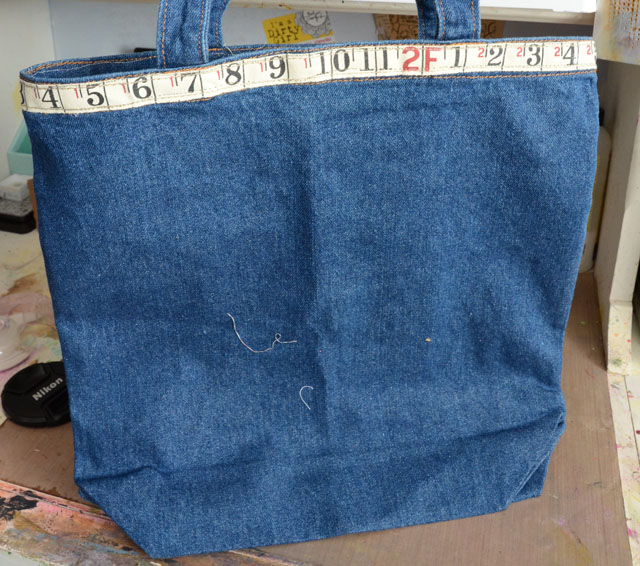
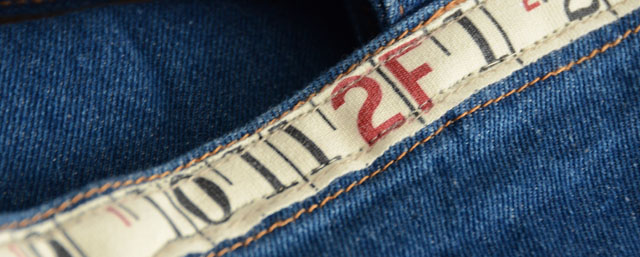
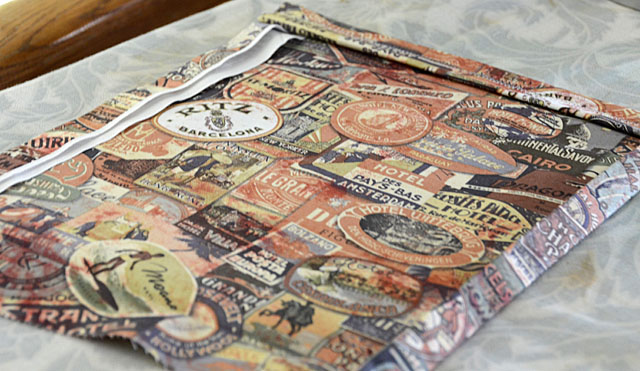
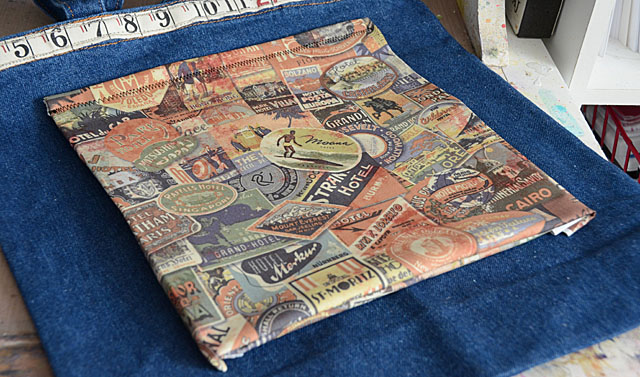
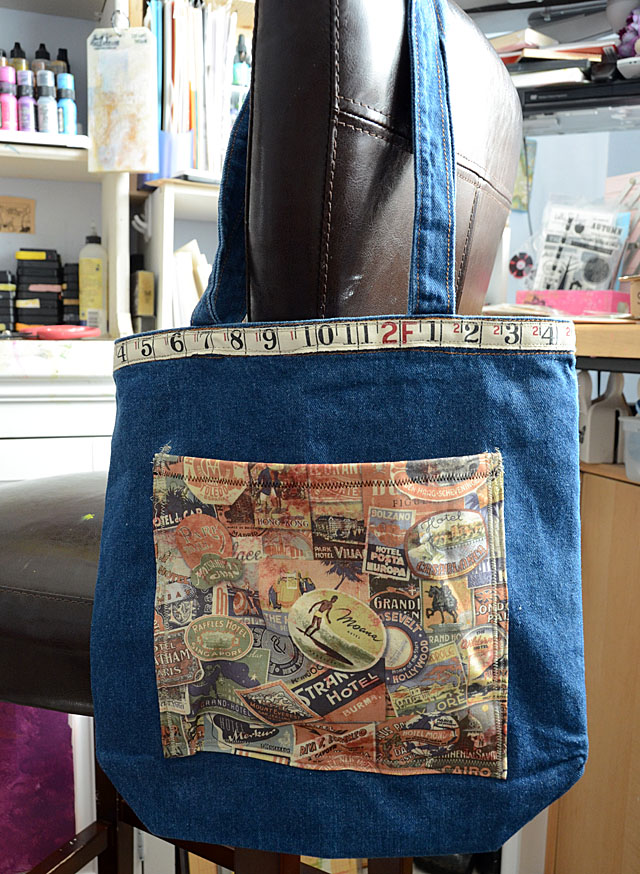
So for this, I started with a $2 denim tote. Right off the bat I decided to stitch a Tim Holtz ruler trim around the top. Nothing fancy- I just stitched it on. 3 minutes tops, and we were on our way to tote bag greatness.
Tip: If you don’t want to sew, you don’t have to!! You could use a strong fabric adhesive or iron-on adhesive and skip all stitching for this project. I think stitching takes less time and is easier – but either way!! You could also hand stitch these additions…
Ok, so all stitched up, I decided I wanted a pocket on the front of this bag. Nothing fancy- just a square-ish pocket to hold more stuff and be decorative too.
To do this:
- take two pieces (or a single piece folded-over) of fabric and iron the edges so they are folded under on the top and sides.
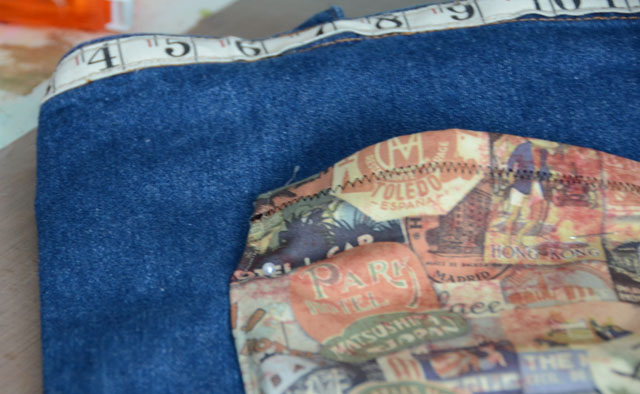
- Stitch along the top since you do NOT want to try and stitch the top once it’s on the bag… otherwise you’ve got a patch but no pocket!
- Figure out how tall you want it exactly, then fold the bottom edges under.
Here are some photos to help explain – but it really is easy.
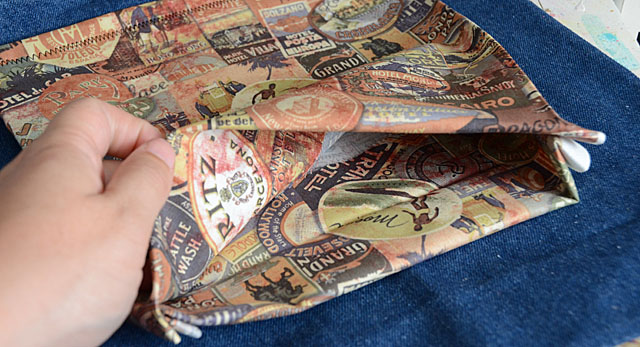
Ok so above you can see me folding the bottom of the pocket pieces IN – this is so that there is no raw edges to the fabric on the inside of my pocket. The sides I wasn’t worried about because of where I’d be stitching down. And really – all you HAVE to do here is stitch the sides + bottom onto the front of the tote to complete this. It’s easy!
Unless you go wonky and stitch sideways somehow, or stitch through the entire tote. um, not that I did either of these things. BUT! If you know a person who did make such errors, remind them to just rip out the offending stitches, and try again!
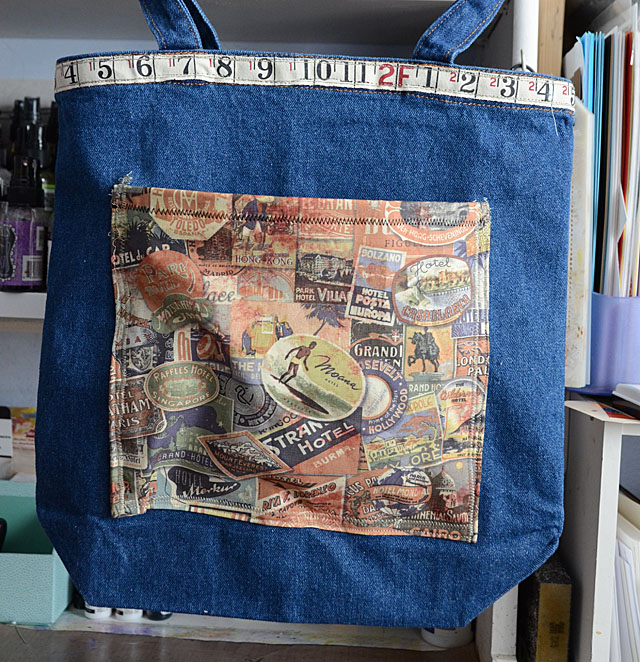
I stitched a bit extra at the top, because that is where the most stress will be on the pocket. Other than that – what you see is what you get! I love how this one came out, and that even with all my errors I still finished in about 30 minutes.
Now that I’ve warmed up by simply adding something to an existing item, I’m feeling like I can happily jump into some from-scratch creating! What will be next? Well I have a Christmas tree skirt, a fabric pumpkin, table runner, decorated shirt, apron, and pillowcase as well as new studio curtains on my wish list – so we’ll see!!
You will be seeing a LOT more of Tim Holtz fabrics from me, as well as other seasonal and other fabric projects as well. Right now it’s time for me to hop into a new project, and hope for the best!
Absolutely love this! Will be looking forward to Fabric Fridays!
May, I love the fabric fun. I am delighted to know JoAnn’s carries Tim’s fabric. I have plans to cover a wood valence in my craft room with some. I just cannot decide on which design.
I will try to stop giggling long enough to tell you that it turned out awesome!!!
Love, love, love!!!
So looking forward to seeing what you create with fabric! Once you get going, you’ll see that a tote bag isn’t that much more work than a pocket (and a lot less labor intensive than a pumpkin).
This is super-cute!! I would be toting that bag EVERYWHERE!
I love that your machine has a cute name.
I call my machine names too. But they’re not very nice ones. 😉
Great idea! It turned out beautifully.
Took a look around. The website is looking good.
So cute!