June/July KP kit

109

Hey guys! So Simon Says Stamp + Kelly Purkey released the second (bi-monthly) kit, and it is still available – if you want one I’d grab it up! So as I said yesterday, it has been crazytown here. I’ll spare you all the glam details. But!! You know what I believe, right?

There is never time for crafting. You’ve gotta MAKE the time! So, I turned on the video camera, shut the studio door, and 35 minutes later emerged refreshed, kinda ready to face the day ahead, and with a new layout! mf

Supplies Used:

I am loving this kit – and I’ll be doing more with it for the next several weeks. I am guessing it will sell out soon – so if you want one you can get it here.
115

Want to see more about this kit + how I made the page? I cut together about 8min of my process + talking at you as I created. Enjoy!

[link to youtube]

Countdown to Camp Scrap: 1 week!

So here’s a fun fact: Camp Scrap starts on the last day of school! WOW! Time really does fly.

campscrap

It is Thursday – and that means it is Camp Scrap countdown day usually… but whoops. I didn’t think about the fact that today = kindergarten assembly + no school for Elizabeth (long story short, I’m not sending her on a field trip without me, so she’s coming to kindergarten!) and all of this = I do *not* have my usual quiet peaceful morning to sit and write a Camp Scrap countdown post. WHOOOOPS. I really should schedule these posts ahead of time!

So, I’ll give you one last sneak peek photo, and promise to post the NEW video + project I meant to have up this morning (relatively) soon. After the assembly, luncheon, martial arts class, and supplies for their pool party. You know, just normal Thursday fun stuff. Speaking of fun stuff, here’s the sneaky peek…

campscrap_week3 (27)

I wish you very Happy Crafting- and welcome to the final countdown to Camp Scrap!! If you’ve not signed up and want to join us, there is still  plenty of time. Got questions? Feel free to ask!

The question is, why NOT throw yourself a party?

s3

Where there is a will, there is a way and gosh darn it I really wanted to have a birthday party this year.

The wild idea came to me while I was having tea with my daughters back in December and they said “well, you plan such good parties for other people, why NOT plan one just for you?” and we booked the whimsical room table at Linde Lane on the spot.

s8

I realized that if I should have it at a restaurant, oh let’s say a FABULOUS local tea room, the decorating, food, service, and atmosphere in general would all be taken care of. No cleaning up the house before or after a party. I also realized that oh hey, I could put my personal touches on it for fun, invite some lovely ladies, and really just have a lovely afternoon.

t2

I am a person that believes in making your own magic. I can NOT tell you how often I hear the someone whining because nobody is doing it for them. Nobody is surprising, delighting, taking their hints, or making it their life’s work to make hers more fantastic.

Do you see a problem here? Because I sure as heck do. The “poor me” attitude is expecting someone else to come along and make your life magic. Let’s have a bit of perspective, and remember that everyone has their own battles, their own chores, and while it *is* fun to bring magic into the lives of others the ability to surprise and delight others isn’t always there, nor is it always on a big scale. Not only that, but I’m a very firm believer that a lot of the times your life can be made a lot better (or worse) simply from how you look at things and how you yourself act.

t5

Now please, don’t get me wrong. I am totally blessed to have AMAZING people in my life who add to my happiness, who make my life better, richer, more wonderful just for being in it. I am thankful every day for my blessings.

But honestly? The person best able, the person most likely to throw me a birthday party right now, this year? ME. So I ask again, why not make myself a bit of magic?

s1

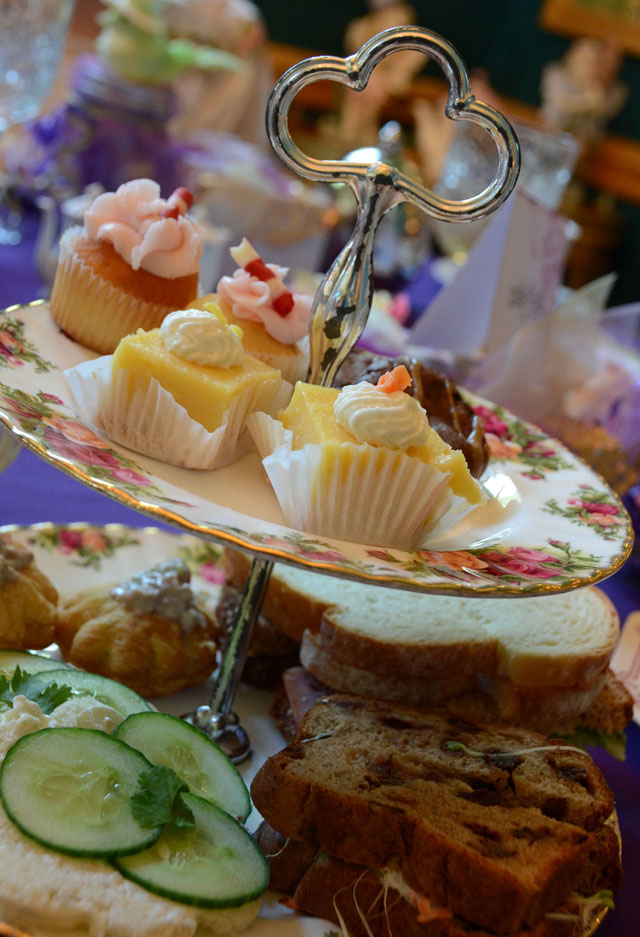
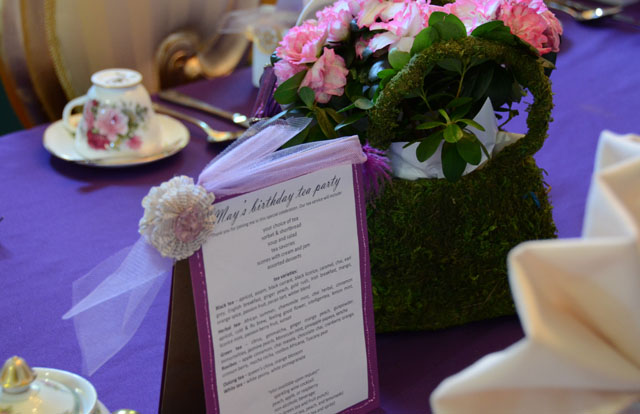
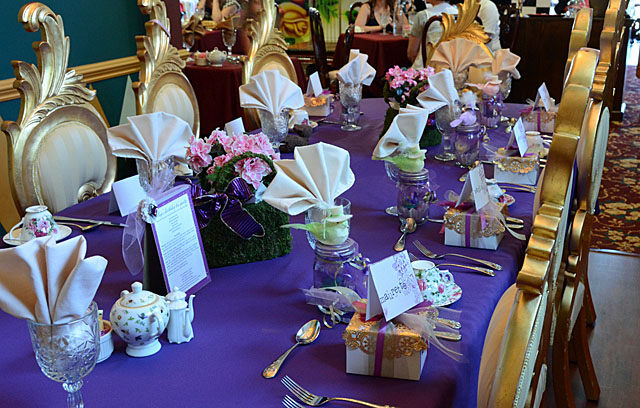
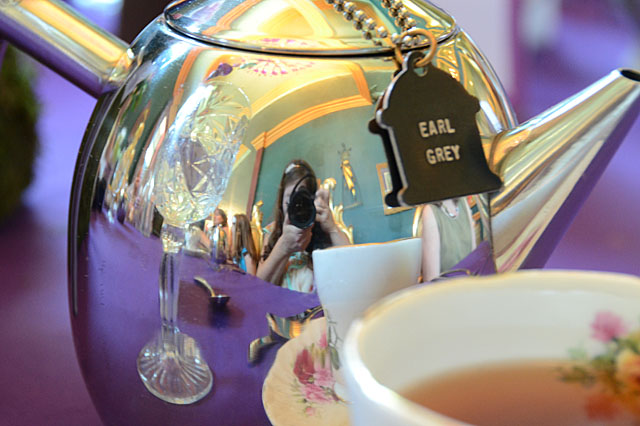
I can honestly tell you this is one of the best choices I’ve made for myself in 2013. I got exactly what I wanted. I set it all up myself including requests to the tea room, reserving the table I most wanted, even getting only the prettiest of teacups on the table. I spoke with our server before hand and she did an EXCELLENT job.

t4

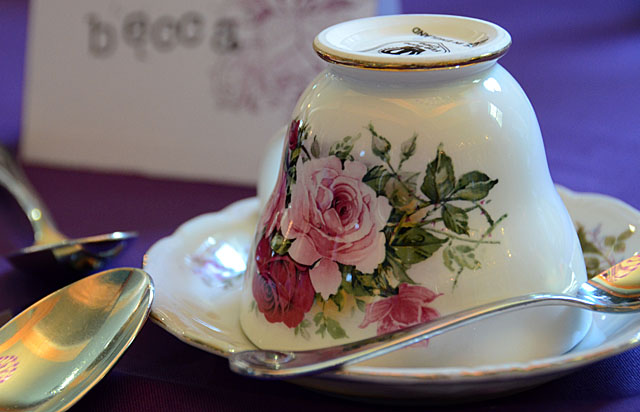
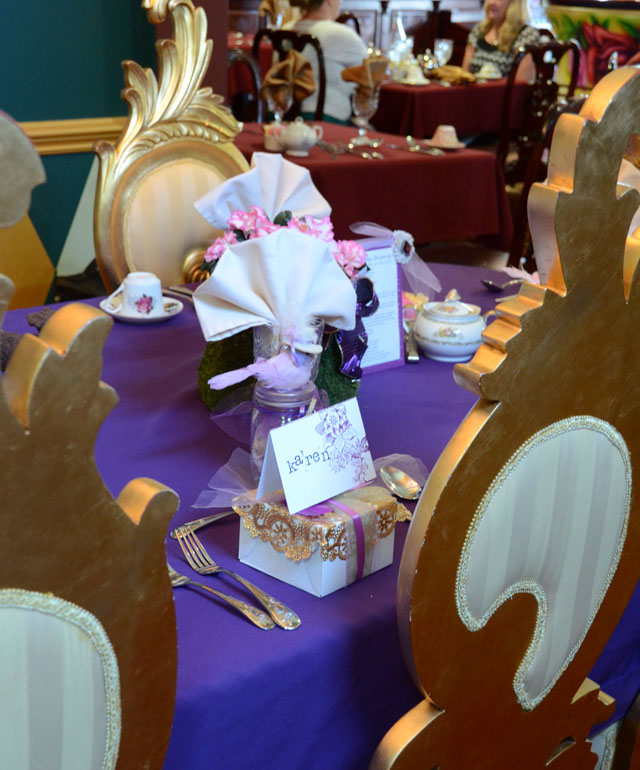
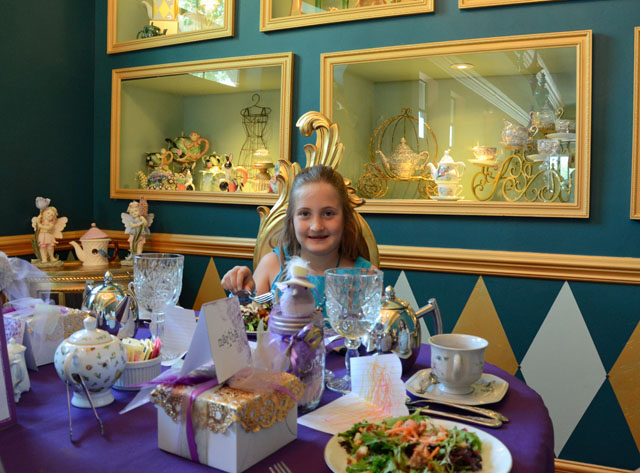
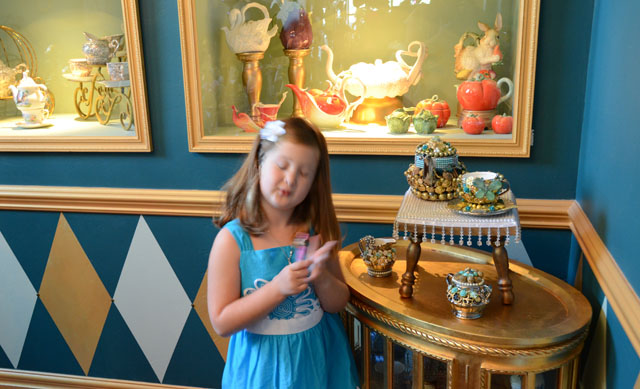
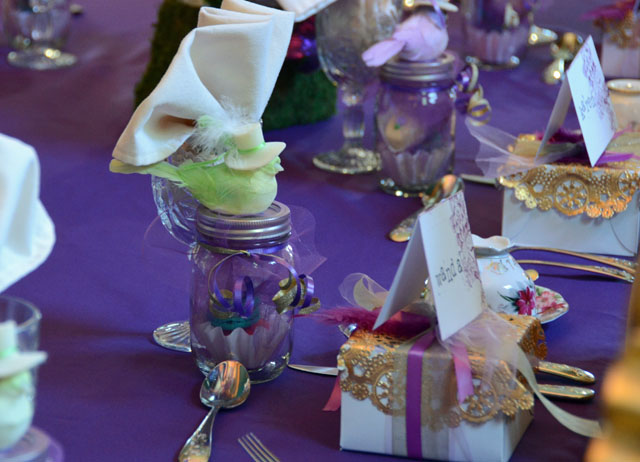
I invited some friends and family I thought would have fun with the whole experience, including (of course!) the ladies who helped inspire me to do this my two daughters. I also spent a few hours making place cards, boxed goodies, and because I *had* to, mason jar goodies topped with hat wearing birds. I didn’t spend a TON of time on customizing – because that was the whole point of having it at a fancy tea room! I didn’t have to do much.

s9

I think everyone had just as much fun as I did attending, and I can tell you now it won’t be the last birthday party I throw for myself! I wanted to share a few photos and my story here today because I think it is important to craft a happy life. I also think, you really need to remember that a lot in this life is your choice and often you can make things more magical, or just plain by your choices. I could have moped around because my husband is still studying for that promotional exam and won’t be around much, I could pout that nobody surprised me with a meal out or that I have to do everything myself… or I could say “hey – I have a fun idea…” and make my own brand of birthday magic.

One thing – be sure to invite and include others to join in because the happiness is contagious, and the effects are nothing but glowing and good.

s6

Whether just a party of two, ten, or fifty – I hope I’ve inspired you to do something fun for yourself, just because. It doesn’t have to be huge, it just has to delight you. Don’t put it off until later or some other year either. Time is limited, make it count and do something cool. Set it in motion! For me, I had five months to make sure I’d saved up my party fund $, clear a date, and make it happen. Small steps but it made this come together very easily.

Oh yes, and if you’re in Northern California we are talking about doing a regular meet-up at the amazing Linde Lane Tea Room (Where my party was) among other places.  If you want to be in the loop about Northern California craft-happenings (and just because we can ladies outings) shoot me an email (mflaum (at) Comcast (dot) net) and I keep you posted. One of the things we chatted about at my birthday tea was that we so need to make some more gatherings of creative people just because… and if you’re not local to me HEY! get out there and join in or start up some creative fun in your neck of the woods. I’d *love* to hear about it too!

Easy party signs.

tea8

These could be done any way, any size, any style! They could have a simple “welcome” note, hold your menu, be small and act as place cards… but it is an easy craft that any aspiring hostess should know! Here’s the how-to:

1. Cut two pieces of chipboard (or any super thick paper) + a 1/2 x 5″ (this can vary greatly) strip of the board as well. FYI cardstock can work, but it is best for very small signage. Bigger paper = quicker to fall over with weak paper!

2. Use tape to adhere the two (equal sized) pieces of chipboard together at one end, leaving a very thin gap. Do this on both sides, DO NOT worry about perfect coverage.

3. Use that small strip and fold each end down. This is going to be what props and keeps your sign up/open. Cut excess if needed, use strong double sided tape to adhere very near the bottom of each sign.

4. FUN PART! cover with printed materials, patterned paper, etc. on both sides. I advise assembling pieces before attaching to sign. ALSO: You can totally make your papers a bit wider than the sign. Just make sure they aren’t taller than the chipboard bits.

5. Tape over the top of the sign, then add ribbon, fun baubles, or whatever else you like!

tea

This is such an easy thing to make, and there are so many applications…

t1

If you’d like to know about why I made these signs, stay tuned! I will be doing a post about why I threw myself a tea party tomorrow.

Monday + May [new project + code!]

MondaysWithMay

I can’t believe it is the last Monday in May!! I’ve got my last post in this series up at the Simon Says Stamp blog today – any guesses as to what I spotlight?

076
If you guessed Tim Holtz products – you’d be right! I created a new scrapbook layout just for the blog. You can check that out here. I mention in that post – one of my favorite things to do when working with Tim Holtz products is to bring in the pink! With Picked Raspberries distress it makes it even easier to get bold and hot pink too! Here’s a card inspired by that color using the stain, ink pad, and paint.
088
I used the stain + water for a diluted background. Then I added rub-ons and colored with the ink over the whole surface. Finally, I painted over lightly to take the sharp blackness away from the rubs.
backg

Then it was a matter of assembling some favorite bits, and of course adding a few favorite details. Here are the supplies I used –


Speaking of supplies… I’ve got a special Simon Says Stamp exclusive code!! Use code: timfreebie  to receive a Free Tim Holtz Matchbook with Purchase. Coupon Valid 5/27- 5/31 11:59 PM EST STD TIME


Feeling crafty ?
Be sure to visit the Stamp & Show blog because it is a new week and a new challenge!! The design team totally rocked the “Into the Woods” challenge and on Wednesday there will be a cool tutorial posted as well. This week’s prize (as always) is a $50 voucher to Simon Says Stamp! The winner is randomly drawn – you can enter by posting to your blog, flickr, or other site too. See the blog for entry details and rules as usual.