Project Hawaii: final page

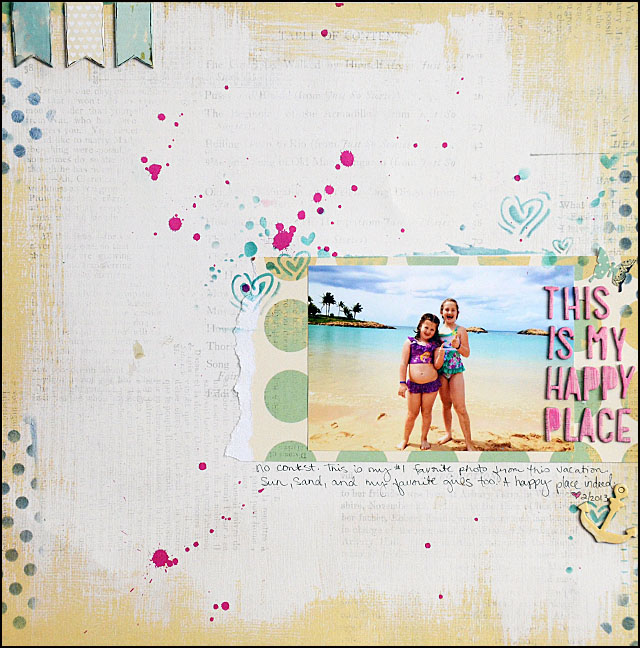
That’s right, I finished this page, added it to the album, and with a content sigh placed “Maui 2012” on the FINISHED scrapbook shelf. Let’s just say that a truly finished scrapbook is a rare thing in this house. I’m excited. I want to do that more.

ph2

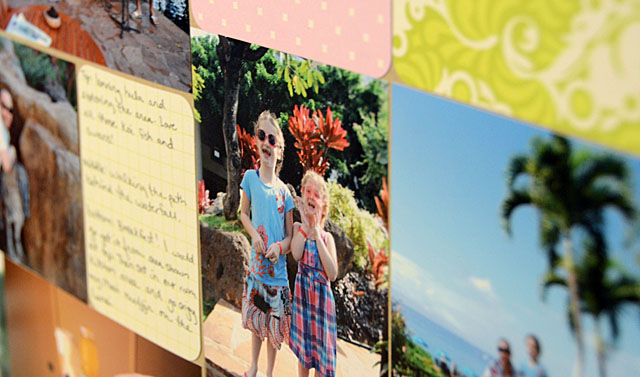
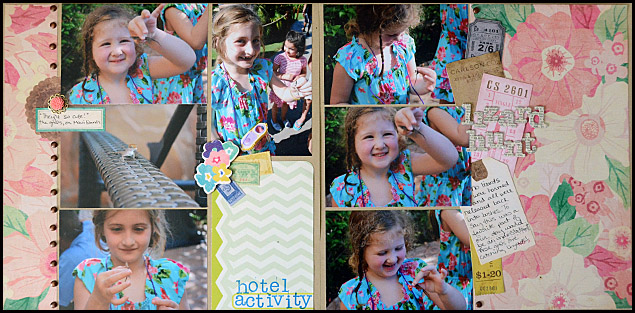
I don’t want to ever pressure myself to work in a certain order or make myself stick to one thing even if uninspired. That just isn’t my style. That said, there really is something to be said about a complete vacation album and I will be looking around at partially completed albums to see if any that I have would be candidates for this style of quick and simple scrapbooking in the future. For my final page I had a lot of random photos that needed to be in the album, and I went ultra simple. Just Project Life Olive cards + photos + journaling.

ph

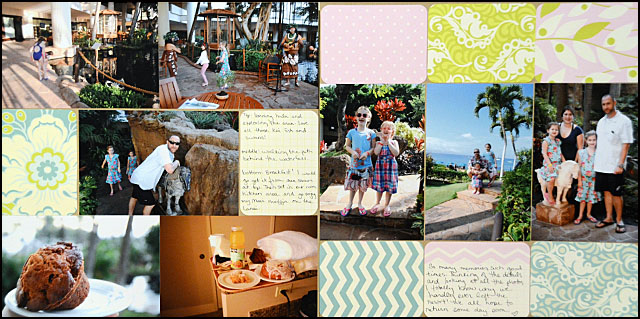
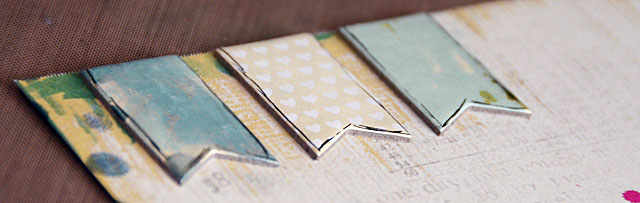
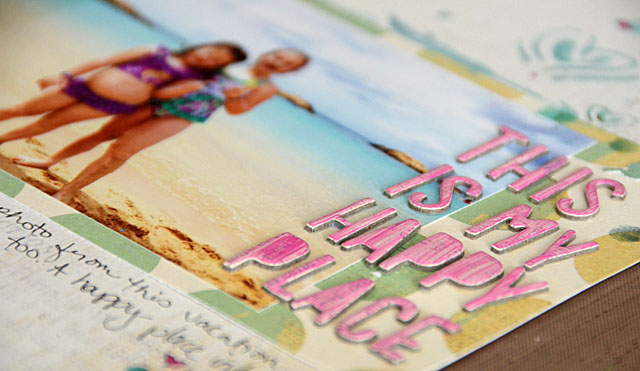
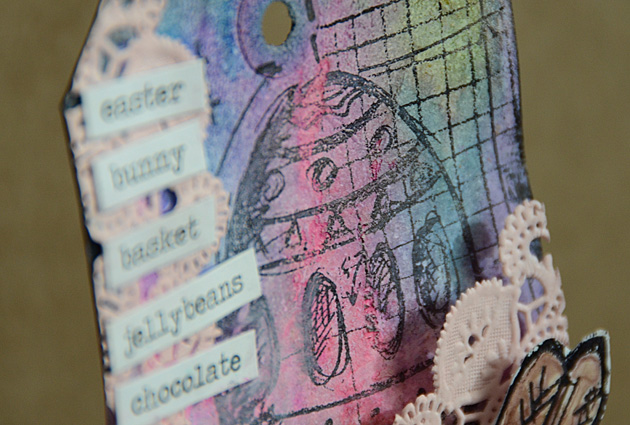
There really wasn’t a title for this page unless I wanted to put “miscellaneous photos” as a title, which I did not. I really didn’t feel like it needed embellishing because of all the decorative cards. Basically, in an album FULL of techniques and embellishing and fancy stuff I was good with just adding a plain, flat, fast and very easy page.

I will continue to use my Olive core kit on more traditional scrapbook pages as well as pages like these Hawaii ones for sure. I still have plenty of them! I believe that I will also do another mini-series (like Project Hawaii) in the future and share here on the blog. I still have a lot of ideas rattling around my head after all, and goodness knows I have PLENTY of photos to scrapbook so having subjects to work with is no problem!

For now I encourage you to consider mixing in different styles of pages into your albums. Think about the possibility of doing a few single/few photo pages where there is more embellishing and creative play, and some that feature more photos and are very simple. I really like the end results of my album, and as I said before you haven’t seen the last of this kind of two page spread from me.

Happy Crafting!

Feeling Lucky…

010

To have Lucky Charm here on my desk. This line is fantastic and it really is the Navy blue + creams + soft rainbow of colors that has me captivated. It is a VERY good mix, and unlike a lot of scrapbooking lines out there, this one has me able to craft with it and very little else. Yes, I do love it! I will be sharing more with Lucky Charm this weekend, but today I wanted to share a quick layout:

h

I just love how versatile this line is, how easy it is to use, and how well it works with such a variety of my photos. I love that the pieces work for cardmaking as well as scrapbooking (and any other papercraft you please) and how much neutral colors and simple patterned papers there are in the line as well.  Did I mention my LOVE? Such fun. I got a bit inky with this layout, but nothing too funky. My photo is 3×5 – I’ve taken to printing my iPhone pics out at that size or smaller just to mix things up a bit. I’ll be reporting back in with how that works out as I do more scrapbooking.

007

Supplies Used:

Lucky Charm is now in stores, including Simon Says Stamp, TwoPeas, Scrapbook.com, and Blue Moon Scrapbooking.

Challenge: Chic to be shabby

This week at Simon Says Stamp & Show we are challenged to be Shabby Chic. Well – you could be shabby, chic, or any variation of that! It doesn’t have to be the whole project either – any element on your project that fits with our theme would work. So join in! Visit the blog to see all of the other creations and to enter. This week’s prize (as always) is a $50 voucher to Simon Says Stamp! The winner is randomly drawn – you can enter by posting to your blog, flickr, or other site too. See the blog for entry details and rules as ususal.


a

I went Easter (because seriously, it’s going to be here SOOOOOON) with my tag – and I love the results!

b


For my tag background I sprayed with vibrant colors of dylusions ink sprays, then once dry I misted with the white linen dylusions mist and patted dry. This is why you see some spots of more color, and other areas that are more pastel. Love this!

The bunny is stamped (with archival ink) onto specialty stamping paper that I then colored with watercolor pencils and used a water brush to spread the color out. Again – love how it turned out!!

I used watercolors to color a scrap of paper for my homemade grass, grabbed some stickers and a doily, and before you know it my elements of creative play were coming together in a tag that is ready to be placed on a very special box of Easter chocolates.
d

I love the contrast of soft colors with the black archival ink, and I think that this white dylusions mist is going to prove to be an awesome tool since I love that it makes such a big difference in the color of my tag.
c

I wish you very happy crafting! Stay tuned – I’ve got a full week of projects coming!

Supplies Used:


a

Project Hawaii, smash winner, etc.

015

Hey all! So I apparently ran out of blog posts and then I’m just lame enough that it took me a few days to actually finish a new project to add! So, I’m back!

First off, the winner of the Smash 365book is: Tammy Davis CONGRATS! Email me (mflaum @ Comcast. net) with your mailing info to claim your prize!

Next up, let’s talk Project Hawaii, or should I say Project Maui! In less than a month, and with MANY other projects happening, I’ve managed to make the remaining layouts (well, I have just one left!!) and finish this book! I’m really excited about that, and today I’ve got my next-to-last layout to share:

1

As always, I went simple. This time I played with Maggie Holmes paper + embellishments and I left a lot more room for patterned paper because a) I LOVE this paper and b) I didn’t have a ton of photos. The journaling was light too, because I’d already done a journaling heavy “lizard” page that will be in the album before this one. this page, I just wanted more of the cute pictures and smiles being shown.

019

I’m back to my crafty storm… and a birthday tea celebrating my mom & miss E. I’ll be back Monday to kick off a whole week of new inspiration – including more from this LOVELY Crate Paper Line by Maggie Holmes. See you then!

pic.tap.go.

I keep hearing Cathy Zielske talking about “Pic Tap Go” and I decided to investigate. Let me say WOW. It’s AWESOME! It really is helpful for editing my iPhone photos and I am totally in love and recommend it fully.

pictap

You “pick” a photo, “tap” to pick filters as well as adjust how much of that filter (you can make it more subtle), then “Go” and save/upload/etc!

Here are some examples of photos I’ve done this to (before and after shown)…

IMG_4873 IMG_4874 IMG_4872 IMG_4871 IMG_4870

I like that it can sharpen up and adjust level and color and such – quickly and easily!! Then when I upload pics to be printed, I have edited pics and can skip the photoshop AND can feel confident I’ve got the best out of my iPhone. LOVE IT!

#pictapgo