I make it a habit to do two things here in the studio: use up scraps as I create them, and to avoid cleaning up unless necessary. Obviously using scraps as I create them helps with this, and so today I’m going to share how I “cleaned up” a few things and with the help of my ScanNCut2 was able to create some gift wrap and take part in the deer trend this holiday as well. Can anyone say multitasking? That’s me!
Ah but before we go any further as always I disclose that I do work with Brother, and that they did provide me with my ScanNCut machine. Opinion expressed by paid consultant. I will also disclose that affiliate links are used in this post. You guys know by now I only do what works for me, and always share what I love & create here anyhow. But I’m all for transparency and disclosing as requested so there you go. Let’s get back to the creating!
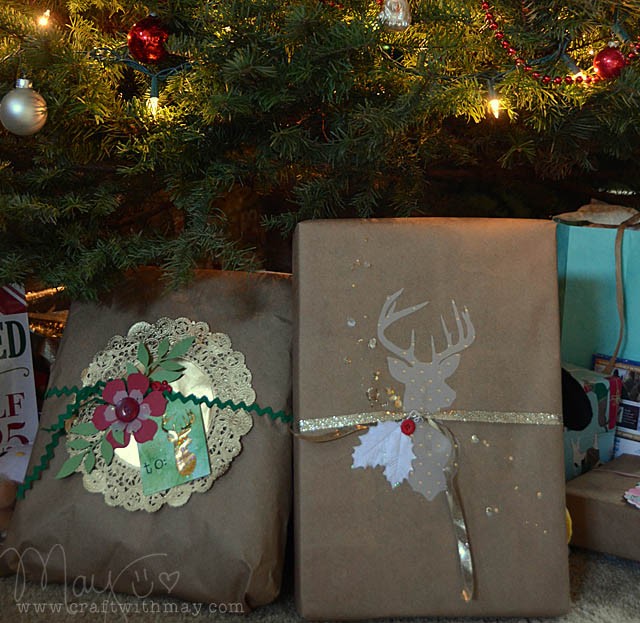
Above are the finished gifts under the tree, both created by using 1 piece of clip art I got off the internet. This is where the ScanNCut really shines for me – you see I printed off a deer (stag?) silhouette clip art that I came across long ago. When I was ready to create with it I just took that piece of paper and scanned it into my ScanNCut and saved the file.
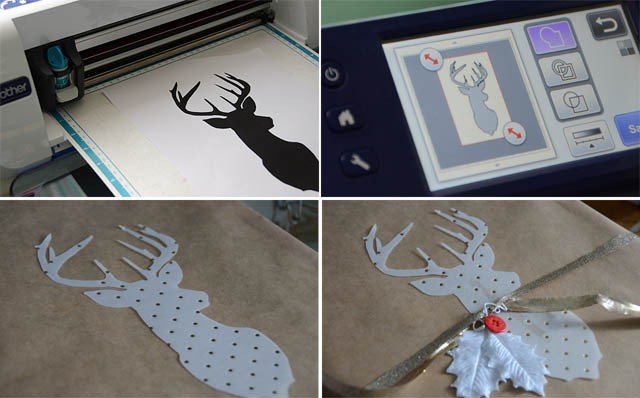
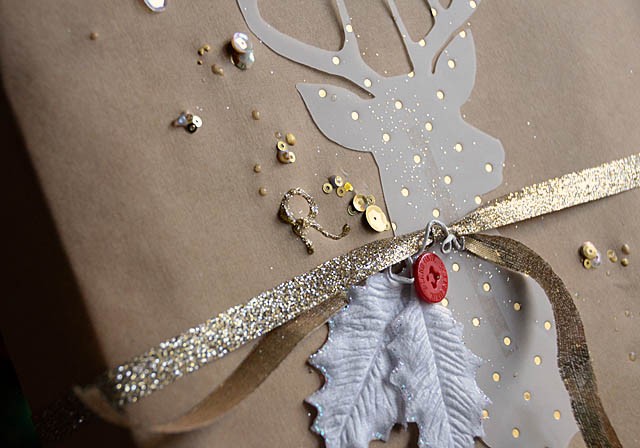
I saved the image to the machine which means I’ll never have to scan it again – it’s in the machine ready to use! For my first gift I printed it out on gold dotted vellum and attached to my package along with ribbon, leaves, buttons, and a few sequins. The ScanNCut makes this so easy – and I could easily mass produce deer like crazy for a real wow factor in my wrapping.
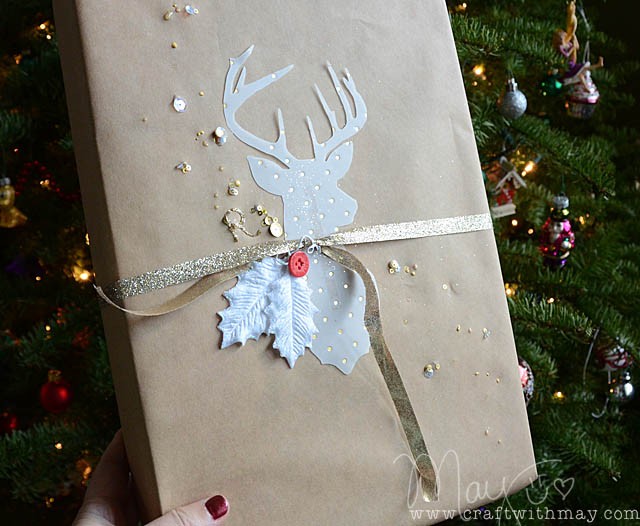
I just adore how this one turned out, and yes that’s a gold glitter glue “R” for miss Rebecca. (Inside is the new Frozen Lego that she doesn’t even know exists… so exciting!) Wrapping in kraft or other plain paper is my #1 favorite because what I do is create a stack of gifts with sticky notes on them as to who it’s for here in the studio. Then when I’ve got 5 minutes or need to “clear the desk” I pull out some ribbon or bits that I want to use up and wrap one or two or even three gifts quickly – but with special touches.
Speaking of – I also LOVE using the ScanNCut to create custom gift tags to use! I’m going to use that same deer file that I’ve saved, but now I’ll stick it inside of a tag:
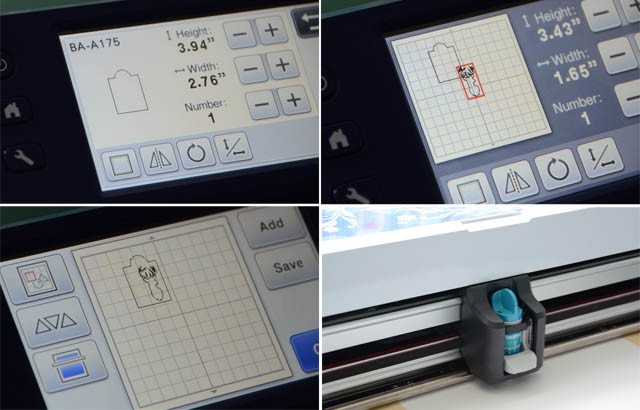
To do this I first created a tag (about 4″ high), then I added the deer image and scaled it WAY down, moving inside of the tag so that it has a bit of border around it. Note that I off-centered it so that I’ll have room for “to/from” on the front. I cut this from a scrap of white cardstock – again with the using up scraps! love that – and off we go!
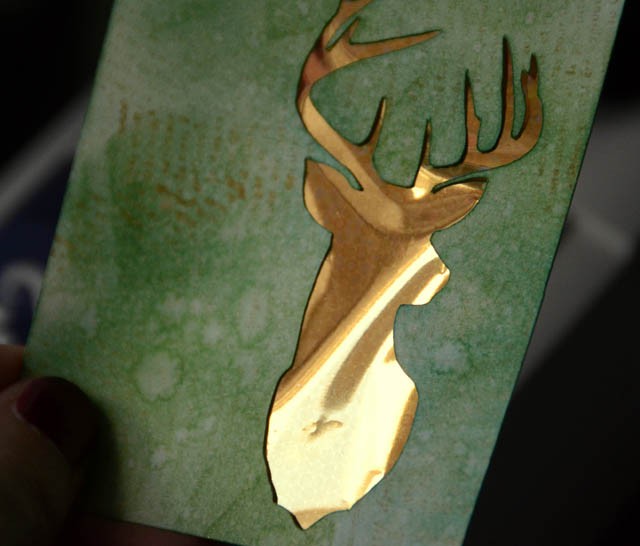
I used a scrap of gold foil material to back my tag, and the tag itself was inked with a gold script stamp and then I used green ink to color it a bit and help my golden deer (buck? stag? you know what I mean) really stand out.
But wait, there’s more! You see I had some red and vellum flowers, as well as some green leaves on the desk left over from a previous project. So I paired these with my tag and a gold doily as well as some green ric-rac for my package. I have YARDS of this green ric-rac so I’m glad to use it as package trim!
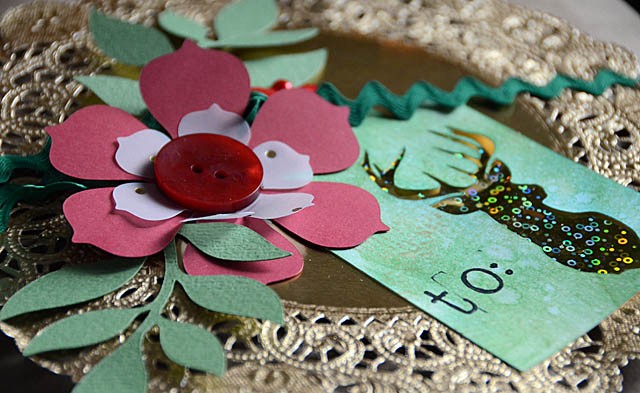
These are just two examples of fun creating that I’m able to squeeze in during this very busy time of year. Combining some creative play with productive gift wrapping makes me feel so good! Even better? I didn’t have to buy anything new to partake in the trend (deer/silhouettes) thanks to my ScanNCut. I love that I was able to be on trend without buying new.
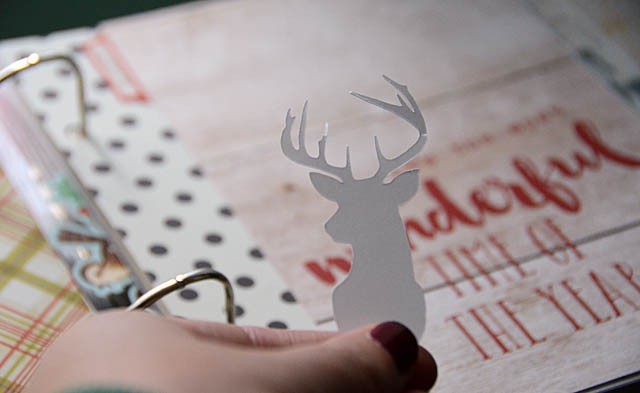
Now, I do have a white cardstock silhouette cut out (left over from the tag)… but don’t fret! It has already made its way into my December album and you’ll see how it was used next week.
I hope you’ve enjoyed this post, and are making things merry (and crafty!) this holiday season in your own ways.
Wanting a ScanNCut2 of your own? Here’s a link to amazon.com the 350 (aka ScanNCut2) comes with Rhinestone kit as well.