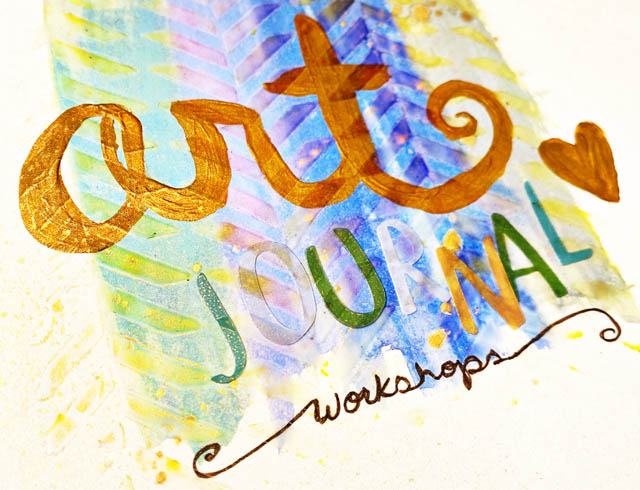
Recently my local scrapbook store (sign up for classes here!) asked me to teach a series of art journaling workshops. Ladies and gents – this is going to be BIG fun and I am super excited.
Oh but this post isn’t an advertisement for those or anything – no. This post is about what happened to me when I got home and went to create samples. Short version: I choked
Not a permanent freeze, nothing so terrible. But had I given up after the first hour, day, even 5 days I would have assumed I could not do anymore, that I had no talent, that my ideas were dried up and gone.
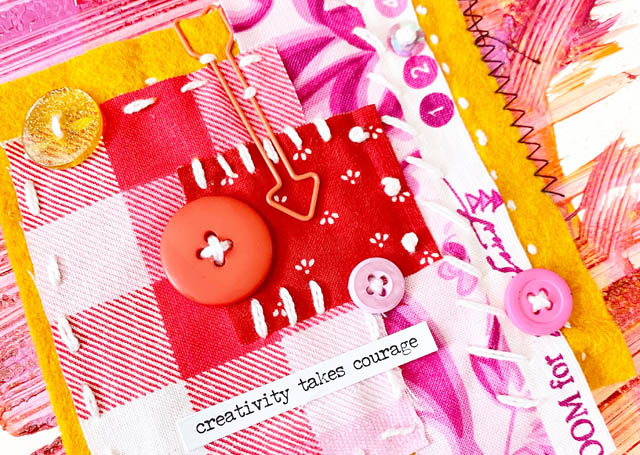
I am sharing this with you because it takes courage to keep going, you must keep showing up and putting in the hours if you want to get to a place where creativity freely flows and you feel like you are just magically making. Well, at least I do. I haven’t been playing in my art journal lately so of course it took a while to gather myself. OF COURSE a few pages were rough and a few ideas didn’t work! When it comes to creativity where you’re going from your own head (no outline or structure given):
- You will need to have those mental muscles well used in order to just start running! If it’s been a while, be gentle with yourself and just relax into the process.
- Tell yourself you’re going to make some ugly art. Then do that. WHY!? Because it takes the pressure off to make anything good.
- 10 minutes is all you need each day on any given craft to add up to an hour a week. An hour a week is my minimum for any craft to feel “in the zone”
- Don’t stop for long if you want to get to a better place- effort is needed.
I’m not going to make the mistake of letting supplies gather dust again, well yes I will. BUT if I do, I’ll understand I need a few days to warm back up, a few hours practice before things are going at the speed they should when I’m in the zone.
If I’m not putting in the time, I won’t be able to simply ‘whip up’ projects at a moment’s notice. Nothing wrong with that – I just need to be aware of my expectation vs reality!
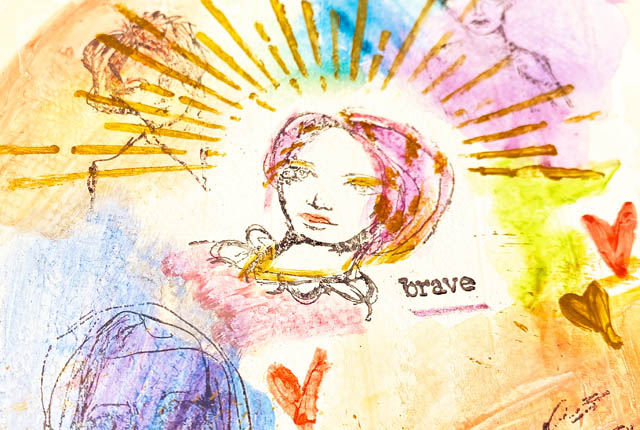
Art Journaling for me is a way to be fluid in many formats of creativity all at once. I use the techniques elsewhere, and I really enjoy having samples of techniques and my own ideas in a journal to flip through when stuck.
Oh yes, and if ever really, truly, I just don’t know what to do stuck? Just start throwing color (yes literally) on paper and see what sparks. Sometimes you’ll fail sure – but that’s just a part of the process. The failures are the only way to get through to the success and the “I love that I made this!” wins.
Happy Crafting!