Brother DesignNCut & ScanNCut at Creativation 2018

I just returned from a wonderful trip to Phoenix with the Brother team where I demonstrated the ScanNCut and checked out the DesignNCut at Creativation (annual craft trade show). I spent a lot of time experimenting with the  newest Brother machine, and I am working on a full video all about it (more on that another day!) It goes without saying probably on this post – but I do indeed work with Brother (paid consultant) a job I truly love! All ideas & opinions I share are always my own – just the usual disclaimer I always share with you.

Continue reading “Brother DesignNCut & ScanNCut at Creativation 2018”

ScanNCut the perfect Valentine!

As I always disclose- I am a paid consultant for Brother but all ideas & opinions are my own. In fact I am on a “field trip” with Brother right now! I am at Creativation trade show demonstrating the ScanNCut! Follow along on Facebook or Instagram @craftwithmay – I’ll be sharing all kinds of ideas and insider peeks!

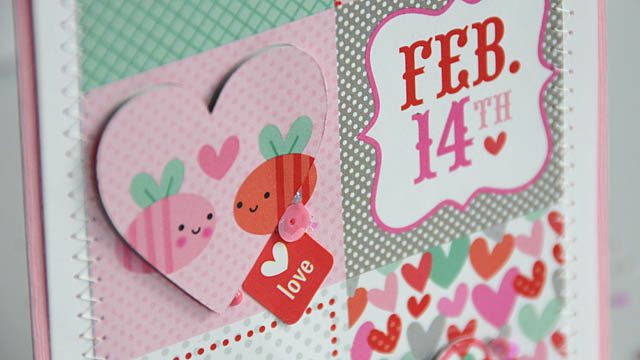
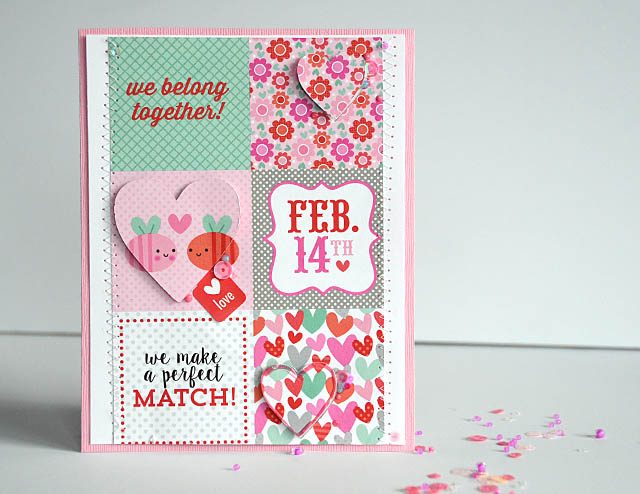
In my absence I leave you with this super fun Valentine card!

I have all of these 2″ decorative papers and need more ideas for them! So I thought… what about a card? Here is my YouTube video.

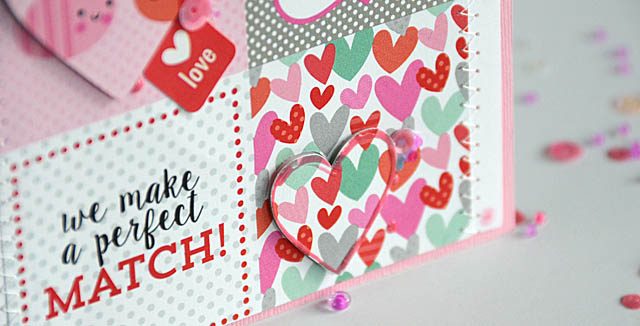
I LOVE cutting shapes inside these little squares!

I see potential for this on scrapbook pages as well – I have a major goal in 2018 to really use what I’ve got on hand and this has me off to a great start! Accenting with glitter glue, puffy paint, buttons, sequins, or whatever else you’ve got is always such fun!

I hope I’ve inspired you to look around and make a Valentine or two – February is sneaking right up on us!! Do you go big or keep it simple for Valentine’s Day? We are pretty low key but I do like having a few fun crafty projects. Stay tuned for a gift bag idea – but first I’m off to work a trade show!

Rapunzel inspired banner with ScanNCut

One of my loftier craft goals is to fill the new studio with a variety of banners. Big, small, fancy, easy… and I’m going to share the how-tos with you here. Why? Well for a number of reasons including that banner making is an art form in and of itself. I also want to share them with you as I go so that you can see how I’m adding hand made decor to this special space.
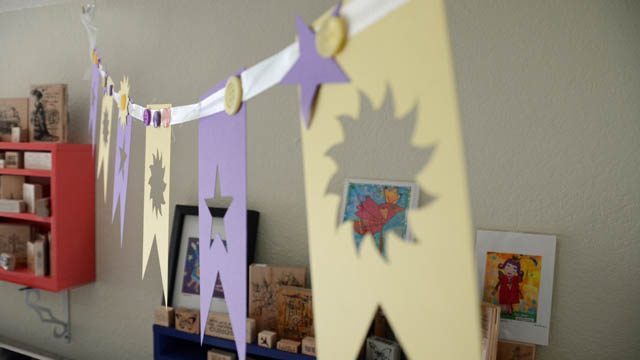
The hardest place? To just begin! I was playing with a new ScanNCut princess cut file (Rapunzel!) and I got the idea that a yellow & purple banner would be absolutely fantastic. I also decided I wanted holes in the cardstock so that it would not feel super heavy, and that this would be put in the corner where I want my banners to begin.

First up, I pulled out the ScanNCut, selected a banner shape (there are MANY!) and re-sized it to suit the dimensions I was after.
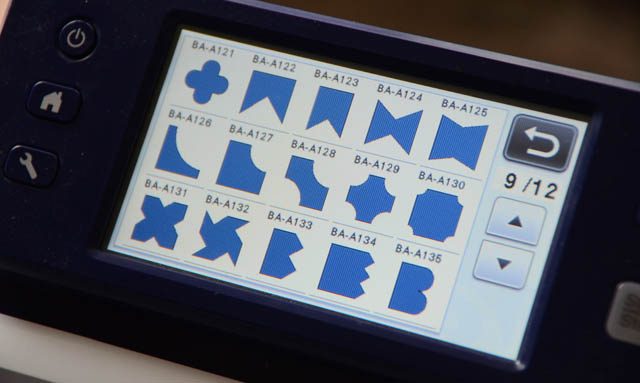
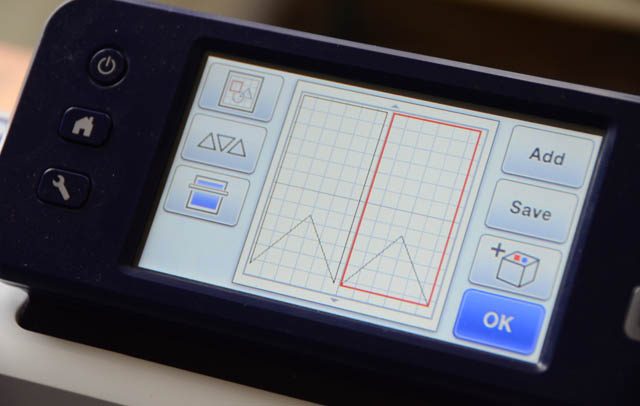
Then I picked a decorative shape, added it to the center, and re-sized to suit my design preferences as well.
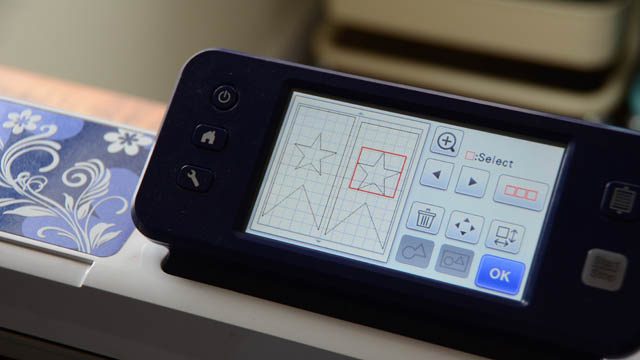
This is the part that really saves time. I did not have to keep going back in and redesigning my banner. I simply cut out the two, then insert a new paper and cut again! Repeat as many times as needed.
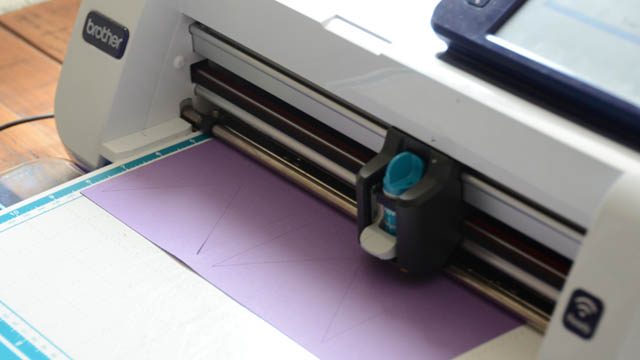
Another option? Cut some with NO decorative shape cut to back these papers. You could also change the center pattern (as I did with the sun burst), change the size for a mixed-size banner, or otherwise alter what you’re cutting to add more or less variety. Once everything is cut out it’s assembly time. I like to make banners with:

  • twine
  • thread
  • ribbon
  • ric rack
  • wire
  • paper

The how is really up to you, and your project. I went with a very light weight but sturdy white ribbon for this banner.
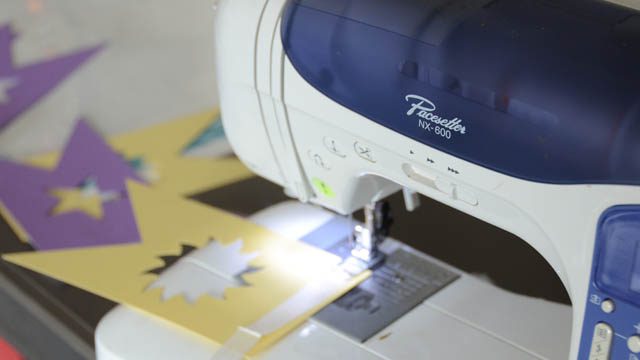
The next choice- how to put it all together? I decided for my trim type and banner design stitching would work well. Out comes the sewing machine set at a medium zig-zag and off we go! Other options include:

  • hole punch and run material through
  • incorporate rectangular holes in SNC cut pattern for ribbon or twine
  • brads
  • hot glue or strong adhesive
  • set eyelets
  • staples
  • hand stitching

Consider what material you’re using to hold it all together, as well as what will look good for your banner. For example when I’m working on something small that will hang low I will put more detail vs something hanging 7 feet up in the air!
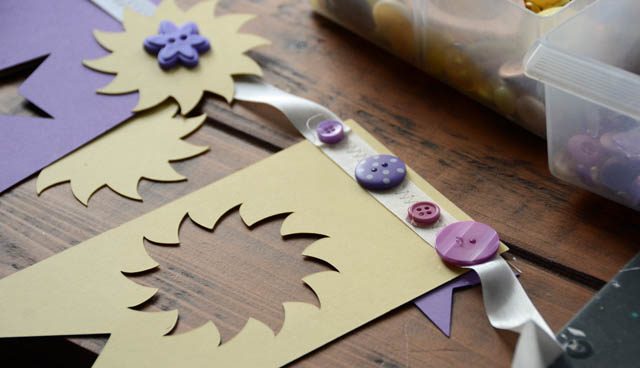
With my banner stitched together it was finishing touches time! I went for hot glue + buttons and some of the cut-outs from my banner design. This turned out so very cute – and I love seeing banner #1 of ??? up in the studio! Below you can see it hanging up – collection started.
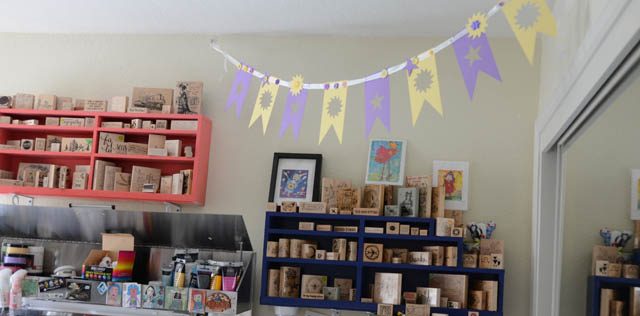
Before now I’ve mostly done little mantle banners or birthday party ones. I’m excited to dig into stitching, fabric, beaded, and more intricate as well as simple banners in the future! I feel like this adds so much homemade personality to the room and I am delighted to get this project going. You can bet the ScanNCut is going to continue to help me along this creative journey too.

note that I am a paid consultant for Brother, however all ideas and opinions are my own. The ScanNCut is a machine I adore and am happy to share ideas about!
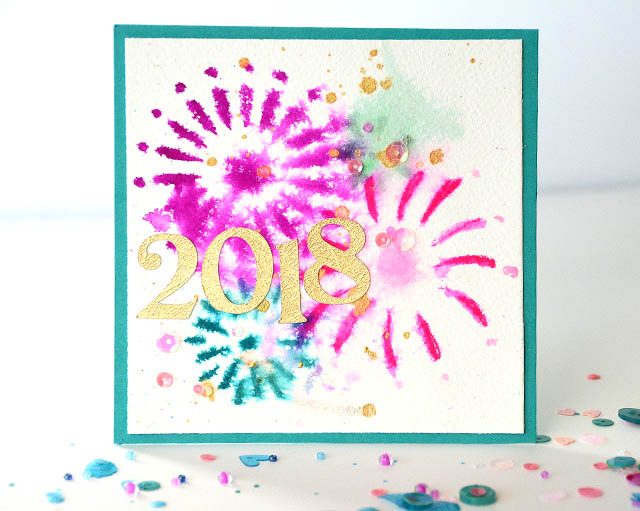
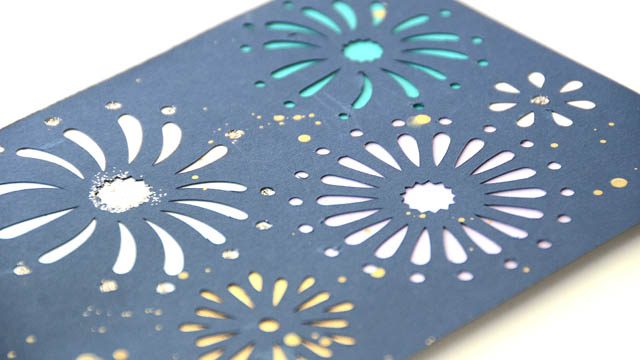
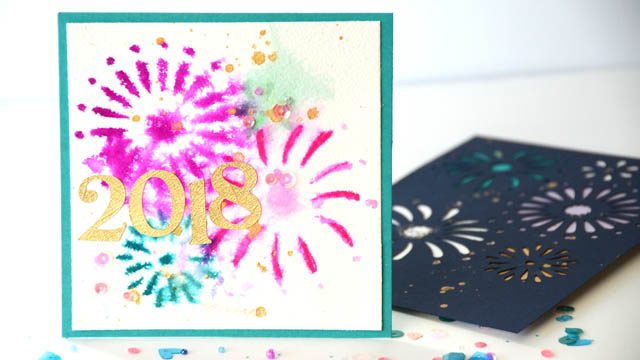
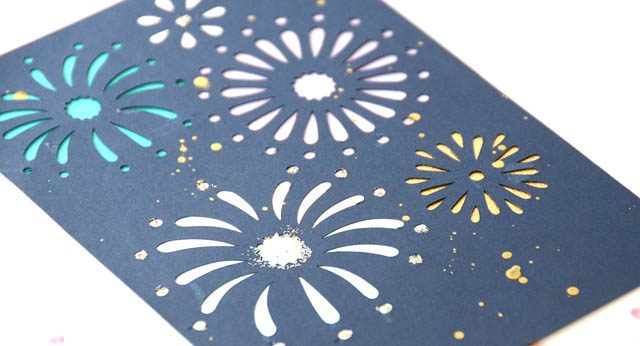
Kicking off 2018 crafting with fireworks!

I’ve mentioned it before – but I LOVE the ever growing offerings in the free ScanNCut Canvas gallery! They have how-to for specific projects, however I tend to take the projects as starting points now and then – and when I do I share with you! Today I’m inspired by a fireworks file that I think will be fun for some Disney vacation pics, 4th of July scrapbooking, and more.

To share more how-to on these particular cards you can check out my YouTube video here. I just love these fireworks designs and I think they could be made to look like flowers as well.

This project sure does kick my New Year off with a bang! How are you doing? Will you have time this weekend? I will be crafting once I’ve gotten us unpacked from vacation and set for back to school. Always busy – but craft time sure does keep me sane.

The usual disclaimer – I am a paid consultant for Brother. All ideas & opinions shared are my own – the ScanNCut is a machine I truly love and that helps me craft my craziest ideas! 

Rhinestone DIY with ScanNCut

As you know I work with Brother (as always I disclose this, as well as noting that all ideas & opinions shared here are always my own). If you’ll be in Phoenix next month I hope you’ll come see me at their booth at Creativation! I will be demonstrating the ScanNCut – can’t wait! If you can’t come don’t worry – I will keep posting here and will share a recap too!

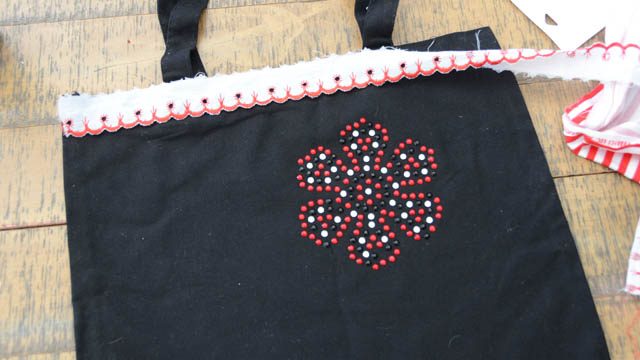
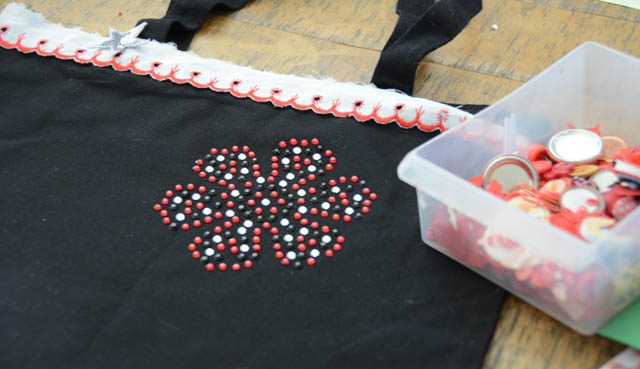
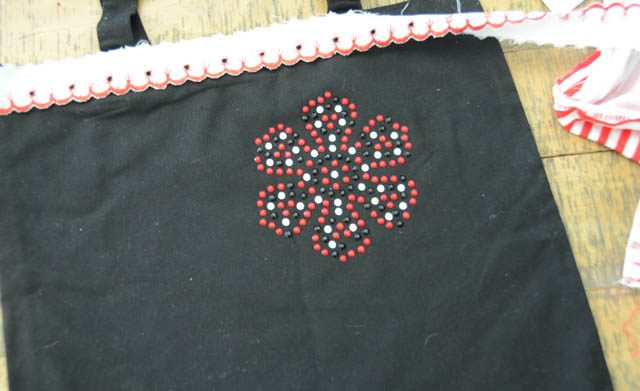
I recently got a wild project idea that I’ve only just begun and wanted to share. First of all – the how-to of the rhinestone kit (LOVE THIS KIT!) and how I built this flower is up on my YouTube video

I have never specifically designed the colors as I did on this red, black, and clear flower and I have to tell you – I enjoyed it!

My plan for this tote is actually to totally fill it with colors, designs, and doodles as well as rhinestone designs. I don’t share this often and want to do a better job of it with you. What I mean is, once in a while I take on a BIG project. Something I pull out whenever I don’t know what to work on or am stuck with. Something that takes a ton of hours but can be broken up over weeks, months, or even years. This is going to be one such project!

I am excited to play with this tote bag a LOT more – my rhinestone flower is just the start! My next step will be printing paper shapes with the scanncut and coming up with a basic design for my swirling wild design idea. I decided I wasn’t ready for trim or other elements just yet – but I’ll keep you posted on the progress as I continue on this project.

Wishing you all the best this holiday season!