
As you know I work with Brother (as always I disclose this, as well as noting that all ideas & opinions shared here are always my own). If you’ll be in Phoenix next month I hope you’ll come see me at their booth at Creativation! I will be demonstrating the ScanNCut – can’t wait! If you can’t come don’t worry – I will keep posting here and will share a recap too!
I recently got a wild project idea that I’ve only just begun and wanted to share. First of all – the how-to of the rhinestone kit (LOVE THIS KIT!) and how I built this flower is up on my YouTube video
I have never specifically designed the colors as I did on this red, black, and clear flower and I have to tell you – I enjoyed it!
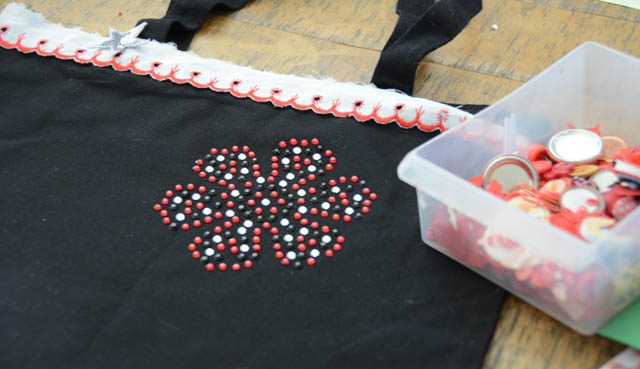
My plan for this tote is actually to totally fill it with colors, designs, and doodles as well as rhinestone designs. I don’t share this often and want to do a better job of it with you. What I mean is, once in a while I take on a BIG project. Something I pull out whenever I don’t know what to work on or am stuck with. Something that takes a ton of hours but can be broken up over weeks, months, or even years. This is going to be one such project!
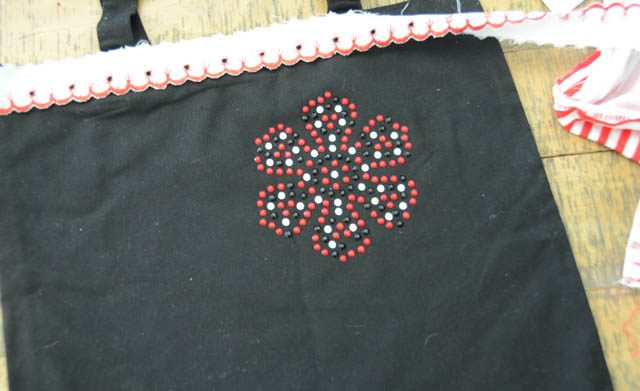
I am excited to play with this tote bag a LOT more – my rhinestone flower is just the start! My next step will be printing paper shapes with the scanncut and coming up with a basic design for my swirling wild design idea. I decided I wasn’t ready for trim or other elements just yet – but I’ll keep you posted on the progress as I continue on this project.
Wishing you all the best this holiday season!
So cute May!!!
that looks fantastic!! Thanks for keeping it real and leaving the extra ironing in !